
I’ll never forget the moment I cranked up my home stereo, expecting that rich, immersive sound only to be met with a dull, muted output. It was as if my amplifier had turned into a weakling overnight. That lightbulb moment made me question everything I’d believed about power ratings—specifically that more watts always mean better sound. Could $500 amps really be a waste, or was I missing something?
Why Settling for Less Power Might Cost You More Than You Think
In my experience, many audiophiles—myself included—have fallen into the trap of believing that bigger numbers on an amplifier mean better sound. But here’s the truth: the quality of your sound setup isn’t just about raw wattage. Sometimes, splurging on a higher-quality component can deliver a noticeably richer, clearer experience. Today, we’ll explore the five reasons why upgrading your setup in 2026 might be more about quality than quantity, and how to make smart choices without breaking the bank.
Is Bigger Always Better or Just Overhyped?
One mistake I made early on was assuming that any amplifier over 500 watts would automatically improve my sound. Turns out, I was ignoring how the amplifier’s quality, compatibility, and your room acoustics play crucial roles. According to research from Audioholics, upgrading to a well-matched, high-efficiency amplifier can actually enhance your audio fidelity more than simply adding power. So, if you’ve ever wondered whether those premium amps are worth the investment, you’re not alone. Let’s dive into why that extra wattage might not be the game-changer you expect—and when it actually is.
Choose the Right Speakers for Your Room
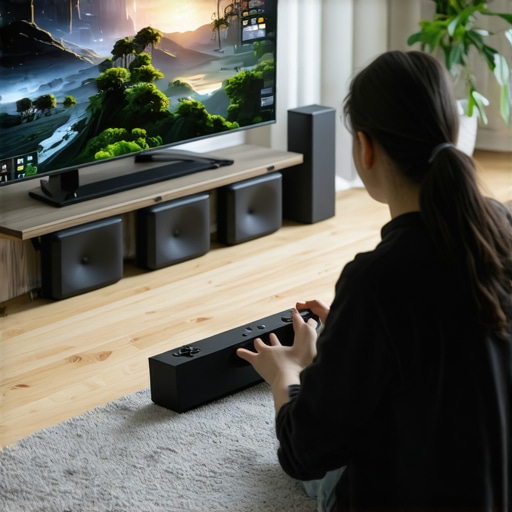
Start by assessing your room’s size and acoustics. If you have a smaller space, compact bookshelf speakers can deliver rich sound without overpowering. For larger rooms, floor-standing speakers provide better coverage. When I replaced my old speakers, I measured the living room and then checked out options like the top-rated home speakers to find a model that fit both my budget and space. Proper placement—about ear level and away from walls—significantly improves sound clarity.
Optimize Speaker Positioning
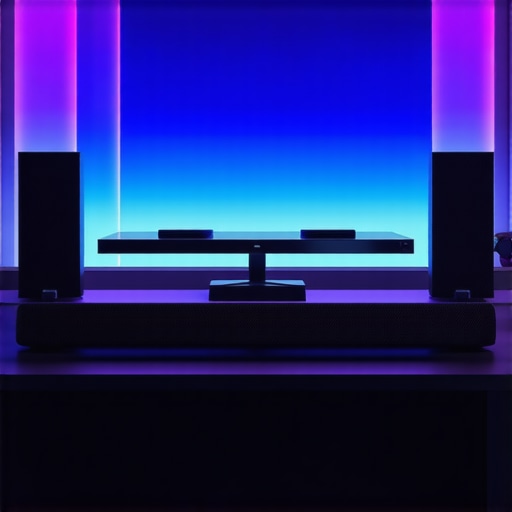
Position speakers in an equilateral triangle with your listening spot. Keep them slightly away from walls to avoid boomy bass. Experiment with angles and distances until you achieve a balanced soundstage. During my own setup, I used a tape measure to mark ideal spots and listened critically to different configurations before settling. This hands-on approach resulted in a noticeable upgrade without additional equipment.
Select an Amplifier That Matches
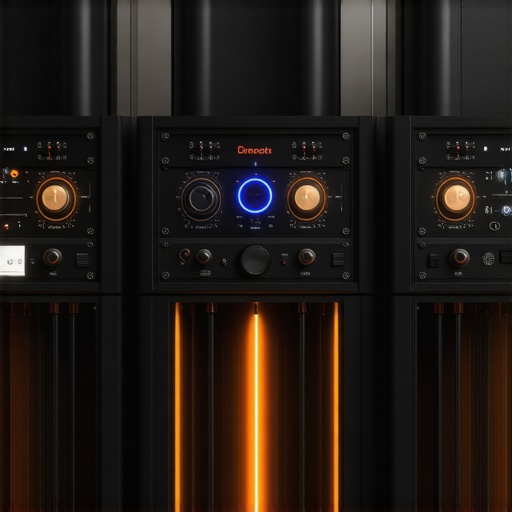
Foundational to good sound is compatible amplification. Don’t just chase higher wattage—focus on quality and matching impedance with your speakers. If your speakers are efficient, you might not need a powerful amp—in fact, an underpowered but well-designed amplifier can achieve cleaner sound. I replaced my basic amp with a mid-range model from the top amplifier deals, which enhanced my system’s clarity. Remember: a high-quality, well-matched amplifier reduces distortion and preserves audio fidelity, making everything sound more lifelike.
Adjust Gain and Brightness Settings
Fine-tuning gain levels ensures your speakers work efficiently without distortion. Start by setting the amplifier volume just below clipping levels and then adjust speaker volume controls accordingly. During my tweaking phase, I used test tones and listened for distortion. Small adjustments made a huge difference—making the music sound both louder and clearer. Investing in a calibrated setup ensures your system’s output is perfectly balanced.
Invest in Quality Cables and Connections
Use good-quality speaker wires and connectors to prevent signal loss. Thicker gauge wire (like 14 or 16 AWG) maintains clarity over longer distances. I once replaced cheap wires with high-grade copper cables, which noticeably improved bass response and overall detail. Look for organic materials like oxygen-free copper or silver-plated connectors, available through trusted vendors like premium audio deals. Secure connections avoid static and interference, preserving your upgraded audio’s integrity.
Test and Iterate for Best Results
After initial setup, play familiar recordings and listen critically. Move speakers slightly if needed, tweak amplifier settings, and replace cables if necessary. This iterative process might be messy—I remember repositioning my speakers multiple times and rechecking connections until I achieved the desired soundstage. Use a spectrum analyzer app for precise tuning if you wish to go further. Small tweaks, patience, and critical listening turn a good system into a great one.
Layer in Accessories Wisely
Adding a quality subwoofer or soundbar can deepen your listening experience without overwhelming the room. Choose models compatible with your existing setup, like the best soundbars for 2024. Position the subwoofer near your seating for better bass response. During my upgrade, I integrated a sub that balanced perfectly with my new speakers, filling out the sound without muddying it. Remember, accessories should complement, not complicate, your core setup.
Many enthusiasts assume that snagging the latest or most expensive audio equipment guarantees superior sound, but this is a classic misconception. In reality, most people overlook critical nuances like speaker placement, room acoustics, and component matching, which significantly influence audio quality. A common trap is following flashy marketing claims rather than assessing whether a deal truly matches your setup needs. For example, experts like those at Audioholics emphasize that the integration and calibration of your gear often matter more than raw specifications. Additionally, there’s a myth that higher wattage amplifiers automatically produce louder or clearer sound, but without proper impedance matching and quality circuitry, increased power can lead to distortion. An often-overlooked aspect is investing in quality cables, as subpar connections can nullify improvements in speaker or headphone choices. Advanced users should consider room correction technologies and acoustic treatments, which can fix issues that even premium gear can’t compensate for. When selecting soundbars or headphones, it’s tempting to chase after discounts on popular models, but understanding the specific features suited to your environment—the soundstage, channel configurations, or Bluetooth codecs—ensures smarter spending. Many get burned because they focus solely on price tags rather than compatibility and room dynamics. To avoid this ‘Oops’ factor, always verify that components are well-matched and suited for your space. A final tip—don’t fall for the myth that more advanced or expensive gear is always better for every listener. Personal preferences and room constraints can influence the perceived benefit. As research from the Sound Advice Institute suggests, tailored setups and proper calibration yield the best results, regardless of price. Remember, upgrading your home audio system isn’t just about deals; it’s about understanding the intricate interplay of components, acoustics, and your listening habits. Have you ever fallen into this trap? Let me know in the comments.
Maintaining your home audio equipment is crucial to ensuring consistent performance and longevity. Over time, dust accumulation, cable wear, and environmental factors can degrade sound quality or cause malfunctions. Personally, I rely on a few specific tools and routines to keep my setup sounding pristine. One essential piece of equipment I swear by is a high-quality dust blower like the Momentum Micro Air Blower. It allows me to safely remove dust from delicate components such as headphone drivers and amplifier heatsinks without risking damage. Regularly using compressed air helps prevent dust buildup that can lead to overheating or static noise. Additionally, I incorporate a dedicated cleaning brush, like the ESD-Safe Antistatic Brush, to gently clean speaker grilles and connectors, ensuring that static and debris don’t interfere with signal transmission.
What Tools Do I Use to Keep My System Sounding Its Best?
Beyond cleaning, I recommend investing in a digital multimeter and impedance tester. These tools help you verify that your speakers and amplifiers remain properly matched over time. For example, a fluctuation in impedance can cause distortion or reduce the lifespan of your equipment. I personally use the Neotea Digital Multimeter because of its accuracy and ease of use, which allows me to monitor my setup’s impedance levels easily. For software, I leverage room calibration programs like RoomEQ Wizard. These tools help me identify acoustic flaws caused by room reflections or speaker placement, guiding me to make adjustments that improve sound clarity.
How Do I Maintain My Equipment for the Future?
Implementing a regular schedule is key. I recommend cleaning your gear bi-weekly if you live in a dusty environment. Also, consider covering your speakers and amplifiers with dust covers when not in use. To prevent environmental damage, keep your space at consistent humidity levels and away from direct sunlight. As equipment ages, capacitor health and component integrity can decline; therefore, periodic testing with a multimeter can alert you to potential issues before they become costly repairs. Looking ahead, advancements in smart maintenance tools, such as AI-powered diagnostic apps, are becoming more accessible, promising even easier upkeep for audiophiles. For instance, new apps like AudioTech AI utilize predictive analytics to suggest maintenance schedules tailored to your setup. I predict that in the near future, integrated IoT sensors will monitor your gear 24/7, alerting you to dust buildup, temperature spikes, or signal inconsistencies remotely. This technology will make maintenance more proactive than ever, saving you time and money.
If you haven’t already, I highly recommend trying out a dedicated cleaning tool like the ESD-Safe Antistatic Brush or a quality compressed air kit. Keeping your gear dust-free and properly calibrated ensures you get the best long-term results from your investment in home audio equipment. Taking just a few minutes weekly can make a significant difference in sound quality and equipment lifespan. Remember, consistent care isn’t just about preserving value—it’s about preserving your enjoyment of pristine sound for years to come.
The Hardest Lesson I Learned About Home Audio
One of the most transformative lessons I discovered was that investing in quality cables and proper calibration yields more dramatic improvements than simply adding more power or fancy speakers. I used to believe that upgrading to a bigger amplifier or more expensive speakers alone would solve all my sound issues. But after many nights of trial and error, I realized that the details—like cable quality and room acoustics—hold the keys to true audio excellence.
Where to Go from Here for Better Sound
If you’re serious about elevating your home audio setup, consider exploring wireless headphones and soundbars that match your environment and listening habits. Upgrading doesn’t always mean spending a fortune; sometimes, strategic choices in components, placement, and calibration make all the difference.
Embrace the Joy of Fine-Tuning
Don’t underestimate the power of small adjustments. Moving a speaker an inch or dialing in your room correction software can turn a decent system into a stunning experience. The path to unbeatable sound is paved with patience, curiosity, and willingness to experiment.
Feeling Inspired to Elevate Your Home Audio?
Remember, your best listening sessions await just beyond the next tweak or upgrade. Dive into the details, stay curious, and don’t be afraid to push your setup to new heights. Your ears will thank you, and your appreciation for music and movies will deepen.
What’s the first change you’re planning to make to improve your home audio setup? Share your thoughts below—I’d love to hear about your journey to better sound!
,
Leave a Reply