
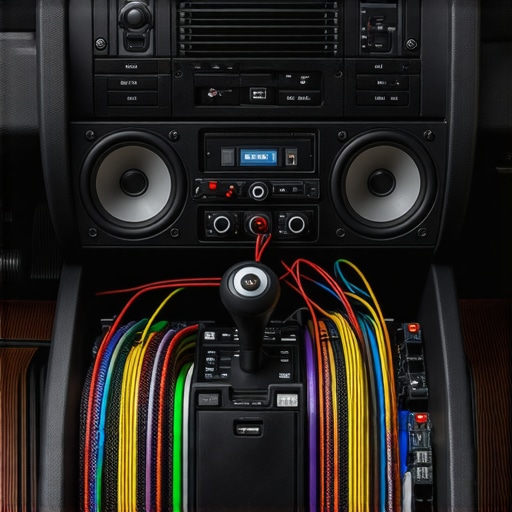
Ever turn on your car’s audio system, only to be greeted with a muddy, cluttered sound that ruins your favorite song? I’ve been there. One moment, everything’s crystal clear, and the next, it feels like listening through a underwater tunnel. That frustrating realization hit me after I upgraded my speakers without considering the right adjustments, and suddenly, my tunes sounded worse than before. It was a lightbulb moment: even the best speakers can’t fix poor setup or outdated gear. Today, I’ll share how I tackled this issue head-on and how you can do the same with four quick fixes that are perfect for 2026.
Why Your Car Audio Might Be Sounding Muddy
When your car’s audio sounds blurry or congested, it’s often due to a combination of equipment issues, improper settings, or outdated gear. I found that after installing new speakers, instead of enjoying better sound, I was overwhelmed by bass that boomed too loud and treble that was harsh or muffled. Early on, I made the mistake of assuming that just upgrading components would instantly enhance quality. Spoiler alert: that’s rarely true without proper calibration.
Many car audio enthusiasts overlook the importance of tuning and signal clarity. According to a report by Sound & Vision, improper setup can drastically diminish sound quality, even with high-end gear. It’s not just about buying shiny new parts, but knowing how to make them work together seamlessly.
Have you faced this muddy audio problem after upgrades?
If so, you’re not alone. Fixing muddiness isn’t about spending more money but applying simple adjustments that can transform your listening experience. And that’s exactly what I’ll walk you through next.
Ready to clear up your car’s sound? Let’s dive into the top four quick fixes that will sharpen your audio and make every drive a concert experience.
Adjust Your Equalizer Settings for Clarity
The first move I made was diving into my car’s equalizer. Think of it like tuning a musical instrument; each slider affects the overall sound. I set the bass down slightly, boosted the mids, and tamed the treble. It’s like trimming a bonsai tree—you get rid of the excess to reveal a cleaner, more precise shape. My early attempt was messy—making the treble too sharp or the bass overpowering—but gradual tweaks led to a noticeable improvement. Start by decreasing the bass by 10-15% if it’s boomy and increase the midrange to bring out vocals. Remember: small adjustments compound. Check your settings regularly and compare with a familiar song—be patient until the sound is sharp without harshness. This step is crucial because many times, muddy sound originates from poor equalization rather than expensive equipment. For a comprehensive guide, visit this resource for tips on optimizing your setup.
Tame the Gain and Volume Levels
Next, I focused on gain and volume controls—critical but often overlooked. Think of gain as the signal strength going into your amplifier; too high, and it clips, distorting sound. I set my gain to about 75% and avoided boosting volume beyond 80% to prevent distortion. It’s similar to speaking softly in a noisy room—you need just enough projection without overwhelming. I adjusted gain on my amplifier using a test tone; if the sound clipped or became fuzzy at high levels, I lowered the gain. Once set, I kept volume within moderate ranges during playback. This fine-tuning noticeably cleared up muddiness, especially in bass-heavy tracks. If you’re unsure where to start, check out here for some budget-friendly amp options that perform well at low gains.
Equalize Speaker Placement and Crossover Frequencies
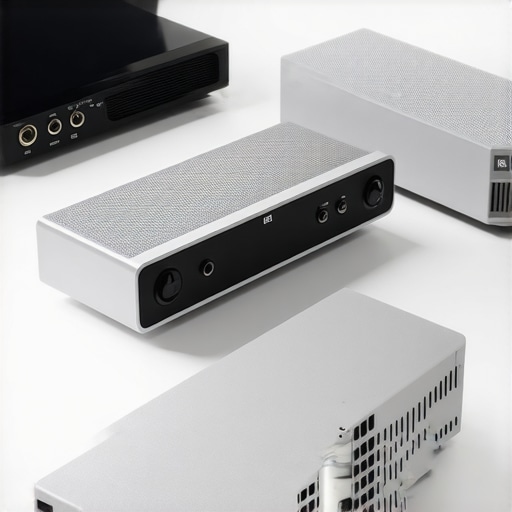
In my case, speaker placement played a big role. I made sure my speakers were mounted securely and aimed directly at the listening position, like pointing flashlights at a target. Little adjustments like angling speakers upward or closer to the seats dramatically improved clarity. Additionally, I configured the crossover settings—determining which frequencies go to which speakers. For instance, my tweeters handle highs, and woofers bass. I set crossovers at around 80 Hz for woofers to avoid muddiness and prevent low frequencies from overwhelming smaller drivers. Imagine trying to speak in a crowded room—if everyone talks loudly at once, words blur. Crossover adjustments help ‘deny’ certain sounds from specific speakers, creating a clearer overall picture. For top deals on home audio components that facilitate these adjustments, explore soundbar deals. An initial setup might seem daunting, but patience pays off—better placement and tuning eliminate the muddiness more effectively than expensive upgrades.
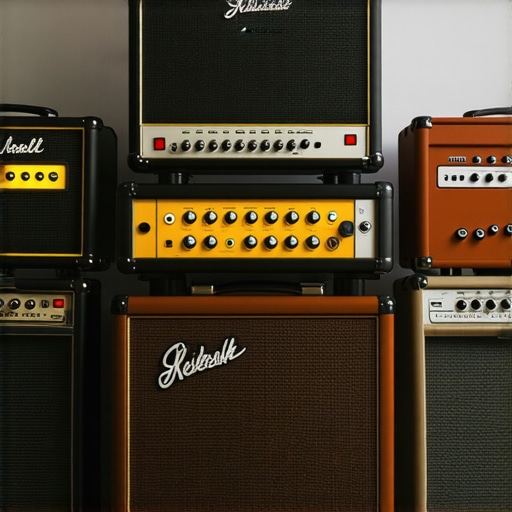
Replace or Upgrade Specific Components
Finally, I realized some of my gear was outdated and causing the muddy sound. I didn’t need a full overhaul—just focused on replacing old speakers and outdated wiring. Think of your system like a team: a star player’s performance drops if their gear is tired. I upgraded to a pair of efficient bookshelf speakers, similar to those featured in hidden deals, which made a world of difference. Also, I replaced the speaker wire with thicker gauge copper wire, ensuring cleaner signal transmission. When replacing components, look for those with higher sensitivity ratings and low impedance—they translate to better clarity and less muddy sound. If you’re considering a full upgrade, check out top home audio deals for inspiration. Remember, even the best speakers will sound flat if connected with poor wiring or mismatched components. Pay attention to matching impedance and ensuring all connectors are tight and corrosion-free. It’s like tightening all screws on a camera lens—every little fix sharpens the overall picture.When it comes to choosing speakers, headphones, or amplifiers, many enthusiasts fall for popular myths that hamper their audio experience. A common misconception is that more expensive gear always yields superior sound. In reality, the quality of the components, proper matching, and setup nuances often make or break performance. For instance, a high-end speaker can sound dull and muddy if paired with a low-gain amplifier or if placed improperly. Conversely, well-chosen budget components, when correctly configured, can outperform overpriced setups. Many people overlook the significance of impedance matching as well; mismatched impedance causes distortion and can even damage equipment. According to audio engineer Ethan Winer, achieving optimal sound isn’t just about gear specs but about understanding how each piece interacts—think of it as a symphony where harmony matters more than individual instruments. Another often-missed detail is the impact of room acoustics. Even with premium gear, poor placement and untreated surfaces will muddle the sound. Advanced users know that tuning frequency response through calibrated equalization can correct room anomalies, but many skip this step, assuming all gear sounds the same out of the box. Have you ever fallen into this trap? Let me know in the comments. For those wanting to explore smarter choices, check out this guide on hidden home audio deals that pack a punch without overspending.
Tools That Keep Your System Running Smoothly
Maintaining your audio setup requires more than occasional cleaning — it involves the right tools and routine checks. I personally rely on a few essential devices that ensure my equipment performs at its best over time. A high-quality multimeter, for example, helps me verify impedance and wiring consistency, preventing subtle issues from degrading sound quality. I always keep a set of precision screwdrivers on hand because proper tightening of connectors and component mountings preserves signal integrity and prevents loose contacts that might cause static or distortion.
Additionally, I use an acoustic analyzers like the MiniDSP UMIK-1 microphone paired with Room EQ Wizard (REW) software. This combo allows me to perform detailed frequency response measurements in my listening environment, which is crucial for tuning speakers and soundbars for optimal clarity and avoiding muddiness. This setup is so versatile that I can identify room modes and resonance points, then apply targeted equalization for a balanced sound signature. As audio trends shift towards smart, connected audio devices, integrating such measurement tools ensures long-term reliability and consistent performance.
How do I maintain my audio system over time?
Regular inspection is key. Checking and cleaning connectors with contact cleaner, updating firmware for smart devices, and recalibrating EQ settings semi-annually help prevent performance drops. For example, dust buildup can cause corrosion, so I wipe down connectors with isopropyl alcohol and a soft brush. Firmware updates can add features or fix bugs that might otherwise hamper performance. Keeping a log of calibration settings is a good habit, especially when you upgrade components or move to a different room.
“>Looking ahead, I believe automation and predictive maintenance will become more prevalent in home audio. Smart systems might eventually alert you to component issues before they impact sound quality, similar to how modern HVAC systems warn about filter replacements. To prepare for this future, start using measurement tools now. For instance, I recommend investing in a quality measurement microphone like the UMIK-1 and software such as REW. These tools empower you to proactively identify and resolve issues, ensuring your system continues to amaze for years to come. If you’re curious about elevating your setup further, check out this guide for hidden deals on premium gear. Try calibrating your speakers with a measurement microphone this weekend — it’s a game-changer for long-term sound excellence.
Through my journey of refining my car audio setup, I learned that the true secret isn’t just in the gear you choose but in the subtle adjustments and mindset shifts that make all the difference. One eye-opening realization was that even high-end components falter without proper calibration—it’s like having a race car and neglecting the tire pressure or alignment. This taught me that education and experimentation are as vital as investment. Additionally, I discovered that room acoustics within the vehicle, often overlooked, can dramatically influence sound clarity—think of it as tuning a musical instrument before a concert. Lastly, patience became my best friend; perfection in sound requires iterative tweaks and listening tests, not instant fixes. Embracing this mindset transformed my experience from frustration to fascination, and I hope it inspires you to approach your car audio endeavors with curiosity and resilience.
Leave a Reply