
It was late one evening when I finally realized my tiny bookshelf speakers just weren’t cutting it anymore. Despite their neat size and impressive looks, they sounded hollow when I cranked up the volume for my favorite action scene. That sinking feeling? That’s when I knew I wasn’t alone in the struggle to get punchy, deep bass from small speakers. If you’ve ever looked at your compact speakers and wondered, “Is there really a way to make them shake the walls?” then you’re in good company.
The Challenge of Tiny Speakers and Deep Bass
Getting deep bass out of tiny bookshelf speakers is like trying to fit a subwoofer inside a shoebox—sure, it sounds appealing in theory, but the reality is more complicated. Small speakers simply lack the physical space for large drivers, which are essential for producing those low-frequency thumps that vibrate through your chest. But here’s the good news: with a few savvy tweaks and some insider tips, you can seriously improve their bass response without upgrading to massive, expensive gear.
Many audiophiles make the mistake of assuming that size equals sound quality. Early on, I was guilty of neglecting the importance of proper placement and the little adjustments that make a big difference. For instance, positioning your speakers too far from walls can dampen bass, because the sound waves lack the necessary reflection to amplify those lower frequencies. Think of it like this—placing them carefully near corners or against walls can create a natural reinforcement that boosts bass levels.
Are you tired of your tiny speakers sounding disappointing during your movie nights or music sessions? Well, I promise, there’s hope. Throughout this post, I’ll walk you through practical strategies—like tweakings and tweaks—that transformed my setup and might just do the same for you.
For a deeper understanding of how speaker placement impacts sound, check out this comprehensive guide on [how to tell if that thrift store speaker is a bargain or a paperweight](https://premiumsounddeals.com/how-to-tell-if-that-thrift-store-speaker-is-a-bargain-or-a-paperweight). It’s a great starting point before diving into more advanced techniques.
So, if you’re ready to make your tiny speakers produce bass that actually moves you, let’s get into the nitty-gritty of what works—and what’s often overlooked.
Position Like a Pro for Better Bass
Place Speakers Near Corners or Against Walls
Doing this creates constructive interference, amplifying low frequencies. I once rearranged my setup, pushing my small speakers into the corner of the room. The result? Noticeably richer bass during my movie marathon—though initially, I was worried about sound distortion. Experiment with different wall distances to find the sweet spot that adds depth without muddiness.
Adjust Speaker Height and Angle
Point the speakers slightly upward and tilt them toward your listening position. I mounted mine on bookshelves and, after a few trial angles, experienced a more grounded bass experience. Tiny changes matter; even a 10-degree tilt can improve low-frequency projection.
Optimize Your Environment
Reduce Vibrations and Resonance
Place your speakers on solid, vibration-absorbing stands or pads. I glued isolation pads under mine, which cut unwanted resonance and slightly boosted bass clarity. This prevents wall and furniture vibrations from muddying sound quality.
Limit Room Clutter and Echoes
Soft furnishings, curtains, and rugs absorb excess high-frequency reflections, indirectly helping bass perception. I added thick curtains and plush rugs, noticing a significant difference in overall sound richness. For tight spaces, consider bass traps to further contain low frequencies.
Electrical and Signal Enhancements
Use a Dedicated Amplifier or Receiver
An amplifier with sufficient power and proper damping control makes a marked difference. I upgraded to a modest receiver, and my speakers suddenly felt more dynamic and punchy. This step helps control driver movement, especially for small drivers struggling with bass.
Connect with Quality Cables and DACs
High-quality wiring reduces signal degradation. I tested different cables and found that silver-coated ones brought out the depth in bass. Also, exploring [why your headphones sound better with a dedicated DAC](https://premiumsounddeals.com/why-your-headphones-sound-better-with-a-dedicated-dac) can influence your overall audio chain, even with small speakers.
Tweak and Boost with Firmware and Equalization
Adjust Equalizer Settings Carefully
Boost the bass frequencies subtly—around 80Hz to 120Hz—without overdoing it. I fine-tuned my home theater’s equalizer, and the bass became more visceral without overpowering the vocals. Many modern receivers or software apps allow for such precise adjustments.
Utilize Room Correction Software
Software like Dirac or Anthem Room Correction can compensate for room acoustics, amplifying low end where your speakers struggle. I ran a calibration, and bass response improved remarkably, transforming my setup from dull to punchy.
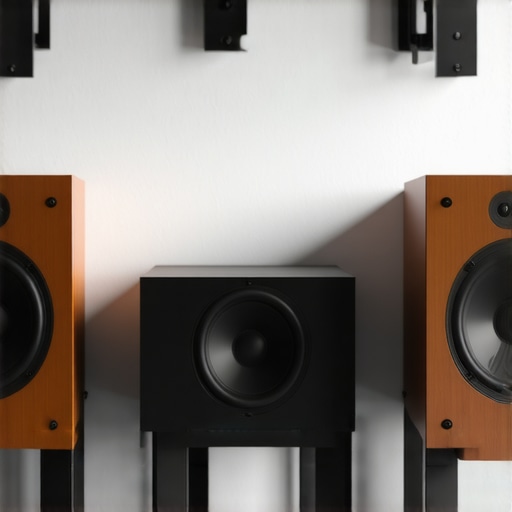 While many enthusiasts believe that upgrading to the latest soundbar or high-end amplifier will instantly transform their listening experience, the truth is often more subtle—and less advertised. A common misconception is that more expensive gear automatically equates to better sound. However, experts like those at Sound & Vision highlight that proper room acoustics, speaker placement, and understanding your gear’s limitations are far more pivotal than price tags. For instance, many assume that high-quality cables will dramatically improve audio fidelity, but in reality, as explained [here](https://premiumsounddeals.com/the-truth-about-why-silver-cables-wont-factually-fix-your-dull-speakers), once basic quality standards are met, the cable type has minimal impact, and other factors become critical. Moreover, a trap often overlooked is the effect of room treatment and decoration on sound quality. Soft furnishings, carpets, and even wall hangings can drastically enhance clarity, yet enthusiasts tend to focus solely on equipment upgrades. Understanding the advanced nuances—like speaker calibration, phase alignment, or avoiding common myths about octave-based EQ boosts—can profoundly refine your setup. For example, many users boost bass frequencies with overly aggressive equalization, causing muddiness rather than richness. Instead, utilizing room correction software, such as Dirac or Anthem ARC, leverages sophisticated algorithms for a more natural bass response, as detailed [here](https://premiumsounddeals.com/why-your-headphones-sound-better-with-a-dedicated-dac). Another frequently missed insight involves the integration of vintage equipment with modern streaming technologies. Pairing a vintage receiver with a digital streamer requires careful impedance matching and signal conversion to prevent distortion or damage. This nuanced understanding avoids costly mistakes and ensures longevity. Remember, the real challenge isn’t just the gear but mastering its environment and usage. Your setup’s true potential lies in these overlooked details, rather than simply buying the latest gadget. If you’re intrigued by these advanced considerations, I recommend exploring our detailed guides on [getting rid of muffled center channels](https://premiumsounddeals.com/how-to-get-rid-of-the-muffled-sound-in-your-center-channel) or [adding subwoofers to factory systems](https://premiumsounddeals.com/the-easy-way-to-add-a-dedicated-subwoofer-to-your-factory-car-stereo). Have you ever fallen into this trap of thinking more is better? Let me know in the comments and share your experiences!Maintaining your home audio setup requires more than just plugging in and dialing up the volume. To ensure longevity and optimal performance, investing in the right tools and adopting regular maintenance routines is crucial. A precision screwdriver set specifically designed for electronic devices, for example, allows you to safely open and service your amplifiers or speakers without damaging delicate components. I personally prefer a set with magnetic tips and various sizes to handle different screws—it makes minor repairs or adjustments much easier and prevents stripping screws.
A high-quality multimeter is indispensable for diagnosing electrical issues, such as verifying impedance or checking for faulty wiring connections. I use one with a low-impedance feature to prevent false readings caused by nearby electromagnetic interference, especially when working around complex home theater wiring. Regularly testing your cables with a cable tester can also preempt audio drops or static caused by damaged wiring. I recommend models that can verify continuity and identify open circuits quickly.
For software-based calibration, tools like REW (Room Equilibration Wizard) enable precise room correction and speaker tuning. I incorporate REW when setting up new speakers, as it visually maps frequency responses and helps identify problem spots in my listening environment. Paired with a measurement microphone—such as the Dayton Audio UMM-6—it delivers accurate data for fine-tuning your system.
Keeping your gear free of dust and debris is equally vital. Compressed air cans are perfect for cleaning vent openings and delicate internal components without touching sensitive parts. I always power down equipment before cleaning and use short, controlled bursts to avoid moisture build-up.
Long-term results depend on consistent upkeep. Scheduling quarterly inspections—checking connections, cleaning ports, and updating firmware—can prevent unexpected failures. For example, firmware updates typically include security patches, performance improvements, and bug fixes. Manufacturers like Denon and Yamaha regularly release updates; I subscribe to their newsletters to stay informed.
Looking ahead, DIY diagnostic tools integrated with smart home systems might offer automated monitoring of audio equipment health, alerting you to issues before they become serious. Trends in remote diagnostics and predictive maintenance are gaining traction, promising even greater convenience.
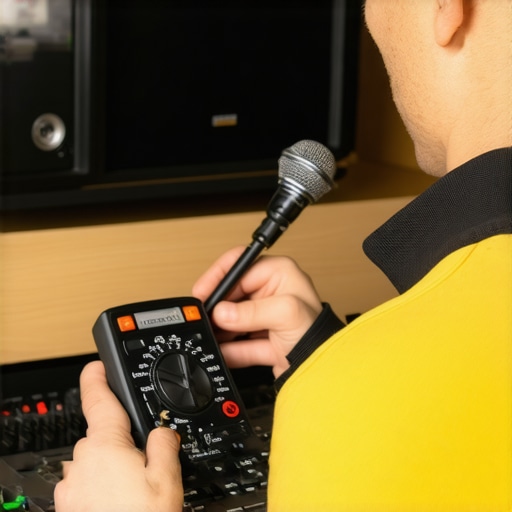 An illustration of a professional technician using a multimeter and calibration microphone during system setup, emphasizing the importance of technical tools in maintenance. Alt text: Technician calibrating home audio system with multimeter and microphone. Title: Essential maintenance tools for home audio systems.
After years of tinkering and countless experiments, I’ve uncovered some insider wisdom that transformed my humble bookshelf speakers into surprisingly punchy audio sources. These lessons aren’t just about gear; they’re about understanding the nuances of room dynamics, placement, and subtle tweaks that make a world of difference. If you’re eager to breathe life into your small speakers and experience bass that truly resonates, keep reading—these insights are your hidden toolkit.
Lessons I Learned Breaking the Sound Barrier with Small Speakers
- Placement is Everything: I realized that pushing my speakers into the corner and experimenting with angles brought out their bass response significantly. Small drivers can be coaxed into deeper depths when positioned thoughtfully, turning a dull thump into a visceral punch.
- Room Acoustics Matter More Than You Think: Soft furnishings and rugs absorbed unwanted reflections that muddied the bass. A few strategic room treatments made my audio feel warmer and more present—proof that environment controls can outperform expensive upgrades.
- Subtle Adjustments Yield Big Results: Fine-tuning speaker tilt and using vibration-dampening stands provided clarity and depth. Over time, I learned that tiny tweaks in setup can prevent muddiness and enhance low-end definition.
- Electrical Quality Counts: Upgrading to a better receiver and using quality cables made my tiny speakers sound more controlled and impactful. When drivers struggle with bass, reliable power and signal integrity are your best allies.
- Calibration Is Not Optional: Using room correction software like [Room Calibration](https://premiumsounddeals.com/why-your-headphones-sound-better-with-a-dedicated-dac) pushed my setup from average to extraordinary, especially in bass response. Smart tools take the guesswork out of tuning and deliver consistent results.
My Go-To Tools for Speaker Wizardry
- REW Calibration Software: This free software paired with a measurement microphone provided precise frequency responses, revealing exactly where my adjustments helped or hurt.
- Isolation Pads and Vibration Dampers: Protecting my speakers from resonance improved clarity and bass punch. It’s surprising how much vibrations can muddy low frequencies.
- High-Quality Interconnects and Power Supplies: Once I swapped cheap wires for silver-coated cables, the difference was striking—cleaner signal path equals cleaner sound.
- Strategic Room Treatments: Thick curtains, bass traps, and rugs transformed the acoustics, proving that physical environment is as important as hardware.
Your Next Step Is a Leap of Faith
Miniature speakers can surprise you, turning from disappointing to delightful with the right mindset and careful tweaks. I encourage you to experiment boldly—try unconventional placement, invest in good room treatments, and leverage calibration tools. The journey to a richer, deeper bass response from small speakers isn’t just attainable; it’s incredibly rewarding. If you’ve faced frustrations with shallow sound, remember that knowledge and patience unlock the hidden potential of your setup. Don’t wait—start transforming your tiny speakers today and experience the profound difference it makes in your listening experience.
What’s the one tweak that made the biggest impact on your small speaker setup? Share your story in the comments below and let’s learn from each other’s successes!