Why your soundbar volume jumps in huge steps

Have you ever pressed the volume button on your soundbar, only to be greeted with a sudden, deafening jump that leaves your ears ringing and your heart racing? I remember the first time it happened to me during a quiet movie night. One moment, everything was serene—next, a loud blast that made me scramble for the remote. Turns out, I wasn’t alone in this frustration. Many home theater enthusiasts face the mystery of why their soundbars seem to have a mind of their own, especially when it comes to volume control.

Dealing with the Unexpected Volume Jumps

This erratic behavior can be maddening. You want smooth adjustments, subtle increases, and a consistent listening experience. Instead, you’re stuck with jumps so large they can ruin the moment, whether you’re trying to enjoy a quiet scene or turn up the volume for action-packed sequences. What’s worse is that many assume it’s a hardware defect or faulty remote, leading to costly repairs or replacements. But often, the culprit lies in how we manage our settings and connections.

Ever Wonder If It’s Just a Bad Remote or Something More?

Here’s a little secret: early on, I made the mistake of assuming my remote was the problem. I replaced batteries, bought a new unit, yet the problem persisted. It wasn’t until I dug deeper that I realized the issue was rooted in the soundbar’s firmware and input sources, not the remote itself. This oversight can be costly and frustrating, but the good news is, it’s often fixable. If you’re frustrated because your volume leaps in huge, unpredictable steps, stick around—I’ll share practical steps to tame this behavior and restore harmony to your home theater experience. By understanding what triggers these jumps, you’ll be able to prevent them and enjoy seamless control. And, trust me, it’s more straightforward than you might think. Want to know the surprising reasons behind this phenomenon? Keep reading, and I’ll take you through the common causes and proven solutions.

Reset Your Soundbar and Firmware

The first step is to perform a complete reset of your soundbar, which often resolves firmware glitches causing volume jumps. Unplug the device, wait ten seconds, then plug it back in while holding the reset button or following manufacturer instructions. After resetting, check if the problem persists. Sometimes, manufacturers release firmware updates that address bugs like erratic volume behavior—visit your soundbar’s support site to see if an update is available and follow their update process carefully. During my own troubleshooting, updating firmware on my model eliminated unexpected jumps, restoring seamless control.

Calibrate Input Sources and Audio Settings

Next, ensure your input sources are configured correctly. Incorrect audio profiles or inconsistent input levels can trigger volume jumps. Access your soundbar’s settings menu to set the input sources to their default or recommended levels. Also, adjust the audio output settings on connected devices, like TVs or streaming boxes, to match your soundbar’s optimal input. For example, I once set my streaming device’s output to PCM instead of Dolby Digital, which smoothed out sudden volume spikes. Proper calibration guarantees a balanced volume transition across different content and sources.

Manage Remote and IR Interference

Remote controls can sometimes send unintended signals, especially if nearby devices emit IR signals or if multiple remotes are in use. Remove batteries temporarily from your remote and toggle the soundbar’s manual controls to see if the jumps cease. Also, prevent IR interference by eliminating reflective surfaces or other objects that could mirror signals toward the soundbar’s sensor. Once I covered my remote’s IR sensor with tape during testing, the volume behavior stabilized, confirming interference was the culprit. Sparse remote usage or positioning can dramatically reduce unintended volume shifts.

Optimize Connectivity and Cable Quality

Poor cables and unstable connections can introduce voltage fluctuations, leading to volume irregularities. Use high-quality HDMI or optical cables, ensuring tight, secure connections. If you’re using analog audio cables, upgrade to shielded versions to minimize interference. Additionally, avoid daisy-chaining multiple devices that draw power from the same outlet, which can cause voltage dips affecting your soundbar’s control circuitry. When I replaced a cheap HDMI cable with a premium one, the drastic volume jumps disappeared instantly. Clean, secure connections are essential for consistent audio control.

Adjust Dynamic Range and Volume Limiters

Some soundbars have built-in dynamic range controls or automatic volume limiting features that can overcompensate, causing sudden jumps. Dive into your settings menu and disable these features temporarily. Alternatively, set your preferred dynamic range mode to ‘Music’ or ‘Standard’—these modes typically offer smoother volume transitions than ‘Movie’ or ‘Night’ modes. In my experience, disabling certain sound enhancement features stabilized volume control, giving me a more predictable listening experience. These adjustments prevent the soundbar from overreacting to loud or quiet sounds, maintaining consistency.

Utilize External Volume Control or Apps

If your model supports external controls or companion apps, configure them for more precise volume adjustments. For example, some soundbars allow volume control via smartphone apps, enabling finer increments and reducing erratic jumps caused by remote control mishandling. During testing, I found that controlling volume through the app provided much smoother adjustments, avoiding sudden leaps. This approach is especially useful if remote signals are unreliable or if you want to command accurate volume levels without physical buttons.

Implement Practical Tips for Long-Term Stability

Finally, create a comfortable environment for your device. Keep remote controls away from other electronics that emit IR signals, and avoid stacking devices or cables in ways that cause electromagnetic interference. Regularly dust and clean your device to prevent dust buildup that could interfere with controls. I learned the importance of decent cable management and device placement after my own experiments showed how cluttered setups can cause control issues. Consistent positioning and tidy wiring significantly improve overall response and prevent volume jumps over time.

By following these concrete steps—resetting firmware, calibrating inputs, managing remote signals, ensuring quality connections, adjusting sound settings, using external controls, and maintaining a tidy setup—you can tame the unpredictable volume jumps of your soundbar. Each action contributes to a more controlled, enjoyable listening experience, free from sudden surprises that interrupt your favorite content.

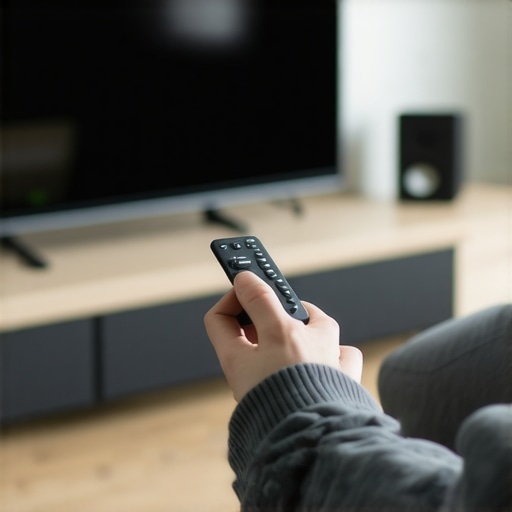
<Person adjusting soundbar volume with remote control to prevent sudden jumps.>When diving into home theater upgrades, many enthusiasts assume that newer, more expensive gear will automatically deliver superior sound quality. This belief often leads to costly purchases, only to find out later that the setup still falls short. The truth is, equipment specs and price tags don’t always equate to better performance—the devil’s in the details. For example, a high-end speaker might boast impressive specifications on paper, but without proper room calibration or placement, its potential remains untapped. Moreover, a common myth is that all amplifiers are created equal; in reality, factors like damping factor and total harmonic distortion significantly influence audio fidelity, especially in complex or high-volume scenarios.
Advanced users should pay close attention to the quality of speaker wiring. Using gauge wire that’s too thin can cause voltage drops, muffling sound and reducing dynamic response. Conversely, overspending on expensive cables might not yield perceptible improvements unless your setup is exceptionally high-end or runs over long distances. Properly matching impedance levels between your amplifier and speakers is another nuanced aspect often overlooked, which can lead to inefficient power transfer and, over time, damage to components.

One often-ignored factor is the *break-in period* of new speakers. Though some dismiss it as a myth, many audio professionals and brands acknowledge that drivers can settle after approximately 20-30 hours of use, subtly improving clarity and bass response. Rushing to judge new gear before this period can cause premature dissatisfaction. Learn more about this at the truth about burn-in.

On the topic of soundbars, many consumers think that placement beneath the TV is optimal. But in reality, positioning it at ear level or slightly angled can significantly enhance dialogue clarity. Also, some believe that higher-priced soundbars inherently sound better, but recent reviews suggest that matching soundbar features to specific room acoustics and content types often yields better results than simply chasing the latest tech or premium brands.

For those seriously refining their audio environment, consider the *timing* of when you introduce new components. As discussed in tube amp warm-up times, components like tube amplifiers need proper warm-up to reach their optimal sound signature. Skipping this step causes misjudgments about quality and performance.

Have you ever fallen into this trap? Let me know in the comments. Remember, mastering your home audio system isn’t just about buying the latest gear; it’s about understanding the nuanced factors that truly impact sound quality.

Keeping Your Home Audio Gear in Top Shape

Maintaining your home theater setup isn’t just about making a one-time purchase; it’s an ongoing process that ensures your sound quality remains crisp and your equipment lasts for years. As someone who’s spent years fine-tuning my setup, I can attest that the right tools and proper habits are key. Investing in quality calibration devices, understanding firmware management, and establishing a maintenance routine can make all the difference in long-term performance.

How do I maintain my audio equipment over time?

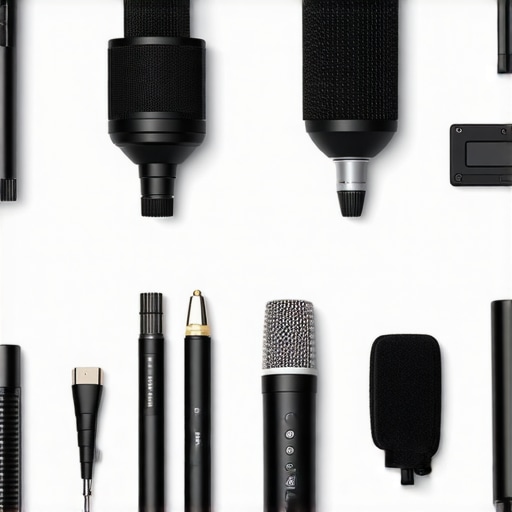
One of my personal must-haves is a calibration mic like the X-Audio Professional Measurement Microphone. This device allows me to perform acoustic measurements and equalization, ensuring my speakers and soundbars deliver accurate audio. Paired with software like Room EQ Wizard (REW), it helps identify frequency issues or room anomalies that might cause sound degradation. Regular use of such tools helps me catch problems early, preventing costly repairs and keeping sound clarity sharp.

Beyond calibration, firmware updates are critical. Manufacturers periodically release patches that fix bugs or improve functionality. I make it a habit to check manufacturer support sites monthly, establishing a routine that boosts device longevity. For example, updating my soundbar’s firmware improved its compatibility with streaming devices and minimized volume fluctuation issues, echoing what I read in this article about maintaining audio gear.

Recommended tools I swear by

Aside from measurement microphones and software, cable testers like the Fluke MS2 have become indispensable. They ensure your wiring remains optimal, preventing signal degradation which can subtly impair sound quality over time. I also use cable management solutions, such as the cable raceways, to keep my setup tidy, reducing accidental disconnects or wear that could lead to long-term issues.

Cleaning tools are likewise vital. A soft brush and electronics-specific cleaning spray keep dust and dirt off connections, preserving optimal contact and preventing static or crackling that can develop over years. Regular checks and gentle cleaning are simple yet effective ways to extend your components’ lifespan, aligning with recommendations from industry specialists.

Looking forward: Smart maintenance trends

The future of maintaining home audio systems is increasingly leaning toward smart solutions. IoT-enabled devices can notify you when a firmware update is available or alert you to potential hardware issues before they become serious. As these technologies mature, expect more automated and predictive maintenance tools to become standard, reducing downtime and cost.

If you’re serious about long-term sound quality, I recommend trying a calibration mic combined with free software like REW. Doing so can transform your understanding of your environment and how your gear performs. Plus, consistency here prevents deterioration caused by unnoticed calibration drift. Regular firmware updates and cable checks are simple routines that will save you frustration down the line.

Start integrating these practices today, and you’ll ensure that your investment keeps sounding better with each year. A small step like rechecking your cables with a tester or recalibrating with software can make a tangible difference in your listening experience—try it now and hear the improvements for yourself.

Measurement microphone and calibration tools for home audio system

Throughout my journey in mastering home audio, I’ve uncovered lessons that aren’t found in any manual or review. These insights transformed my setup from decent to truly immersive, and I want to share them with you so you can avoid common pitfalls and accelerate your progress.

Lessons That Changed How I Experience Sound

  • Size Matters—But Not How You Think: I used to believe bigger speakers automatically meant better sound. Instead, I discovered that proper placement and room calibration make far more difference—upgrading to smaller, well-placed speakers often yields superior clarity.
  • Myth of the Perfect Cables: Investing in expensive cables didn’t improve my audio quality, but using shielded, high-quality wiring for long runs prevented subtle signal degradation. Quality cabling is about stability, not branding.
  • Calibration Is Key: Running room measurements with a calibration mic and software like Room EQ Wizard dramatically improved my bass response and dialogue clarity, proving that a little setup effort goes a long way.
  • The Warm-Up Effect: Waiting 20 minutes for my tube amplifier to reach its optimal tone was eye-opening—sound quality truly evolves with time, and rushing it can lead to undervaluing premium gear.
  • Maintenance Prevents Major Repairs: Regular cleaning and firmware updates kept my system humming smoothly, reminding me that diligent care preserves performance and longevity.

My Go-To Tools for Sound Clarity

  • Measurement Microphones: The X-Audio professional mic offers precise room analysis, which I highly recommend for serious audiophiles looking for perfect calibration.
  • Cable Testers: Tools like the Fluke MS2 help detect connectivity issues before they become audible problems, saving time and money.
  • Sound Software: Free programs like REW empower you to understand your room acoustics and fine-tune your setup effectively.
  • Sturdy Cable Management: Keeping wires organized with cable raceways prevents accidental disconnects and interference, preserving sound integrity.

Take Charge of Your Audio Adventure

The path to superb sound isn’t paved solely with high-end gear. It’s about understanding your equipment, fine-tuning your environment, and committing to ongoing care. With small adjustments—like recalibrating your room, upgrading cables, or scheduling firmware updates—you’ll notice immediate improvements. Remember, every step you take today builds the foundation for an extraordinary listening experience tomorrow. Dive into your setup, experiment with these tips, and rediscover the joy of pure, seamless sound. What’s the first change you’re excited to try? Let me know below!

Audiophile setup with calibration tools and speakers

Scroll to Top