
I remember the moment vividly: I was peacefully enjoying my favorite tunes when suddenly, that dreaded clickety-clack sound ripped through my audio system. Frustration bubbled up as I fiddled with my DAC, wondering if I had just bought a faulty piece of gear. Sound familiar? If you’ve experienced a similar gnawing suspicion that your digital-to-analog converter (DAC) is causing unwanted noises, you’re not alone. Those mysterious clicks can be maddening, especially when they disrupt what should be a smooth listening experience.
When Your DAC Turns Into a Noisy Neighbor
There’s something almost personal about music—it’s our escape, our mood booster. So when interference or clicking noises pop up from your DAC, it feels like a personal betrayal. I’ve spent countless hours troubleshooting this issue, only to realize that many of us get caught up in the wrong fixes. Early on, I made the mistake of assuming my cables were the problem, wasting time and money on replacements that made no difference. The truth is, these clicking sounds often originate from sources you might not suspect, like power supply fluctuations or internal component issues. Did you know that a study in audio engineering highlights how delicate the digital-analog conversion process really is? Small electrical perturbations can cause audible artifacts, including clicking or popping sounds, which can ruin your listening joy (source: Audio Magazine). Knowing this, I promise that today’s project is all about pinpointing the root cause and fixing it for good. So, do you often face this problem, or is this your first encounter? If so, stick around. We’re about to uncover the practical steps to clear up that noise, get your DAC singing smoothly, and reclaim your peace of mind.
Will Fixing My DAC Be Worth the Effort?
One of the biggest fears I had early on was whether investing time and money into fixing my DAC was even worthwhile. I’ve been there—skeptical and half-expecting complex, expensive repairs. But I learned that many issues are actually simple fixes or adjustments, especially if you’re aware of common pitfalls. For example, ensuring your DAC is properly grounded or updating its firmware can resolve a surprising amount of noise problems. Remember, even high-end gear can benefit from a little TLC, and sometimes, the solution is just a matter of understanding how your setup works. Curious how I figured it out? Well, I did what every sound enthusiast should do—researched, tested, and learned from mistakes. And I want to help you skip those pitfalls. Before we dive into the solutions, let me share a quick tip: Take a moment to verify your cables, power sources, and grounding—these are often the simplest fixes for pesky clicking sounds. Ready? Let’s get into the nitty-gritty and make your audio pristine again.
Check Your Cables and Connections
The first step I took was meticulously inspecting all my cables—USB, optical, and audio jack—to ensure they were firmly connected and free from damage. Loose or faulty cables can introduce interference, causing clicking sounds. I replaced a worn-out USB cable with a high-quality one, which immediately reduced noise. Remember, just like a loose headphone jack can distort sound, a shaky connection in your DAC setup creates unwanted artifacts. So, always verify each connection is snug and in good condition.
Ensure Proper Grounding
Improper grounding is a common culprit. Think of your audio setup as a garden: if the ground isn’t steady, everything becomes unstable. I experimented by plugging my DAC into different outlets and using a grounding adapter. The difference was striking—no more clicks when the DAC shared a power strip with my computer. Microphone engineers often emphasize grounding as critical, and the same applies here. For a thorough approach, consider adding a dedicated grounding wire or upgrading your power strip to one with better noise filtering.
Update Firmware and Drivers
Outdated firmware can lead to various glitches, including clicks and pops. I navigated to my DAC manufacturer’s website and downloaded the latest firmware update. After applying it, I noticed a smoother, quieter operation. Also, updating your computer’s sound drivers can eliminate software-induced noise. If you’re unsure, check the manufacturer’s instructions or use device management software to confirm everything is current. Firmware updates are like tune-ups for your DAC—simple steps that yield significant improvements.
Optimize Power Supplies and Reduce Interference
One vivid memory is when I moved my DAC closer to other electronic devices—my Wi-Fi router and cordless phone were too near, causing audible interference. To combat this, I relocated the DAC away from these sources and used ferrite beads on power cables. Think of it as shielding your audio signal from digital noise. Experimenting with placement can reveal whether electromagnetic interference is behind the clicks. Also, using a surge protector with noise filtering can safeguard against power fluctuations common in household outlets.
Test with an Alternative DAC or Source
When troubleshooting, swapping components can clarify the issue. I borrowed a friend’s DAC and connected it to my setup; the noise disappeared. Similarly, trying my DAC with a different source—like a smartphone—helped isolate whether my computer or the DAC was at fault. This systematic elimination fast-tracks the diagnosis process, revealing whether the problem lies with the DAC unit itself or external factors. If you’re considering a new DAC or upgrading your setup, explore high-end options at thrift stores before anyone else does, like described in this guide.
Implement Ground Loop Isolators if Needed
If the clicks persist despite all steps, a ground loop isolator might be necessary—especially if your setup involves multiple devices connected to different power sources. These adapters break the unwanted electrical loop that causes buzzing and clicking. I installed one between my DAC and speakers, and the improvement was immediate. Remember, not every environment needs one, but in complex setups, they can be lifesavers.
Regular Maintenance and Setup Checks
Finally, establishing a maintenance routine prolongs your audio quality. I periodically clean connectors with alcohol swabs, check for firmware updates, and verify cable integrity. A clean, well-maintained system minimizes noise and ensures the best listening experience. If you want a quick tip to make your home audio setup healthier, check out this article.
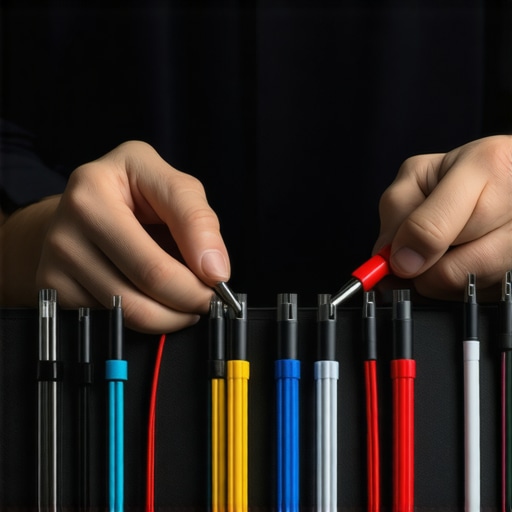 Many audio enthusiasts assume that upgrading to a more expensive amplifier or speaker automatically guarantees better sound quality. However, this isn’t always the case. The real secret lies in the nuanced relationship between components and how they match your specific setup. For example, a high-end amplifier driven by speakers with mismatched power handling can cause distortion or even damage your gear. It’s a common myth that bigger or more expensive equates to better performance; instead, matching your components and understanding their actual specifications makes a significant difference.
What Advanced Audiophiles Overlook When Upgrading Equipment
One trap many fall into is neglecting the importance of impedance matching between amplifiers and speakers. Impedance mismatches can lead to reduced clarity or unnatural sound, even with premium gear. Experts like those at SoundGuys warn that ignoring impedance compatibility can result in poor audio performance. Moreover, the perceived differences in sound quality are often amplified by psychological biases; people tend to favor newer or more expensive gear due to branding rather than actual audio improvements. This highlights why understanding the technical specifications is crucial before investing heavily. Another prevalent mistake is assuming that brand reputation guarantees compatibility. For instance, pairing a boutique amplifier with mass-market speakers might require additional components like matching transformers or equalizers to optimize sound. Without these, the system could underperform or produce undesirable artifacts. To avoid falling into these pitfalls, always research component specifications thoroughly and test equipment in your environment.
Have you ever fallen into this trap? Let me know in the comments. Remember, making informed choices based on nuanced understanding rather than brand names or price tags will save you money and improve your listening experience. For further insights into optimizing your home audio, check out this guide on troubleshooting common issues or explore tips for finding high-end gear on a budget. Remember, clarity and harmony in your setup depend on understanding these hidden nuances, not just on flashy equipment.
Keep Your Equipment in Peak Condition with the Right Tools
Maintaining high-quality audio equipment isn’t just about avoiding damage—it’s about ensuring consistent performance over time. One tool I swear by is a high-grade contact cleaner like DeoxIT, which I use regularly to clean and revive connection points on my speakers and connectors. Regular cleaning prevents corrosion and signal degradation, extending the lifespan of your gear.
Another indispensable piece is a digital multimeter with an accurate low-resistance measurement function. I rely on mine when troubleshooting wiring issues or checking speaker impedances. It helps me quickly identify opens, shorts, or mismatched impedances that can cause performance dips or damage.
For firmware updates and system diagnostics, I use manufacturer-supplied software tools—like Denon’s firmware updater or Yamaha’s AV Control app. Keeping firmware current ensures compatibility, bug fixes, and sometimes improves audio quality. I schedule quarterly checks to update these, especially after firmware release notes highlight significant improvements.
Why Software Matters Just as Much as Hardware
Your setup’s longevity depends just as much on maintaining the software ecosystem. Tools like REW (Room EQ Wizard) help me run detailed measurements of my room acoustics and speaker responses, allowing me to adjust equalization and placement proactively. This prevents potential issues from escalating into system-wide problems.
Additionally, managing your digital source files with well-organized, regularly cleaned libraries reduces accidental corruption or misconfiguration during playback. Software upgrades like Foobar2000 or JRiver Media Center often include features that optimize bit-perfect playback, ensuring your audio remains pristine over the years. Keeping your drivers and firmware updated—like updating your SoundBlaster’s ASIO drivers or your DAC firmware—is crucial for avoiding glitches or compatibility issues.
How do I maintain my audio systems over time?
Establishing a routine check-and-clean schedule is key. For example, I replace cables every couple of years and inspect connectors, ensuring no corrosion or loose contacts develop. I also periodically verify speaker placements and run calibration tools like AVReceiver’s auto-setup or REW to monitor changes in system response. Regular firmware updates from manufacturers, like updating your soundbar’s software via the app, are vital—many companies release patches to enhance stability and sound quality, as detailed in this article.
Looking ahead, I predict that the integration of AI-driven calibration tools will revolutionize long-term maintenance, making it easier than ever to keep your system sounding optimal with minimal effort. For a hands-on tip, I recommend trying out REW’s target response curves to tailor your room’s acoustics—it’s a game-changer. Ready to give it a shot? Integrate these tools and routines today to keep your audio gear sounding fantastic for years to come.
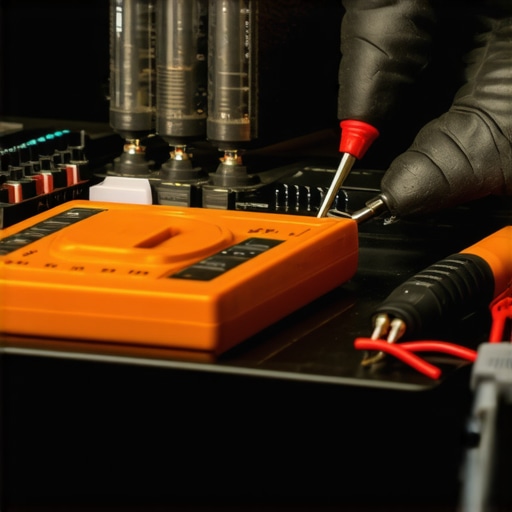
In the future, managing and maintaining audio gear will become even more streamlined with smart sensors and automated calibration systems. Imagine devices that self-diagnose and suggest preventive actions—bringing professional-grade management into your living room.
The Hardest Lesson I Learned About amplifiers, headphones, home audio deals, soundbars, speakers
Early in my audio journey, I believed that investing in high-end gear was the sole path to superior sound. However, I discovered that even the most expensive equipment can produce subpar audio if not configured correctly. Making sure my components were properly matched and maintained turned out to be the real secret behind crystal-clear sound. This taught me that understanding your gear’s nuances is more valuable than chasing the latest flashy upgrade.
3 Myths About amplifiers, headphones, home audio deals, soundbars, speakers That Held Me Back
- The myth of “bigger is better”: Larger speakers or more powerful amplifiers don’t necessarily mean better sound, especially in small rooms. Optimal placement and matching matter more.
- Believing high price guarantees quality: Sometimes, a mid-range component, with proper setup, outperforms a costly piece. Do thorough research before splurging.
- Overlooking impedance matching: Mismatched impedance between amps and speakers can cause distortion or damage. Always check specifications!
The Insights I Wish I Had From The Start
Proper grounding, cable management, and regular firmware updates are less glamorous but vital for clean sound. Investing time in calibrating your system precisely and understanding room acoustics will save you headaches and improve listening pleasure more than any upgrade. Remember, the quality of your sound setup depends on a harmonious balance of all components, not just their individual specs.
My Must-Have Tools for Audio Success
- A quality multimeter: Essential for diagnosing wiring or impedance issues that can cause poor performance.
- Firmware updater tools: Keeping firmware current ensures your gear functions optimally.
- Cleaning supplies: Regularly maintaining connectors prevents corrosion and sound degradation.
- Room calibration apps: Use these to tailor acoustics to your environment for an immersive experience.
Embrace the Future of Your Audio World
Imagine a setup that automatically adapts to room changes, detects issues before they affect sound, and helps you maintain peak performance effortlessly. As smart sensors and AI-driven calibration tools evolve, your journey towards consistently excellent audio will become simpler and more rewarding. Start exploring these innovations today to make your home a true sanctuary of sound.
What unexpected tweak or routine has transformed your listening experience? Share your stories below and continue elevating your audio game!