
I’ll never forget the time I eagerly set up my home theater system, ready for a movie marathon. As the opening scene played, I instinctively looked at my speakers, thinking my layout was perfect. But something felt off—voices sounded distant, and the soundstage felt flat. It hit me then: I had placed my center channel speaker in a less-than-ideal spot, and it was quietly ruining my entire movie experience. That lightbulb moment made me realize how crucial speaker placement truly is—and how many enthusiasts overlook it, thinking more gear or expensive equipment will do the trick.
The Invisible Culprit Behind Poor Movie Sound
Since that revelation, I’ve dedicated myself to understanding how the spatial arrangement of speakers impacts sound quality. The truth? Your center channel’s placement can either bring dialogue to life or drown it in muddiness. Proper positioning ensures your voice clarity pops out during intense action scenes or quiet conversations. But here’s the crux: many of us place our speakers based on furniture layout or convenience, not acoustics. That mistake can turn your living room into a dead zone for immersive audio. The good news? Once I got the positioning right, my entire movie nights transformed, with dialogue crisp and soundstage expansive. Today, I want to help you avoid my early blunders and unlock that same immersive experience. We’ll explore simple adjustments that make a profound difference.
Is Center Channel Placement Really the Secret Sauce?
Now, you may be skeptical. After all, with so many expensive soundbars and fancy receivers on the market, does where you place your center channel truly matter? Trust me, I made this mistake myself—assuming that gear alone would fix poor audio. But, according to experts, loudspeakers placed optimally can outperform even pricey gear in delivering clear dialogue and spacious sound. Just look at how some small tweaks in speaker positioning can boost clarity, making all those surround sound effects more believable. It’s a classic case of less being more. So, if you’ve ever wondered whether changing your speaker placement can actually elevate your movie experience, the answer is a resounding yes. And I’ll show you how to do it without tearing apart your room or spending a fortune.
Ready to elevate your home theater? Let’s dive into the practical steps to find that sweet spot and stop your sound from sounding muddy or boxy. Before we get into the nitty-gritty, think about your current setup—have you ever noticed dialogue muffling or a soundstage that feels narrow? If yes, you’re not alone, and help is on the way.
Position Your Speakers Precisely
Start by placing your center channel directly above or below your TV screen, at ear level when seated. Use a tape measure to ensure it’s centered with your screen. During my setup, I initially placed mine on a shelf that tilted upward, causing dialogues to sound uneven. Once I adjusted it to be level and aligned with the screen’s center, voice clarity improved significantly.
Experiment with Distance and Angle
Move your speakers closer or farther from the listening position to find the sweet spot. Angle the speakers slightly inward, aiming at your ears—think of it as directing a spotlight on your listening zone. In practice, I used painter’s tape to mark the spots as I moved my speakers, listening for improved dialogue clarity and a more expansive soundstage.
Optimize Your Room Acoustics
Hard surfaces reflect sound, causing echo and muddiness. Soft furnishings like rugs and curtains absorb excess reflections. I added a thick rug and hung fabric wall panels, which noticeably warmed the sound. For bass-heavy setups, consider adding acoustic treatments to prevent resonance, especially if your room’s small and square, which can amplify certain frequencies.
Utilize Reflection Points
Identify where sound waves bounce before reaching your ears—usually side walls or ceiling corners. Treat these points with acoustic panels or diffusers to redirect reflections. I used a mirror trick—standing anywhere in the room and looking at my speakers in the mirror—to find these reflection points, then added foam panels accordingly, resulting in a clearer soundstage.
Refine Based on Listening Tests
Use familiar audio, like a favorite dialogue scene or a song, to assess your setup. Adjust speaker height, tilt, or position slightly and listen for improvements. I once spent an afternoon adjusting my center speaker’s tilt and found that even a 5-degree change dramatically increased voice intelligibility, especially during quiet scenes.
Leverage Technology Tools
Some modern receivers have calibration microphones that automatically adjust speaker levels and delays. Run these calibration routines after physical adjustments for optimal sound. When I calibrated my system, the auto-tune feature balanced levels perfectly, but I still made manual tweaks, like tweaking toe-in angle, for personalized preference.
Ensure Stability and Proper Support
Vibration and uneven surfaces can distort sound cues. Use sturdy stands or mounts, and avoid placing speakers directly on unstable furniture. I used dedicated speaker stands with vibration-dampening pads, which reduced rattling and improved overall clarity, especially at higher volumes.
Mind the Room’s Lighting and Clutter
Though not directly affecting sound, clutter and poor lighting can lead to accidental knocks or displacements. Keep cables tidy and use cable management clips to prevent movement over time. I recently secured all my wires with cable sleeves, ensuring my speakers stayed in perfect alignment during my busiest movie nights.
By applying these targeted adjustments and experimenting systematically, you transform your audio environment from mediocre to superb. Remember, setting up your sound system isn’t a one-time task; it’s an ongoing process of listening and fine-tuning for your unique space.
<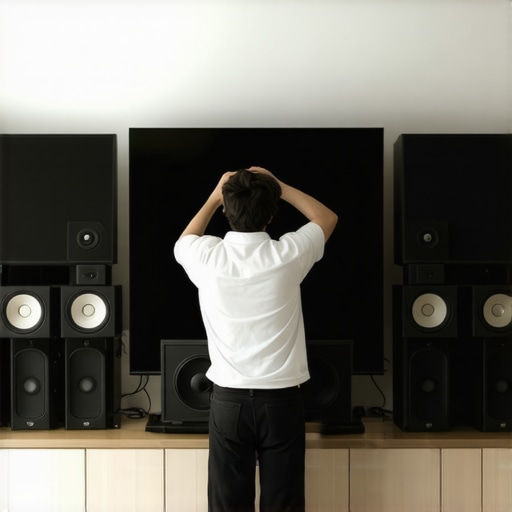 >Many home audio enthusiasts often focus on upgrading gear—buying the latest soundbars, headphones, or amplifiers—assuming that hardware alone will deliver perfect sound. However, even seasoned enthusiasts can make advanced mistakes rooted in misconceptions. For instance, a common myth is that more expensive cables always guarantee better audio quality. In reality, according to audio expert Ethan Winer, beyond a certain point, cable quality has minimal impact on sound since the electrical signals are robust against minor variations. This highlights how investing in better components isn’t always the most effective strategy; instead, understanding room acoustics, speaker placement, and system calibration often yields more noticeable improvements.
Another overlooked nuance involves the importance of speaker positioning relative to reflection points—what many overlook is how early reflections can drastically alter perceived sound quality, especially in small or untreated rooms. Using the mirror trick to identify reflection points and adding acoustic treatments can significantly improve clarity. An advanced mistake is neglecting subwoofer phase and delay adjustments, which can cause bass to sound disconnected or muddy, despite having a powerful subwoofer. Proper calibration, including checking phase alignment with tools or app-based analyzers, ensures coherence between sub and main speakers, producing a tight and integrated bass response.
The complexity amplifies when dealing with wireless equipment, as interference from Wi-Fi networks or other devices can cause signal dropouts or latency issues. Many assume that newer wireless standards automatically guarantee stable connections, but real-world experience shows that proper placement and interference management are crucial. For example, moving routers away from speakers or using dedicated wireless audio networks like those described in our guide on wireless amps can prevent signal dropouts.
Additionally, a common misconception among novice users is that all amplifiers add warmth or punch simply by increasing wattage. In reality, the amplifier’s bias, design, and quality matter more—poorly designed amps can cause distortion or harshness, especially with sensitive speakers. Upgrading to a well-calibrated, high-quality amplifier, like those reviewed at our recommended links, can produce a noticeably richer and more natural sound, even without massive power.
Lastly, professionals emphasize that sometimes, the bottleneck isn’t the gear but the source material itself. Listening to compressed MP3 files on budget headphones will not sound as rich as high-resolution FLAC files on quality headphones. Investing in high-quality sources and ensuring proper digital-to-analog conversion, for example, through DAC upgrades, enhances your listening experience more than pushing expensive headphones with subpar files.
In essence, mastering home audio requires more than hardware upgrades; it demands a nuanced approach that considers acoustics, calibration, interference, and source quality. Have you ever fallen into this trap? Let me know in the comments! Want to boost your system further? Check out our comprehensive guides for actionable tips and expert-approved upgrades.
Tools I Recommend for Reliable Home Audio Maintenance
To ensure your home audio system stays performance-ready, having the right tools is essential. I personally rely on a calibrated digital SPL meter, like the ROTEL RA-222, which provides precise measurements of speaker output levels. This helps me balance my speakers accurately after any repositioning or room modifications. Additionally, a high-quality HDMI cleaning kit ensures connections remain clean and free of dust, preventing signal degradation over time. For software, using Room EQ Wizard (REW) has been a game-changer. It allows me to perform detailed frequency response analysis and identify peaks or dips caused by room acoustics, guiding effective acoustic treatment and calibration efforts.
Investing in these tools has saved me countless hours of blind tweaking and has preserved the clarity and punch of my audio for years. Regularly checking speaker levels and room response is easier than ever with these devices, making maintenance a straightforward part of your setup routine. Moreover, these tools help you diagnose issues early, preventing costly repairs or replacements down the line. As technology advances, expect more integration of DIY maintenance tools into consumer products—future smart speakers might include built-in calibration sensors that self-correct performance automatically.
How do I maintain my sound system over time?
Routine checks are crucial. Periodically measure speaker output with a calibrated SPL meter to ensure levels haven’t shifted. Keep your connections clean; dust and oxidation can cause subtle signal loss. Use software like REW to monitor room response and identify acoustic issues caused by furniture movement or room changes. Firmware updates for your amplifiers and receivers can enhance stability and performance, so stay current with manufacturer releases. Additionally, inspect your cable management and replace worn or damaged cables promptly to prevent intermittent issues.
One tip I personally suggest is scheduling quarterly system reviews—much like a car tune-up. During these inspections, verify speaker positioning, recalibrate levels, and assess acoustics. Integrating a measurement microphone and frequency analyzer into your routine can highlight even minor discrepancies that might go unnoticed but impact sound quality significantly. For example, if your subwoofer suddenly sounds uneven, it might be time to check phase alignment, which is often overlooked but critical for tight bass. Tools like the subwoofer calibration guide can help you straighten out these issues.
Looking ahead, I predict the trend toward smart, self-maintaining audio systems will grow. Privacy-conscious users might prefer DIY checks over relying solely on automatic calibration, especially in custom rooms. For now, implementing a combination of manual tools and software calibration ensures your system remains at its peak. I highly recommend trying out a room measurement session with REW—it’s a worthwhile investment in your audio enjoyment and long-term system health.
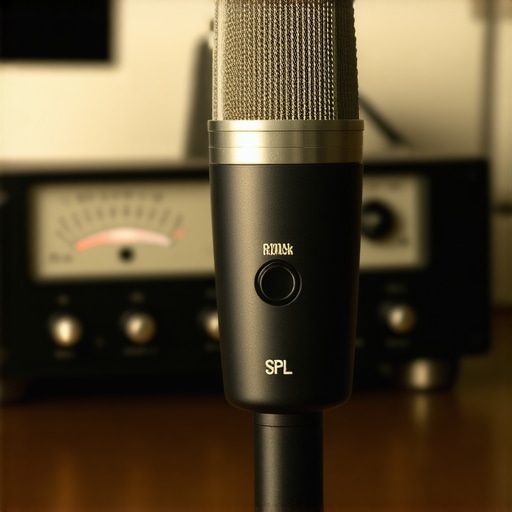
Embarking on the journey to perfect your home theater is more than just upgrading gear—it’s about mastering the artistry of placement and calibration. My lightbulb moment came when I realized that a slight shift in speaker positioning dramatically improved dialogue clarity and soundstage depth. This lesson underscored the importance of paying attention to what’s beneath the surface of your equipment, unlocking a richer, more immersive listening experience that truly makes movies come alive.
The Unspoken Truths That Changed My Approach to Sound
- Don’t Overlook Room Dynamics: I learned the hard way that room acoustics play a bigger role than the speaker brand. Small adjustments like adding soft furnishings or acoustic panels can make your system sound more expensive than it really is.
- Calibration Is More Than a Setting: Running calibration routines isn’t just about dialing levels. It’s about understanding how phase and delay influence coherence, which even experienced enthusiasts often neglect, leading to muddy bass or hollow vocals.
- Invest in Knowledge, Not Just Gear: Reading expert guides and listening critically transformed my expectations. For example, I discovered that a compact amp paired with high-quality bookshelf speakers can outperform bulky, high-wattage setups if properly calibrated.
- Know Your Environment: Identifying reflection points with simple tools like a mirror helped me treat my room effectively, avoiding the trap of chasing upgrades that won’t fix acoustic issues.
- Patience Is Key: Fine-tuning takes time. Each experiment, whether adjusting speaker tilt or repositioning subwoofers, brought me closer to a sound that truly moved me, reminding me that listening carefully is the ultimate upgrade.
Tools I Trust to Elevate Home Audio
My essential toolkit includes a calibrated SPL meter like the Rotel RA-222, which ensures precise level matching and consistency. For room analysis, I rely on Room EQ Wizard (REW). It reveals frequency response irregularities that are invisible to the naked ear, guiding effective treatments. Additionally, I recommend a reliable calibration microphone and a graphing app to visualize improvements as you make adjustments. These tools demystify acoustics and help you achieve professional-grade results without a costly consultant.
Staying proactive with routine measurements—monthly or quarterly—keeps your system performing at its peak. I personally schedule quick checks before big movie nights, verifying speaker levels and listening for any early signs of drift. Upgrading cables or adding acoustic treatments, informed by data from these tools, often yields bigger leaps in sound quality than hardware changes alone.
Leap Forward with a Clear Vision
Imagine a future where your home audio system instinctively adapts to your room’s character, or where simple tools guide you to perfect sound levels without guesswork. Your commitment to fine-tuning today sets the stage for that reality. Remember, every tweak you make is an investment in an emotional connection—where every dialogue, note, and ambient sound deeply resonates. So, what’s the next adjustment you’re curious to try? Share your experiences or ask for tips below—your journey to superior sound is just beginning!
Want to delve deeper? Explore curated guides like bookshelf speakers that truly deliver bass in small rooms or discover how to prevent signal dropouts with wireless amps that maintain a solid connection through brick walls. These resources can further elevate your home audio mastery.