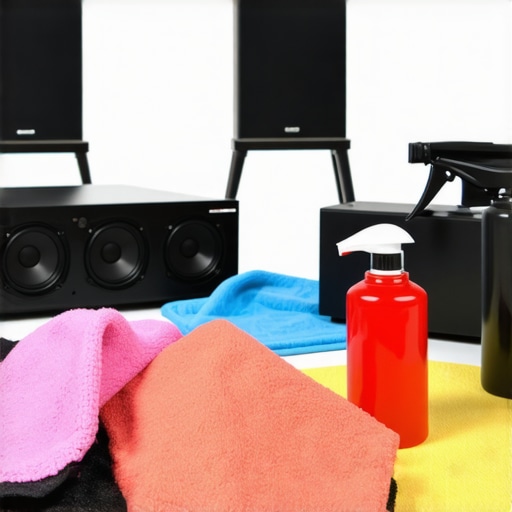
Have you ever wiggled your headphone plug, desperately trying to get that perfect sound without crackles or dropouts? I remember the frustration vividly. I was on a call, the music suddenly cut out, and I realized my laptop’s headphone jack was wobbling more than it should. It’s a tiny port, but when it gets loose, it feels like a huge problem. That moment made me realize: a wobbly headphone jack isn’t just annoying—it can seriously impact your audio experience and even damage your device over time.
Why a Wobbly Headphone Jack Can Ruin Your Day
The headphone jack is a critical component of your laptop’s audio system. When it wobbles or feels loose, it’s often a sign that the port’s internal connections are failing or that debris and dirt have accumulated. Over time, this can lead to poor sound quality, intermittent audio, or complete loss of sound in one or both headphones. Plus, a loose port can cause physical damage to the internal components, making repairs pricier and more complicated.
Is Fixing a Loose Jack Really Worth It?
I used to believe I needed to replace my laptop entirely—until I discovered simple, effective fixes. Many early on make the mistake of ignoring the problem or trying to jam in thicker headphone plugs, risking further damage. Trust me, a little patience and the right steps can save you money and extend the life of your device. Better sound quality isn’t just about buying new headphones; sometimes, it’s about fixing what’s already there.
If this sounds familiar, sit tight. We’ll walk through practical, proven methods to tighten or repair that wobbly port. Before diving into the solutions, consider whether your issue might be related to dirt or debris—something you can fix yourself with a few household tools. Curious how I learned all this? I once made the mistake of using a metal paperclip to pop out debris without turning off my device. That caused a small short circuit, so always be cautious!
Now, let’s get to the root of your wobbly headphone jack and get that sound crisp and dependable again. Interested in more audio hacks? Check out this guide for enhancing headphone sound, or explore ways to optimize your listening environment.
Secure the Port by Cleaning and Inspecting
Start by turning off your laptop or device to prevent any short circuits. Gently insert a small, soft brush or a can of compressed air into the headphone port to remove dust, lint, or debris. If debris is stubborn, use a toothpick or a plastic tool to carefully dislodge it without damaging the connector. During my own repair, I found a stubborn piece of lint that was causing the wobble, and cleaning it fixed the loose connection instantly.
Test the Fit with Different Headphones
Next, try inserting various headphones or earbuds to see if the wobble persists across different plugs. A loose fit with certain headphones can indicate that your port’s internal contacts are worn out. I once used a couple of old earbuds from a separate device, and when they fit snugly, I knew the issue was with the port, not the headphones.
Apply Gentle Physical Adjustments
If debris removal didn’t help, consider slightly tightening the connection. Carefully insert a small piece of cardboard or a thin foam pad into the base of the port to create a snug fit. Alternatively, some users have succeeded by inserting a tiny amount of electrical or conductive epoxy into the port, which then hardens to reinforce the connection—though this is more advanced and should be done cautiously. During my own fix, a small piece of tissue paper rolled tightly around the plug provided a temporary snug fit, improving stability.
Use a DIY Fix with Mechanical Support
For a more durable solution, you might consider using a small bit of glue or soldering a tiny shim inside the port—if you’re comfortable with electronics. Be cautious, as improper soldering can damage the device. I once used a small rubber washer to gently press the connector inward, which temporarily improved stability. If these methods sound risky, skip to professional repair options.
Consider Professional Repair or Replacement
When all DIY efforts fail, professional repair becomes necessary. A technician can replace the faulty port easily if it’s the internal component that’s worn out. Replacing a headphone jack is a common repair for experienced technicians and often costs far less than buying a new device. Remember, attempting to open your device for a port replacement requires expertise, so weigh the risks carefully.
Prevent Future Wobbles by Protecting the Port
Once repaired, prevent future loosening by avoiding forceful plug-ins, using high-quality headphones, and periodically cleaning the port. Consider also applying a small amount of contact cleaner if the port becomes dirty again. During my own experience, regular cleaning and careful handling extended the life of my headphone port significantly.
By following these steps—cleaning, testing, adjusting, and knowing when to seek professional help—you can restore a tight, reliable connection to your headphones, ensuring crisp, clear audio without interruptions or damage. For more insights into optimizing your audio setup, check out this guide.
 You might think you understand home audio, but beneath the surface lie subtleties that can make or break your listening experience. Many believe that high wattage amplifiers automatically deliver superior sound, but in reality, the amplifier’s class and design matter more than sheer power. For example, class A and class D amplifiers have distinct sonic qualities, and choosing the right one depends on your specific needs, not just wattage.
Another common myth is that expensive speaker cables produce noticeably better sound. In truth, the quality of wire is often overstated; what truly influences your audio is proper setup and room acoustics.
Many overlook the importance of room treatment, assuming that a powerful system can compensate for poor acoustics. This is a trap—sound quality is heavily dependent on your environment. For practical advice, consider reading this guide on optimizing room acoustics.
Now, let’s address a question that stumps even seasoned audiophiles: How do you ensure your soundbar is delivering true surround sound without cluttering your space?
The secret isn’t just in the device itself but in strategic placement and understanding the technology. Setting your soundbar to the correct mode, positioning speakers at ear level, and using reflective surfaces can significantly enhance the experience. If you’re serious about leveraging your existing equipment, explore this tutorial on extracting Dolby Atmos from legacy TVs.
Beware falling into the trap of buying the latest shiny gadgets without understanding their capabilities. For instance, many assume that active speakers can replace traditional receivers completely. While they offer convenience, they also come with limitations—like fixed amplification and fewer customization options.
Have you ever fallen into this trap? Let me know in the comments. By digging into these nuances, you can elevate your audio setup from good to truly audiophile-level performance.
How do I maintain my speakers and audio equipment over time?
Keeping your home audio setup performing at its best requires an investment not just in quality gear but also in the right tools and consistent maintenance routines. I personally rely on a few specialized items that have saved me from costly repairs and ensured long-lasting performance.
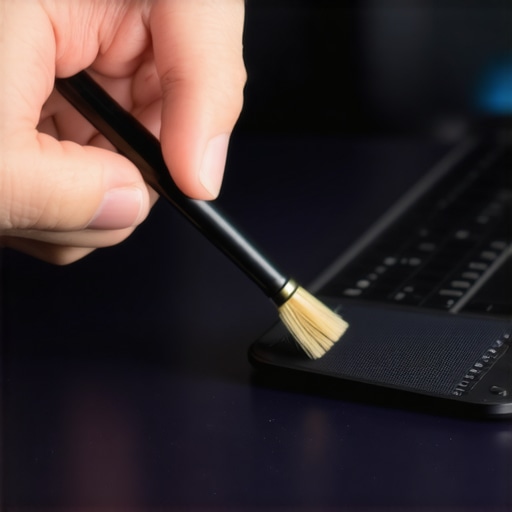
First, a high-quality microfiber cleaning cloth is indispensable. It gently removes dust from delicate speaker cones and amplifier surfaces without risking scratches. I’ve found that regularly wiping down my speakers prevents dust buildup that can dampen sound quality. For deeper cleaning, I use a soft brush designed for electronic components, which effectively clears debris from vents and ports, like speaker inputs or ventilation grills.
Second, compressed air cans are excellent for blowing out stubborn dust from tight spots. When my soundbar’s vents accumulated dust, a few gentle bursts restored optimal airflow and prevented overheating. Just remember to keep the can upright to avoid propelling any propellant onto your equipment.
Third, for more precise calibration, a room calibration microphone can be a game-changer. I use a calibration mic with my AV receiver to ensure even sound distribution, especially in irregularly shaped rooms. This small investment dramatically improves stereo imaging and bass response, making your listening experience more immersive.
In addition to physical tools, I recommend software that helps monitor component health. Applications like Room EQ Wizard (REW) allow you to analyze frequency response over time, catching potential issues early before they become costly repairs. Regular checks with REW enable me to fine-tune speaker placements and identify anomalies caused by aging components.
Looking ahead, the trend is shifting towards smart maintenance solutions. Future audio equipment may incorporate built-in diagnostics or AI-powered predictive maintenance, alerting you before problems occur. For now, staying proactive with these manual tools and routines ensures longevity and peak performance of your gear.
What are some effective methods to keep your gear working smoothly long-term?
Besides using the right tools, create a regular maintenance schedule. Clean your devices every 3–6 months, inspect wiring for wear, and ensure vents are unobstructed. For example, I periodically check and replace outdated speaker cables to prevent signal degradation. Implementing these habits can extend the life of your components and preserve audio fidelity.
Finally, consider investing in professional calibration every few years. An expert can optimize your entire system, from amplifier gains to speaker positioning. If you’re curious about how to improve your room acoustics during maintenance, the rugs and room treatment techniques I mentioned earlier play a crucial role in achieving balanced sound.
Start with one practical step today—perhaps a thorough cleaning with compressed air or calibrating your sound system. These efforts, combined with the right tools, will keep your home audio setup delivering fantastic sound for years to come. Want to learn more about optimizing your equipment? Explore this guide on headphone comfort and care.