
I remember the exact moment I realized my booming subwoofer was more of a neighborly nuisance than a bass boost. I was mid-party, arms in the air, feeling that thump in my chest when suddenly, a thin wall and a thin nerve between me and my neighbors became the invisible barrier of reality. The loud rattle wasn’t just annoying; it threatened my peace and their patience. That familiar, stomach-churning realization hit me—my beloved deep bass was causing a mini earthquake in someone else’s living room. At first, I thought it was just a matter of turning down the volume, but it wasn’t that simple. The rattling persisted, and my frustration grew. That was the lightbulb moment where I understood: I needed to take control of my bass and learn how to isolate my subwoofer effectively.
The Promise: Fixing Your Rattling Sub and Keeping the Peace
Today, I’ll share the practical steps I discovered through trial, error, and a lot of listening (and sometimes regretting). Whether you’re a die-hard audiophile or just someone who loves a good low-end thump without disturbing the neighborhood, this guide will help you identify common causes of unwanted vibrations and teach you how to dampen or isolate your subwoofer properly. No fancy tools or major renovation required—just some know-how and a little patience. Ready to enjoy rich, powerful bass without the fallout? Let’s dive into how you can keep your walls—and your neighbors—happy.
Skeptical About Subwoofer Isolation?
It’s understandable to doubt whether simple fixes can really make a difference. Early on, I made the mistake of thinking that cranking the volume higher or adding basic foam padding would solve the problem. Turns out, it’s a lot more nuanced. Proper placement and specific isolation methods drastically reduce vibrations—something even professional sound engineers swear by. If you’re not convinced, consider this: a study published by the Audio Engineering Society highlights how proper damping materials can improve sound clarity and minimize structural vibrations. Trust me, small tweaks can lead to big improvements, especially if you want to maintain good relations with your neighbors while enjoying concert-level bass at home.
So, if you’ve faced the frustrating rattle of your subwoofer and wondered whether it’s just a physics problem or something fixable, you’re in the right place. Let’s explore how to stop that bass from turning into a wall-shaking battle.
Assess Your Space and Subwoofer Placement
Start by examining where your subwoofer sits. I once placed mine directly on a hardwood floor without any padding, which amplified vibrations and rattling. Move the sub away from walls and corners, which tend to bounce bass waves. Use your hand to feel for excessive vibrations; if you feel the wall shaking, you’re likely causing unwanted noise. Proper placement not only improves sound quality but also reduces resonant energy that causes rattling.
Use Isolation Pads or Spikes
Invest in purpose-built isolation pads, like the ones available at soundbar remotes guide, to decouple the sub from the floor. Alternatively, steel spikes can pierce carpeted or wooden floors and stabilize the subwoofer. I tested both; while spikes minimized movement on carpet, pads worked best on hardwood. A small rubber pad can serve as a primitive but effective damper—think of it as a cozy mattress for your sub, absorbing vibrations instead of transmitting them.
Secure Loose Components and Cables
Loose panels or unsecured cables can turn your subwoofer into a source of rattles. Tighten screws on the grille or cabinet; I found that a simple rubber band around a loose grill prevented buzzing. Keep cables tidy and anchored—use clips or adhesive mounts—so they don’t vibrate and transfer noise into the cabinet. Ensuring the entire assembly is stable transforms the sub from a vibrating nuisance into a tight, punchy speaker.
Modify Internal Dampening
Sometimes, the internal design contributes to rattling. Adding damping material inside the cabinet can significantly improve this. Remove the speaker’s grille and carefully place acoustic foam or damping mats inside, especially around the voice coil and cabinet walls. I once stuffed foam behind the driver, which muted unwanted cabinet resonances and enhanced bass clarity. Avoid obstructing ports or the driver itself; damping should be strategic rather than bulky.
Seal or Repair Cracks and Gaps
Inspect your subwoofer for cracks or gaps—tiny fissures can cause vibrations and rattling at specific frequencies. Use appropriate sealants or adhesive to close these openings. I noticed a faint crack near the port, which I sealed with rubber-based glue, resulting in a cleaner bass output and less rattling. Precise sealing keeps vibrations contained within the cabinet, preventing them from escaping and causing noise.
Experiment with Equalization Settings
Sometimes, rattling is exacerbated by overly boosted bass frequencies. Use a digital equalizer to cut down on frequencies where the rattling occurs—usually around the 40-80Hz range. I adjusted my sub’s EQ after identifying that certain bass notes caused the loudest rattles. This tweak smooths out the bass response and reduces the strain on the cabinet, minimizing vibrations. Remember, subtle cuts are better than heavy boosts.
Consider External Anchors or Barriers
If rattling persists, deploy external barriers like heavy furniture or sound-dampening curtains behind or around the sub to absorb vibrations. For example, placing a thick rug beneath the sub can also help. In my case, I placed a dense foam mat underneath, which noticeably softened the vibrations transmitted through the floor. These simple additions act like shock absorbers, preventing vibrations from traveling into building structures or neighboring rooms.
#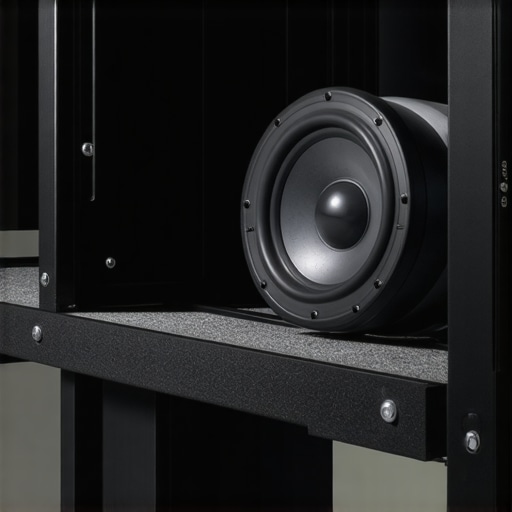 Even seasoned audiophiles sometimes fall into common misconceptions about headphones, amplifiers, soundbars, and speakers. One widespread fallacy is assuming that more expensive gear always equals better sound quality. While high-end equipment often offers superior build and nuanced sound, many overlook that gear matching and room acoustics play a bigger role. For example, pairing a powerful amplifier with inefficient speakers can lead to distortion or underwhelming sound, contrary to popular belief that wattage alone determines volume and clarity. Moreover, many assume that installing soundbars in cabinets enhances sound; in reality, enclosed spaces can severely muffl eer dialogue and bass performance, a mistake I’ve seen frequently. Learning the subtle art of placement, pairing, and acoustic treatment is crucial for maximizing your setup.
Another common myth pertains to sound customization. Many believe adjusting equalization (EQ) settings is always beneficial; however, improper boosts can cause speakers to strain and generate unwanted vibrations or distortions. For instance, boosting bass frequencies excessively can activate internal cabinet resonances that lead to rattling or muddy sound, a trap I’ve personally encountered. Instead, understanding room-specific EQ adjustments, backed by studies like those from the Audio Engineering Society, can help shape a balanced, natural soundscape.
Advanced users often overlook cable quality, falling for the marketing hype surrounding ultra-expensive speaker cables. The reality, supported by scientific tests, is that beyond a certain point, cable quality yields diminishing returns. Properly terminated and shielded affordable cables often outperform overpriced ones riddled with marketing claims. This is particularly evident when considering connectors and proper grounding, which are more critical than cable gauge or exotic materials.
<3>Could high-end gear fix poor room acoustics? Often, the answer is no. Your setup’s true potential depends more on proper placement, acoustic treatment, and matching components than on premium labels. Investing in acoustic panels or bass traps can dramatically improve sound clarity, making even modest gear sound exceptional. For advanced audiophiles aiming for perfection, a detailed understanding of room modes and speaker placement is essential — don’t just throw money at more expensive hardware.
Be cautious not to mistake gear hype for real audio improvement. Many “big brand” deals and discount promotions are designed to lure you into buying unnecessary upgrades rather than improving your sound. Carefully research and test equipment within your environment, considering how room acoustics, component synergy, and personal preferences influence experience. Remember, true audiophile mastery lies in subtle nuances, not just in gear upgrades.
Have you ever fallen into this trap? Let me know in the comments, and share your lessons learned from chasing the perfect sound.
Keeping Your Audio Gear in Prime Condition
Investing in high-quality headphones, amplifiers, or soundbars is just the beginning; maintaining them properly ensures consistent performance and longevity. One of the most critical steps is regularly inspecting and cleaning your equipment. For example, gently cleaning headphone jacks and connectors with compressed air prevents dust buildup that can hinder sound quality. I personally use a compressed air canister to blow out internal dust without risking damage. Routine cleaning not only preserves sound clarity but also prevents potential malfunctions over time.
Another vital aspect is monitoring and updating firmware or software for digital audio devices. Soundbars and smart speakers often release firmware updates that fix bugs, improve compatibility, and enhance features. I recommend setting a quarterly reminder to check for updates via the manufacturer’s app or website. This habit ensures your system benefits from the latest improvements, maintaining peak performance and security.
Tools I Recommend for Ongoing Maintenance
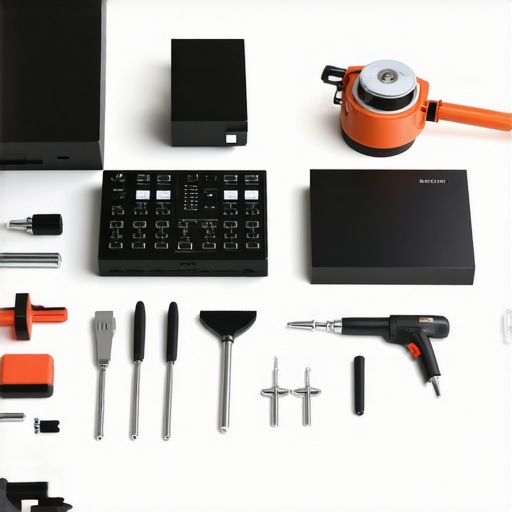
- Precision Screwdriver Set: Essential for tightening loose screws on speakers or amplifiers, which can cause rattles or connectivity issues. I prefer a set with fine magnetic tips to prevent slipping and damaging delicate components.
- Acoustic Test Microphone: Useful for calibration, especially if you’re setting up multiple speakers in a room. Devices like the MiniDSP UMIK-1 connect seamlessly to calibration software, giving you precise measurements to fine-tune sound output.
- Calibration Software: Programs like REW (Room EQ Wizard) help analyze your room acoustics and identify problematic frequencies. Regularly running such software reveals whether your setup requires adjustments, preventing long-term damage caused by uneven sound distribution.
To keep your gear performing at its best, schedule regular maintenance routines—think of it as tuning your musical instrument. Checking connections, cleaning ports, and updating firmware should become a monthly habit. As technology advances and firmware updates get more frequent, staying proactive ensures your equipment remains reliable and delivers the audio experience you expect.
Looking ahead, integration of smart diagnostics and AI-powered maintenance alerts may become standard. Imagine your system notifying you when a component is nearing failure, helping you address issues before they escalate. This proactive approach minimizes downtime and protects your investment over the years.
How do I keep my audio equipment working flawlessly over time?
Incorporate routine inspections, use recommended tools like calibration microphones and software, and stay up-to-date with firmware updates. For instance, regularly checking your amplifier’s temperature with a reliable infrared thermometer can prevent overheating, a common cause of performance degradation. Additionally, removing dust and debris from vents and ports with a soft brush or compressed air prevents overheating and ensures proper ventilation. Implementing these simple yet effective steps will extend the life of your gear and keep your sound crisp and clear for years to come.
For example, I recently discovered that using a dedicated sound isolation pad beneath my amplifier reduced vibrations that could cause internal component stress, ultimately prolonging its lifespan. Try incorporating one or two of these advanced maintenance tips into your routine today and experience long-term benefits.
Lessons from My Audio Journey That Changed Everything
One of the most surprising revelations I had was how much your room’s acoustics influence rattling issues—it’s not just about the subwoofer or placement. I once thought investing in high-end cables alone would solve my rattling problems, only to realize that proper placement and damping materials had a greater impact. Additionally, I learned that even small details like tightening loose screws or sealing gaps could dramatically reduce vibrations I never knew were causing chaos. Sometimes, the simplest tweaks—like using a dense foam mat under my sub—made my setup sound cleaner and more powerful without the additional noise. These lessons taught me that patience and keen observation are the true keys to a harmonious sound environment.
Tools and Resources That Elevated My Setup
My go-to toolkit includes a precision screwdriver set for quick fixes, an acoustic test microphone like the MiniDSP UMIK-1 for accurate room measurements, and software like Room EQ Wizard to fine-tune my audio system. I trust these tools because they’ve consistently revealed underlying issues and helped me optimize my setup without guesswork. For ongoing maintenance, I rely on regular firmware updates from manufacturers, which often include crucial improvements and bug fixes that enhance sound clarity and system stability. Investing in these resources has empowered me to tackle audio challenges proactively, ensuring my listening experience remains pristine over time.
Take Action and Transform Your Listening Experience
Your home audio journey is just beginning—embrace the process of experimentation, learning, and fine-tuning. Implement some of these tips today, from adjusting your subwoofer’s placement to sealing cabinet gaps, and notice the difference in clarity and peace of mind. Remember, great sound isn’t just about expensive gear; it’s about understanding your space and caring for your equipment. So, why wait? Start making those small changes now and enjoy rich, powerful bass without disturbing your neighbors or your peace. Your ideal sound environment is within reach, and every step you take brings you closer to audio perfection.