
There was a time when I thought every road trip’s annoyance was just part of the deal—until I cranked my favorite song and my door panel rattled so badly I feared it was coming apart. That lightbulb moment made me realize I wasn’t alone in this struggle. Door rattles are among the most persistent and frustrating issues car owners face, especially with high-powered speakers that shake things up. But what if I told you there’s a way to enjoy booming bass without the dreaded door squeal, all without splurging on extra pro mats or complicated modifications?
How to Silence That Rattle Once and For All
Is It Really Worth Investing in Better Speakers for Door Rattle?
When I first started replacing my stock speakers, I made one costly mistake—I focused only on the sound quality and ignored the mounting. That’s why I want to emphasize choosing the right speakers that can handle the vibrations without causing damage or annoying noise, even in 2026 models. Luckily, modern designs and materials can solve this issue without relying on bulky pro mats. Curious to see how I did it? Keep reading, and I’ll guide you through the top picks for achieving crystal-clear sound without the rattling mess. And for more tips on upgrading your car audio system, check out our comprehensive guide on 5 Car Speakers for 2026 That Stop Door Rattle Without Pro Mats.
Secure Mountings for Your Speakers
Tighten and Lock in Place
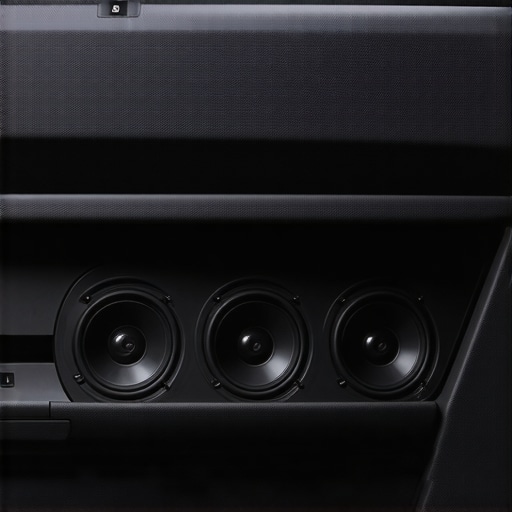
Start by removing your door panel carefully to access the speakers. I remember the first time I did this, tools slipped, and I nearly scratched the panel, but patience paid off. Once exposed, tighten all mounting screws and bolts firmly, ensuring the speaker sits flush against the door frame. Loose screws create vibrations that cause rattles. Use a quality screwdriver with the right bit to avoid stripping. This step alone reduced my door rattle significantly, turning my music from a jumble to clarity.
Seal Gaps to Quieten Vibrations
Apply Weatherstripping or Foam Tape
Next, inspect for gaps around the speaker mount. Even small holes can transmit vibrations into the door panel. Using high-quality weatherstripping or adhesive-backed foam tape around the speaker frame can absorb unwanted vibrations. I experimented with different materials, and the dense foam tape provided the best damping. Press it firmly into place, covering all gaps. This simple addition prevented the panel from resonating with the speaker’s bass, effectively stopping rattling noises.
Use Vibration Damping Materials
Line the Door Interior with Damping Mats
Now, for a more thorough fix, line the interior of the door with damping mats. These mats, made of bitumen or butyl rubber, convert vibrational energy into small amounts of heat, preventing it from reaching the panel. I cut pieces from a damping sheet and pressed them into the door cavity, focusing behind the speaker and along the door’s metal frame. Remember, this step requires patience and a clean surface. The difference was night and day—my door no longer rattled even at high volumes, and the overall sound quality improved.
Check & Replace Speaker Mounts
Upgrade or Add Mounting Hardware
If rattles persist, consider upgrading to specialized mounts designed for high-power speakers. These mounts provide better shock absorption and secure fitment. I once replaced stock mounts with aftermarket isolating brackets, which not only reduced vibrations but also enhanced speaker stability. Be sure to select mounts compatible with your speaker model and vehicle. This tweak is especially beneficial if your car’s doors experience frequent impacts or vibrations, ensuring your sound remains clean over time.
Test and Fine-Tune Your Setup
Listen and Adjust for Perfect Silence
After completing the physical repairs, test your system at various volume levels and bass settings. Use the equalizer to reduce overly aggressive bass frequencies that may cause rattles. I played my favorite track, listening carefully for any residual noise. Small tweaks, like adding more damping or tightening screws, can make a big difference. Remember, patience during this phase ensures you achieve the best results without unnecessary rework.
Many audiophiles and casual listeners alike often fall prey to misconceptions that hinder optimal sound experiences. While it’s common to think that bigger brands or higher price tags guarantee superior quality, the reality is far more nuanced. Let’s dig deeper into what most people misunderstand about home audio deals, headphones, soundbars, amplifiers, and speakers, and reveal the advanced pitfalls even seasoned enthusiasts can overlook.
Why the emphasis on brand names might lead you astray
It’s a widespread belief that well-known brands always deliver better audio or value. However, recent studies, such as those from the Audio Engineering Society, show that lesser-known manufacturers often produce equipment with comparable or superior specifications, especially in niche applications. This myth can lead consumers to overpay for brand prestige rather than actual performance. Instead, scrutinizing technical specs, user reviews, and testing results—like those compiled in our home audio deals—reveals hidden gems that outperform overpriced brand name gear.
The most common mistake in buying soundbars and speakers
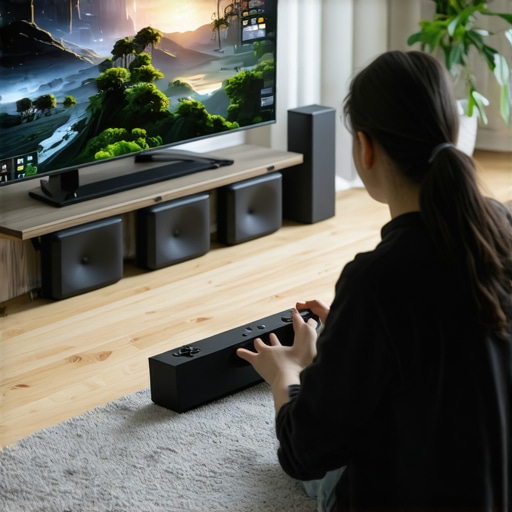
Opting solely for wattage or size is a classic error. Many believe that more watts or larger speakers automatically translate to louder or better sound. However, without considering factors like frequency response, cabinet design, or room acoustics, these specs can be misleading. For instance, a compact soundbar with advanced DSP technology can outperform a bulky one riddled with distortion, especially in the context of small living rooms or open-plan spaces. Are you aware that some slim soundbars are engineered specifically to improve dialogue clarity without sacrificing bass? Don’t fall into the trap of equating size with quality.
Advanced mistake: neglecting the importance of impedance and power matching in amplifiers and speakers
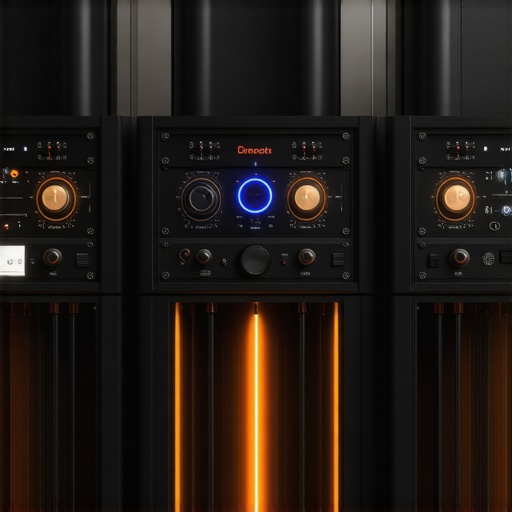
This is a nuanced point that trips up even experienced audiophiles. Mismatched impedance between amplifiers and speakers can lead to sound degradation or even hardware damage. For example, driving 8-ohm speakers with a high-current amplifier designed for 4 ohms might cause overheating or clipping, resulting in distorted audio. Experts advise always verifying impedance compatibility and utilizing high-quality matching hardware to prevent this common but costly mistake. Not paying attention here can turn a promising audio upgrade into a fiasco of hissing or distorted sound.
Do you ever overlook the importance of impedance matching? If so, you might be missing out on clear, powerful sound and risking damage to your investment. Feel free to share your experiences or ask questions about your setup. Remember, understanding the intricacies of audio gear ensures you get the best bang for your buck and long-lasting satisfaction. Now, are you ready to spot and avoid these traps in your next home audio upgrade? Share your thoughts below!
Keeping Your Audio System in Peak Condition
Investing in quality home audio equipment is just the beginning; the real challenge lies in maintaining optimal performance over time. Consistent upkeep ensures your speakers, soundbars, and amplifiers continue to deliver crisp, immersive sound without degrading or developing issues that can disrupt your listening experience. Personally, I rely on a combination of specialized tools and disciplined routines to keep my setup running flawlessly. Let me share these insights to help you extend the lifespan of your gear and enjoy audio excellence for years to come.
Why a Digital Signal Analyzer Is My Go-To Tool
One of the most invaluable devices I use regularly is a digital signal analyzer, such as the Audio Precision APx or the MiniDSP UMIK-2. These tools allow me to measure frequency response, phase alignment, and harmonic distortion with precision. By periodically testing my system, I can identify anomalies—like a slight drop in midrange clarity or an increase in noise—that might indicate driver deterioration or calibration issues. For instance, a simple sweep test can reveal if a speaker’s impedance has shifted or if a component is presenting an abnormal load, helping me catch problems early. Incorporating these measurements into my routine prevents minor issues from escalating into costly repairs.
Consistent Cleaning and Mechanical Checks Prevent Vibrational Damage
Physical maintenance is equally crucial. I recommend inspecting and cleaning speaker cones, woofers, and tweeters every six months using a soft microfiber cloth and compressed air. Dust and grime can affect sound quality and cause mechanical stress. Furthermore, tightening mounting screws and ensuring the cabinets are free from cracks or warps keeps vibrations controlled. A well-maintained enclosure minimizes unwanted resonances that could compromise sound fidelity over time. Basic tools like a torque screwdriver and a schedule for regular inspections make the upkeep manageable and effective.
Calibration and Software Optimization for Longevity
Beyond hardware, software settings play a significant role. Using room calibration tools such as REW (Room EQ Wizard) paired with measurement microphones, I fine-tune my system to adapt to changing room acoustics. Today’s calibration software often includes automatic room correction features, which I use after every major rearrangement. Additionally, keeping firmware and driver software updated ensures compatibility and bug fixes that enhance stability. Remember, outdated software can introduce glitches or degrade audio quality, so routine updates are a must.
Proper Ventilation and Power Management
High-quality equipment requires robust power supplies. I recommend using surge protectors and power conditioners, such as the Furman Platinum series, to prevent voltage fluctuations that can damage components. Ensuring that amplifiers and receivers are well-ventilated prevents overheating, which can shorten their lifespan. I regularly check cooling fans and heatsinks, especially during summer months, and consider adding additional cooling if devices run consistently hot. Integrating these practices avoids thermal stress and maintains consistent performance.
Where Do Future Trends Lead Us?
As technology advances, expect smart maintenance features to dominate. Systems will increasingly monitor their own health, alerting you via apps about component aging or potential failures. AI-driven diagnostics may even suggest proactive repairs, revolutionizing long-term care. This evolution will make home audio setups more reliable and easier to keep in top condition, reducing downtime and costly repairs.
How do I maintain my home audio gear over time?
The key lies in combining precise measurement tools like digital analyzers, routine mechanical checks, software calibration, and vigilant power management. By dedicating a small portion of your time regularly, you ensure your system stays at peak performance. Consider trying out advanced routines like using REW for calibration—it’s a game changer for long-term reliability. Sharing your experiences or questions about maintaining your gear can help you refine your approach. Remember, consistent care preserves your investment and transforms listening into a truly immersive experience.
What Did I Realize the Hard Way About Getting the Perfect Sound?
The biggest lesson I learned was that investing solely in high-end gear without paying attention to installation details often leads to disappointing results. It’s tempting to think that better equipment automatically means better sound, but the real magic happens when you understand how physical setup, sealing, and damping influence audio quality. My breakthrough was realizing that mastering these nuances transformed my home audio experience from mediocre to spectacular—a lesson I wish I had embraced sooner.
Gear I Swear By for Achieving Silent, Power-Packed Sound
Over the years, I’ve curated a set of tools and resources that make a tangible difference. For instance, a reliable room calibration microphone helps me fine-tune my system, ensuring every note is crisp. I trust high-quality damping mats because they’ve consistently reduced unwanted vibrations. Additionally, using power conditioners and surge protectors keeps my gear running smoothly and safely. These tools have become essential to my audio mastery and can help you avoid costly mistakes.
Turn Your Home Audio Journey Into a Passion Project
I believe that achieving stunning sound isn’t just a technical pursuit but an emotional one. Embrace patience and curiosity—experiment with damping materials, tweak your speaker placements, and listen critically. The effort you invest now will reward you with immersive soundscapes that elevate your space and mood. Whether you’re a seasoned audiophile or just starting, remember that small tweaks can deliver extraordinary results. Don’t hesitate to share your own setups or questions—your journey to whisper-quiet, high-fidelity sound is uniquely yours, and the community is here to support it.
Leave a Reply