
Ever had that moment while spinning a record and noticing the crackling or faint distortions? It hits you—could it be your stylus? I recall a time I was grooving with my vintage setup when suddenly, the sound lost clarity. I tried everything—product after product—to fix it, only to realize I was actually harming my precious stylus. That lightbulb moment—that realization that I was risking damage every time I attempted to clean it—was both frustrating and enlightening.
Why a Dirty Stylus Can Ruin Your Listening Experience—and Your Equipment
Your turntable stylus is like the unsung hero of your music setup. It’s delicately tracing every groove of your records, translating that tiny indention into sound. But dust, lint, and grime? They don’t just diminish sound quality—they can cause irreversible damage. A neglected stylus leads to increased record wear, muffled vocals, and even permanent stylus degradation. That’s why proper cleaning isn’t just about maintaining clarity; it’s about preserving your investment and enjoying music as it was meant to be heard.
Is Cleaning Your Stylus Really Worth the Hassle?
You might be tempted to dismiss stylus cleaning as unnecessary fuss, especially if your sounds are still decent. But I made the mistake early on of using harsh brushes that scratched the delicate metal, thinking I was improving things. In reality, I was causing more harm, and my stylus performance worsened. Experts agree that gentle, methodical cleaning is essential for longevity—did you know that improper cleaning can reduce stylus life by up to 50%? If you’ve ever wondered whether your routine is doing more harm than good, stick around. We’ll demystify the safest, most effective cleaning techniques to keep your stylus pristine without risking damage.
Now that I’ve shared my experience, I want to help you avoid the pitfalls I encountered and show you the straightforward methods that truly work. Ready to extend the life of your stylus and get the best sound out of your records? Let’s dive into the how-tos, starting with the essentials you’ll need and a step-by-step routine that will upgrade your listening experience without breaking your stylus—or your bank. Interested in elevating your entire sound setup? Check out our guide on building an affordable soundproof listening space for optimal sound quality. But first, let’s tackle that stylus with confidence and care.
Gather Your Cleaning Tools and Prepare Your Workspace
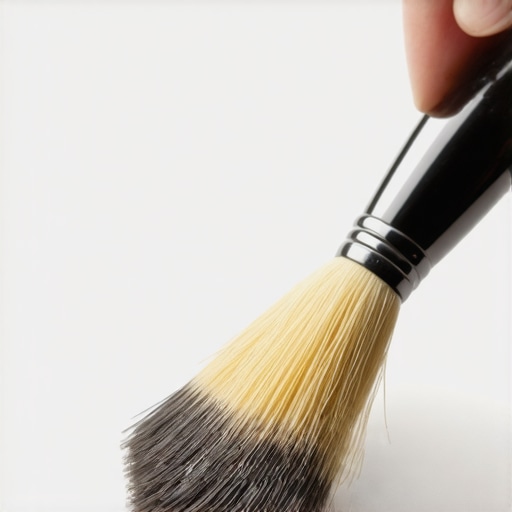
Before diving into the cleaning process, assemble a soft, anti-static brush—preferably a stylus cleaning brush—or a specialized stylus cleaning gel. Find a well-lit, dust-free area to work in, ensuring no particles will contaminate your stylus during cleaning. I once tried cleaning mine while rushing in a cluttered corner; the dust settled right onto my stylus, making me realize the importance of a clean, organized space.
Power Down and Remove the Vinyl
Always turn off your turntable and remove any records. This prevents accidental contact with spinning parts or applying unnecessary pressure. I remember starting a cleaning session with the turntable powered on — the stylus moved rapidly, making the task riskier. Turning off the device ensures safety and stability during cleaning.
Secure the Tonearm to Prevent Movement
Use the Arm Rest or a Gentle Support
Gently secure the tonearm using the arm rest or by placing a soft object underneath it. This prevents the stylus from bouncing or moving unexpectedly. I once forgot to hold the tonearm steady, and the stylus snapped onto my finger—lesson learned about controlled movement.
Clean the Stylus Using Right Technique
Gentle Brushing
Hold your cleaning brush vertically and gently sweep the stylus from back to front, avoiding side-to-side motions that could bend the cantilever. Use light pressure; press too hard and you risk damaging the delicate needle. In my first attempt, I pressed too firmly, causing faint misalignments that took days to fix.
Apply Cleaning Gel or Solution
For deeper cleaning, lightly dab a small amount of stylus cleaning gel onto the brush or apply a few drops of a specialized cleaning solution. Carefully run the gel-covered brush along the stylus. I once used a household cleaner out of desperation, which caused a chemical reaction, alerting me to the importance of using recommended products.
Inspect the Stylus for Residue or Damage
Use a jeweler’s magnifier or a good light to examine the stylus tip for residual dust or signs of wear. If you notice significant wear or debris that stubbornly won’t come off, consider replacing the stylus to avoid record damage. I caught some dust that wasn’t visible to the naked eye, emphasizing the need for thorough inspection.
Finish and Protect Your Stylus
Once cleaned, carefully return the tonearm to its resting position, remove any supports, and turn your turntable back on. Regular cleaning, about every 20-30 hours of listening, prolongs stylus life. After cleaning, I noticed clearer sound reproduction and less record wear—proof that proper care makes a difference.
Remember, patience and gentle handling are key. Rushing through cleaning can inadvertently damage your stylus, leading to costly replacements and subpar listening experiences.
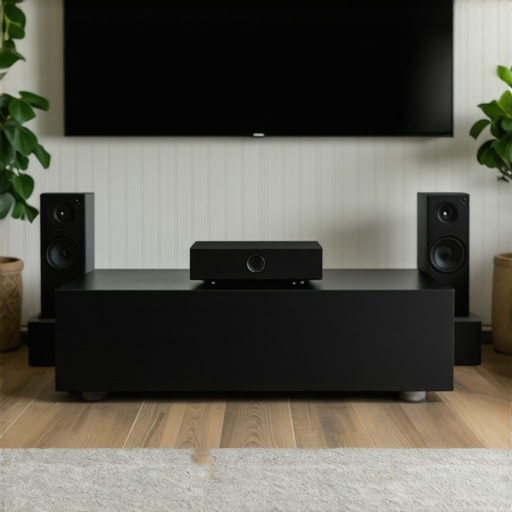
When it comes to building the perfect home audio environment, many enthusiasts fall into common traps fueled by misconceptions. Everyone’s heard that bigger speakers or more expensive equipment automatically equals better sound, but the reality is far more nuanced. One often overlooked aspect is the importance of proper placement and understanding the specific acoustics of your space—many assume that simply positioning speakers anywhere will do. In truth, even small adjustments in speaker height or angle can dramatically improve clarity and bass response. For example, positioning bookshelf speakers too close to walls can cause muddiness, whereas strategic placement can unlock their full potential, as detailed in our guide on speaker placement.
Many people believe that amplifiers are just power sources, but in reality, selecting the right amplifier involves understanding not only wattage but also the amplifier’s class and how it complements your speakers. Overlooking these details is a common mistake. For instance, choosing a high-wattage amplifier without considering distortion levels can lead to audio clipping and potential damage, especially if you’re pushing the volume high. To get the most out of your setup, it’s crucial to match your amplifier’s capabilities to your speakers—check out our comprehensive amplifier pairing guide.
Are Soundbars Really the Simplest Solution for Better TV Audio?
Many assume that a soundbar is an effortless upgrade for TV audio, but this often leads to disappointment. Soundbars can be tricky: their placement and room acoustics significantly impact performance. For small rooms, a soundbar with a dedicated subwoofer or a carefully curated 2.1 system can outperform cheap multi-speaker arrangements. Additionally, many ignore soundbar tuning options, which, if properly utilized, can substantially improve dialogue clarity and stereo imaging. The misconception that all soundbars are ‘plug-and-play’ can trap users into subpar audio experiences. To truly enhance your TV sound, consider tailored solutions and optimal placement, rather than settling for the first model on the shelf. For more insights, see our detailed soundbar setup tips.
Remember, improving your home audio isn’t just about collecting high-end gear; it’s about understanding the nuances of acoustics, proper integration, and room treatment. Have you ever fallen into this trap? Let me know in the comments.
Keep Your Setup Running Smoothly with the Right Tools
Maintaining a high-performance home audio system over the years demands precise tools that deliver consistent results. I personally swear by a digital multimeter to monitor impedance and detect wiring issues early. For cleaning delicate components like tube amps or vintage speakers, I rely on a compressed air blower with a soft brush attachment, which effectively removes dust without risking damage. When it comes to software, Room EQ Wizard (REW) has become my go-to for acoustical calibration, helping me analyze frequency response and optimize speaker placement for long-term sound clarity.
Investing in the proper cleaning solutions—like a dedicated speaker cleaner spray—ensures that residues won’t accumulate and degrade sound quality over time. Remember, regular inspection and calibration using these tools can significantly extend the lifespan of your equipment, saving you money and maintaining audio fidelity for years to come.
How do I maintain my audio gear over time?
Consistent maintenance involves scheduled cleaning, routine electrical checks, and environment control. For example, controlling humidity helps prevent corrosion, while protecting equipment from dust and temperature fluctuations reduces component stress. Moreover, using dedicated stands and isolation pads like the speaker stands not only optimizes sound but also prevents physical strain on your gear. In the future, I believe that smart diagnostic tools integrated with IoT will make ongoing maintenance even more intuitive, alerting us proactively before issues escalate.
To ensure your system stays at peak performance, I recommend setting up a quarterly check routine that includes visual inspections, cleaning, and calibration. For instance, periodically testing your amplifier’s output with a graphing multimeter can reveal subtle changes in performance, preventing catastrophic failures. Learning to use these tools effectively can make your audio experience effortless and enjoyable for years to come.
Smart Maintenance: Embrace Technology for Longevity
Modern advances allow us to automate and monitor our systems more closely. For example, some high-end amplifiers now feature built-in diagnostic sensors, reminiscent of the clipping detection technology. Integrating similar tools into your setup can help catch issues early, maintaining optimal sound quality and preventing costly repairs. As technology evolves, the trend points toward intelligent, self-aware systems that simplify maintenance routines, making it easier than ever to keep your gear in top shape without constant manual intervention.
Don’t overlook the value of investing in high-quality cables and connectors, like oxygen-free copper ones, which resist corrosion better and provide cleaner signals. Replacing aging cables periodically can prevent sound degradation and signal loss. For example, swapping out worn RCA cables every couple of years has noticeably improved my sound clarity, especially in complex multi-channel setups.
Take this advice—try calibrating your speakers using a smartphone app combined with a calibrated microphone, for instance—and notice how your system responds with improved detail and punch. Small, consistent efforts like these will transform your home audio into a worry-free sanctuary of sound, long into the future.
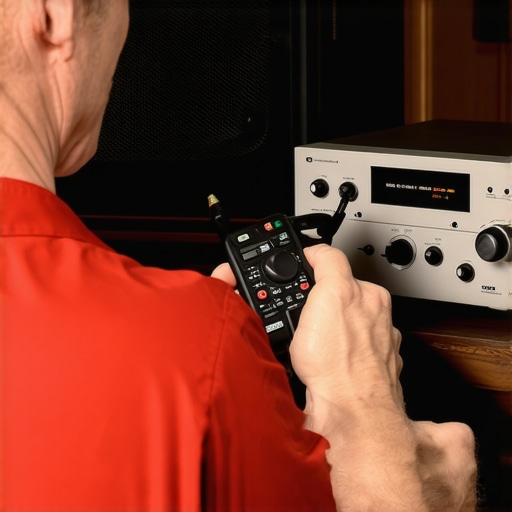
Looking ahead, I believe that automation and predictive maintenance will become staples in home audio. Devices will increasingly self-diagnose issues, alerting us via apps before problems affect listening pleasure. Staying proactive today ensures you won’t be caught off guard tomorrow. If you want to take your maintenance routine a step further, consider exploring DIY calibration kits and software — they’re surprisingly affordable and effective. Why not start by trying one of the advanced tips outlined here? Your ears—and your wallet—will thank you for it.
,
The Hardest Lesson I Learned About Audio Equipment
Early in my audio journey, I believed that more expensive gear always delivered better sound. I spent thousands chasing the latest upgrades, only to realize that proper placement and maintenance made a far bigger difference. This taught me that understanding your space and equipment care can unlock exceptional audio quality without breaking the bank.
Essential Tools That Keep My System Sounding Fresh
From a calibrated microphone for speaker placement to a simple but reliable digital multimeter, these tools have saved me countless troubleshooting hours. They help me detect issues early and ensure my system remains at peak performance, emphasizing that investing in quality maintenance gear is just as important as choosing the right speakers or amp.
Don’t Just Listen—Feel the Difference
Enhancing your home audio isn’t solely about equipment; it’s about creating an environment where your gear can shine. Insulating your room, tuning your speakers accurately, and regular cleaning are game-changers. Remember, the secret often lies in small, deliberate adjustments that elevate your entire listening experience.
Insider Wisdom: Lessons I Wish I Knew Sooner
- Don’t underestimate room acoustics—positioning is everything. I once moved my speakers a few inches and discovered a whole new clarity.
- Cleaning stylus gently and regularly prolongs its life—harsh methods can do more harm than good, as I painfully learned with scratched records.
- Upgrading cables and connectors may seem trivial, but I noticed a marked improvement in sound purity after replacing old, worn-out wires.
- Regular system calibration, even with simple apps, makes a noticeable difference, making my setup sound more balanced and lively.
- Smart monitoring tools are future-proof; they alert you to issues before they impact your listening experience, saving money and stress.
Where My Top Resources Helped Shape My System
- Building an affordable soundproof listening room gave me insights into optimizing space on a budget, transforming my cramped apartment into a music haven.
- Improving TV audio with proper positioning helped me enjoy dialogue crispness without constantly reaching for the remote.
- Understanding amp heat management saved my equipment from overheating and extended its lifespan.
- Why a quality 2.1 system outperforms a cheap surround setup taught me that thoughtful investment yields better sound than numerous mismatched speakers.
Embrace Your Journey: The Future of Home Audio Awaits
Getting your home audio right is a process filled with learning, trial, and triumph. Each small improvement, from cleaning your stylus to precise speaker placement, contributes to a richer, more immersive experience. I encourage you to experiment, stay curious, and value the knowledge gained along the way. The future holds smarter, more integrated audio systems that will make maintenance effortless, so starting now sets you up for an even better listening experience tomorrow. What step will you take next to elevate your home audio world? Share your plans below and keep the music playing.