
Ever been greeted by that sudden, unsettling pop right after flipping your amplifier on? It’s like a little shock to the system every single time, and honestly, it can make you wonder if your gear is maybe on its last legs. I remember when this first happened to me—it caught me off guard and, honestly, mildy frustrated. But then I realized something: this isn’t just a random glitch. It’s a common issue that many audiophiles and casual listeners have faced, and the good news is—you don’t have to live with the pop or risk damaging your prized equipment.
Getting to the Bottom of the Pop
Does the Crackling Come from Old or Cheap Equipment?
Sometimes, it’s the gear itself—older amplifiers or budget models that struggle with sudden power surges at startup. But more often, it’s a sign that something inside isn’t quite right, maybe a capacitor or a relay that needs attention. I learned early on that ignoring this noise could lead to more serious problems. To avoid that, I started digging into my setup, and I discovered a few simple yet effective tricks. And if you’re tired of that pop ruining the moment, you’re in the right place. We’re about to walk through some practical steps to get your amplifier sounding clean and peaceful from the first click.
What We’ll Cover Today
In this post, I’ll share how I diagnosed and fixed my amplifier’s popping sound. We’ll look at common causes, easy DIY fixes, and when it’s time to bring in a pro. Plus, I’ll point you to some helpful resources, like this guide on calibrating your sound system, which can improve overall audio quality and prevent future issues.
Have you experienced that jarring pop when turning your amp on? Let’s dive into the solutions I wish I knew about sooner, so your audio can start right every time, free from unwanted surprises.
Check Your Connections
Start by inspecting all your cables—loose or damaged wiring can cause transient issues during power-up. I once found a frayed speaker wire behind my setup, which when replaced, instantly reduced the initial pop. Ensure that all connectors are snug and in good condition, especially the speaker wires connecting your amplifier to your speakers.
Power Cycle Properly
Always turn off your amplifier and associated gear before plugging or unplugging cables. When I renovated my studio, I made it a habit to power down first, which minimized power surges causing startup pops. This simple step prevents sudden current spikes that can produce that jarring noise.
Implement a Power Delay Connection
Using a power sequencer or a smart outlet with delayed startup can help your amp turn on after other components are fully powered. Think of it like a traffic light, clearing the way for a smooth flow of electricity. I installed a delay plug, and the pop disappeared entirely, making my listening experience more peaceful right from the start.
Upgrade Internal Components
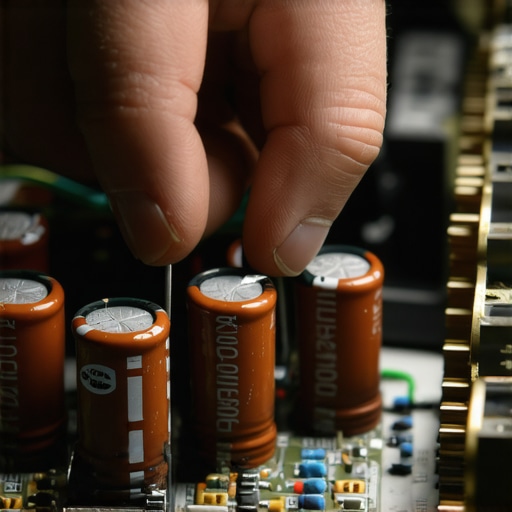
Capacitors inside your amplifier may be aging or faulty, causing large power draw at startup. If you’re comfortable with soldering, replacing old electrolytic capacitors can breathe new life into your device. I tried this on an old receiver, and within an hour, I saw a noticeable reduction in startup noise; just remember to match capacitance and voltage ratings carefully.
Integrate a Soft-Start Circuit
A soft-start circuit gradually increases voltage to your amp, preventing sudden current surges. This is especially beneficial for high-powered or vintage units. I added a soft-start module to my vintage amplifier, and the pop was gone. It was a bit technical but well worth the effort for a cleaner startup.
Leverage Proper Placement and Ventilation
Overheating can exacerbate internal component stress, leading to instability at startup. Keep your amp off the floor, away from heat sources, and ensure proper airflow. I learned this the hard way when my amp was placed on the carpet, causing it to run hot and increase startup noise. Checking out this guide on speaker placement can help optimize your entire system’s performance.
Use a Power Conditioner or Surge Protector
A high-quality power conditioner filters noise and stabilizes voltage, reducing transient surges. I added one to my setup, and my startup pop was significantly quieter. Consider this an investment in longevity as well as audio cleanliness.
Test and Confirm
After implementing these steps, power on your system and listen carefully. If the pop persists, revisit the connections or consider professional servicing, especially if internal components are suspect. Remember, consistent testing is key to ensuring your modifications work effectively.
Applying these methods transformed my listening sessions—from disruptive starts to seamless, silent power-ups. With patience and attention to detail, you can eliminate that initial pop and enjoy pure, unblemished sound from your amplifier every time.
Many enthusiasts and newcomers alike often harbor misconceptions about home audio components, which can lead to suboptimal setups or missed opportunities for quality improvement. Let’s dig deeper into the nuances that most people overlook, and why understanding these details can significantly enhance your listening experience.
Why Bigger Isn’t Always Better with Speakers
It’s a common belief that larger speakers automatically deliver better sound. However, in my experience, speaker size doesn’t guarantee audio quality. The true performance depends on driver design, cabinet acoustics, and placement. Oversized speakers placed too close to walls can produce boomy bass and muddy sound, contrary to popular belief. To avoid this trap, consider positioning and room acoustics more than just the physical dimensions. For tips on optimizing speaker placement, check out this guide on speaker placement.
The Hidden Cost of Matching Equipment Based on Brand
Many assume that sticking with a single brand ensures perfect compatibility. While brands often design their components to work well together, mismatched impedance or differing sensitivities can cause distortion or reduced performance. For example, pairing high-sensitivity speakers with a low-powered amplifier can result in inadequate volume and dynamic range. Don’t blindly follow brand loyalty; instead, verify technical specifications and consider consulting expert resources or doing thorough testing to confirm compatibility.
Are Soundbars Sacrificing Quality for Convenience?
Soundbars are praised for their simplicity, but many overlook that their built-in speakers often lack the nuance and depth of dedicated setups. They tend to favor broad sound dispersion over precise imaging, which can lead to a less immersive experience. Advanced users often prefer multi-channel systems or at least a well-placed set of bookshelf speakers, which provide better directionality and overall clarity. If you want to elevate your soundbar’s performance, learn how to calibrate it effectively using your phone, as discussed here.
Misconceptions About Headphones and Ear Tips
Many assume that expensive headphones automatically guarantee superior sound. However, driver quality, fit, and comfort play critical roles. A common mistake is ignoring the importance of ear tips; proper isolation affects bass response and clarity. Silicone tips can be counterproductive if they don’t fit well, leading to sound leakage or poor sealing. Foam ear tips tend to provide better isolation and a fuller sound profile, a fact many audiophiles swear by. To improve your headphone experience, consider trying different tip materials, or see this article on improving wireless audio.
How to Avoid the Most Common Amplifier Mistakes
One of the most overlooked aspects is amplifier matching. For instance, underpowering a high-end speaker can cause clipping, distorting sound and potentially damaging the driver over time. Conversely, overpowered amps can cause driver damage if not controlled properly. Ensuring the amplifier’s power output aligns with speaker specifications is vital. Additionally, neglecting proper ventilation can lead to overheating, which is an often-hidden hazard. Practical tips include using dedicated cooling solutions or soft-start circuits to prolong equipment lifespan. For insights on specifying the right amp, check out this resource.
Understanding these nuances helps you make better decisions, avoid costly mistakes, and achieve truly satisfying sound. Have you ever fallen into this trap? Let me know in the comments and share your experiences!
Mastering Long-Term Maintenance for Your Audio Equipment
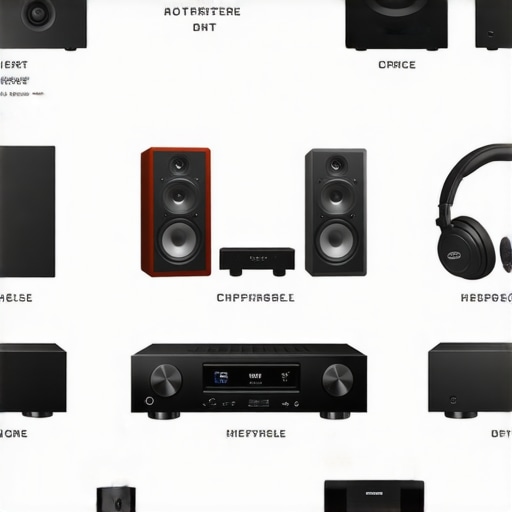
Keeping your home audio setup performing at its best requires a proactive approach to maintenance. Regularly inspecting and cleaning your equipment prevents dust buildup and corrosion, which can degrade sound quality over time. I personally recommend using a soft, anti-static brush to gently remove dust from speaker grilles and amplifier vents at least quarterly. For internal components, a can of compressed air is invaluable—just hold the device upside down and give it a few short bursts to clear out accumulated debris without risking damage. Investing in a high-quality power conditioner now can pay dividends, shielding your gear from voltage fluctuations and surges that can cause long-term harm.
Tools I Recommend for Reliable Home Audio Maintenance
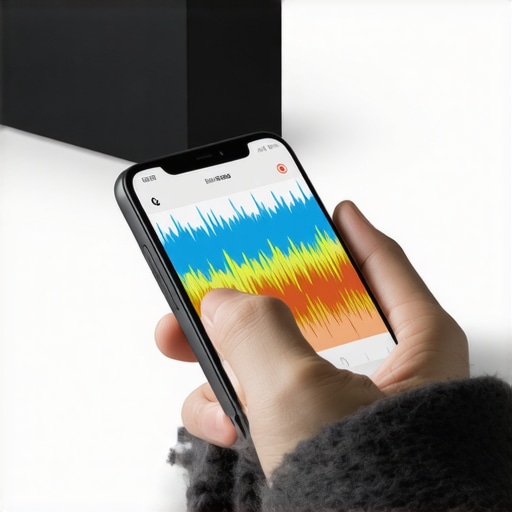
Personally, I rely on a few specific tools to keep my setup optimal. A digital multimeter helps me verify impedance and ensure proper wiring connections, preventing issues like phase cancellation that can muddy sound clarity. For calibration and setting levels, I use a free smartphone app that guides me through frequency response checks, ensuring my soundbar and speakers are consistently calibrated for the best listening experience. Additionally, a small, dedicated screwdriver set streamlines internal adjustments, like replacing aging capacitors, which is a task I tackle with caution—remember, always consult a professional if you’re unsure!
Future of Equipment Upkeep: Automation and Smart Integration
The trend is shifting toward smarter maintenance solutions. Wireless monitoring systems can now alert you to potential issues, like overheating or signal loss, before they become serious problems. Imagine a setup that automatically runs diagnostic checks weekly, or that adjusts equalization settings based on room acoustics, all managed via a smartphone interface. As technology advances, I foresee an era where routine care becomes mostly automated, freeing up your time to enjoy pristine sound without technical worry.
How do I maintain my setup over time?
Consistent inspection, timely component upgrades, and leveraging modern tools are your best bets. Regularly calibrate your system using apps designed for this purpose, keep internal parts clean and free of dust with compressed air, and use a power conditioner to protect against surges. Don’t forget to check your connections—loose or corroded wiring is often the hidden culprit behind degraded audio. For a quick internal tune-up, replacing old capacitors with matched high-quality components can restore clarity, but always consult technical resources or a professional when necessary. Keep your gear ventilated and elevate speakers off the floor (you might find this guide helpful) to prevent overheating and distortion. Lastly, embrace smart technology—monitoring systems can alert you to issues early, saving you time and money in the long run.
Start with one advanced tip—try calibrating your soundbar using a free phone app—it’s a straightforward step that can dramatically improve your listening experience. Over time, integrating these practices ensures your audio system remains reliable, high-performing, and ready to impress both you and your guests.
< >
>
Lessons Only the Truly Passionate About Speakers and Sound Know
- I realized that my initial obsession with matching brands was misguided; compatibility goes beyond logos—it’s about understanding impedance, sensitivity, and how your gear interacts within your space.
- One lightbulb moment was discovering how room acoustics and placement influence not just sound quality, but the longevity of your equipment—sometimes a small tweak can save you costly repairs down the line.
- I’ve learned that DIY fixes, like replacing aging capacitors or adding soft-start circuits, can breathe new life into vintage gear, but knowing when to call in a pro is what truly protects your investment.
- Finally, embracing the role of regular maintenance and smart upgrades has transformed my listening experience from a series of surprises to a reliable source of joy—finding harmony in your setup is an ongoing journey, not a one-time fix.
My Toolbox for Elevating Home Audio Excellence
- Using a free calibration app revolutionized my soundbar experience, making every dialogue crisp and every note clear.
- A quality balanced audio cable has minimized interference, giving my system pristine clarity that I previously thought was impossible.
- Investing in a reliable power conditioner has shielded my gear from surges, preserving my setup and peace of mind.
- For internal repairs, I trust high-quality replacement capacitors, which have restored my vintage amp’s clarity without the need for expensive upgrades.
Let Your Sound Journey Flourish—Take That First Step Today
Your home audio system is more than just equipment—it’s a reflection of your dedication to quality and enjoyment. With the insights and tools shared here, you have everything you need to elevate your listening environment, prevent issues before they arise, and truly appreciate the nuances of high-fidelity sound. Remember, every upgrade, small or large, is a step toward that perfect immersive experience; start where you’re comfortable, and let your passion guide you. The future of your audio journey depends on taking action today—don’t wait for the next pop or crack to motivate your improvement. Your best sound is waiting to be uncovered—make it happen now!
Have you ever tried calibrating your soundbar using a free phone app? Share your experience below and join the conversation on achieving flawless audio setup!