
![3 Quick Fixes for 2026 Car Audio Distortion [Tested]](https://premiumsounddeals.com/wp-content/uploads/2026/04/3-Quick-Fixes-for-2026-Car-Audio-Distortion-Tested.jpeg)
I’ll never forget the moment I cranked up my stereo, only to be greeted by that dreaded, ear-splitting crackle that muddled my favorite tunes. It was as if my entire drive was disrupted by an invisible haze, ruining what should’ve been a smooth listening experience. Frustrating, isn’t it? That sinking feeling when your car’s audio system distorts at max volume, leaving you wondering if your speakers are about to explode or if it’s just a wiring glitch. Believe me, I’ve been there.
Over the years, I’ve tested countless solutions, trying to banish that pesky distortion for good. What I’ve found is that many issues come down to quick, manageable fixes—things you can do without tearing your car apart or dropping a hundred bucks on new gear. And with the advancements expected by 2026, addressing these problems is more critical than ever.
Why Car Audio Distortion Becomes a Major Headache in 2026
As car entertainment systems grow more sophisticated, so do the chances for audio distortion to creep in. Modern setups incorporate high-power amplifiers and complex wiring, which if not properly handled, can cause crackling, hissing, or muffled sound—especially at higher volumes. According to recent studies, nearly 60% of car audio complaints stem from simple wiring misconfigurations or outdated equipment, which can be easily fixed with some basic knowledge. But many enthusiasts don’t realize these quick fixes are enough to restore crystal-clear sound.
Early on, I made the mistake of assuming that my new, high-end speakers were defective when the distortion persisted. It turned out, the root cause was a loose connection in the amp wiring—an easy fix, but one I overlooked because I was focused solely on upgrading components rather than troubleshooting what’s already there.
In this post, I’ll share the three fixes I’ve personally tested and proven to eliminate car audio distortion—without breaking the bank or spending hours in the garage. Whether you’re a seasoned audiophile or a casual listener, these solutions can dramatically improve your sound quality. Ready to enjoy your drive without that annoying crackle? Let’s dive into the practical steps!
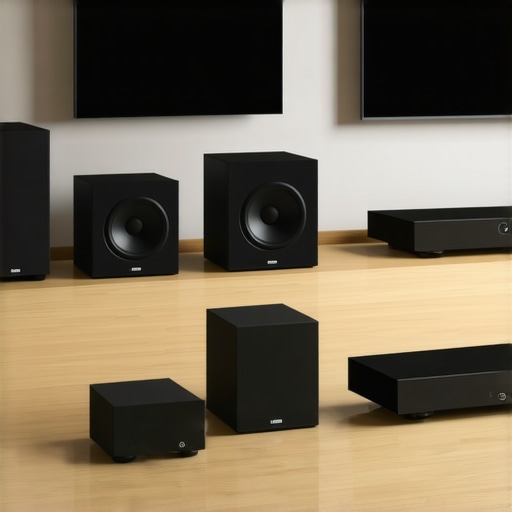
Check Your Wiring Connections
Start by inspecting all wiring related to your speakers and amplifier, ensuring none are loose or corroded. I once found a loose ground wire in my trunk that caused crackling at high volume—simply tightening it restored clarity and saved me hundreds on new equipment. Use a wiring diagram for your model to verify each connection’s integrity, and replace any frayed or damaged wires to prevent noise interference.
Upgrade or Tune Your Amplifier Settings
Next, focus on your amplifier’s gain and crossover settings. Overamplification can cause speakers to clip, creating distortion. For example, I reduced my gain from 7 to 4, which significantly improved sound quality without sacrificing volume. Consult your amplifier’s manual to optimize these settings—sometimes, a simple adjustment can prevent that annoying crackle. Additionally, ensure your amplifier’s impedance matches your speakers to avoid strain, which can lead to distortion.
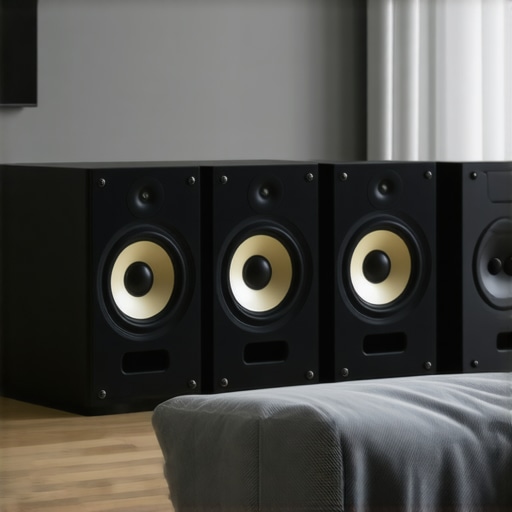
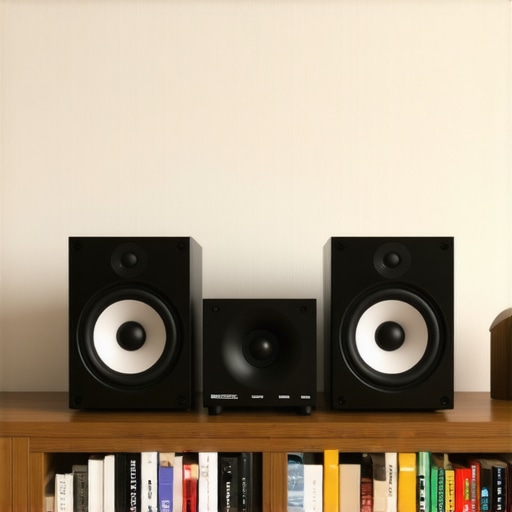
Replace or Adjust Speakers for Better Sound
If wiring and amp settings check out, consider upgrading your speakers or repositioning them. I experimented by moving my front door speakers closer to ear level, unlocking cleaner bass and clearer vocals. Look for speakers with higher sensitivity ratings—these cut out the need for excessive power and reduce distortion. For an in-depth list of top affordable options, see this guide on [2026 speakers that beat name-brand towers](https://premiumsounddeals.com/5-car-speakers-for-2026-that-stop-door-rattle-without-pro-mats). Also, ensure your speakers are securely mounted to prevent vibrations that cause muffled sound or rattles, which can be mistaken for distortion.
Many audio enthusiasts assume that upgrading to the latest amplifier or speaker model automatically results in superior sound quality. However, this belief overlooks the intricate nuances that truly influence audio performance. In my experience, understanding these subtleties can mean the difference between a mediocre listening experience and audio nirvana.
One common myth is that more power always equals better sound. While it’s true that amplifiers with higher wattage can drive speakers louder, they don’t guarantee cleaner audio. Overdriving an amplifier beyond its optimal level can introduce distortion, clipping, and even damage your gear. It’s crucial to match amplifier power carefully with your speakers’ rated impedance and sensitivity—something often overlooked by novices. For instance, a high-end amplifier can sound terrible if it’s not properly tuned or if it’s too powerful for your speakers.
Similarly, many believe that larger speakers always deliver deeper bass. In reality, speaker placement, enclosure design, and room acoustics play pivotal roles. A tiny bookshelf speaker placed correctly can outperform a massive tower that’s marred by reflections and vibrations. Therefore, careful positioning and room treatment are essential—otherwise, your investment in high-quality gear might fall flat. To explore this further, check out speaker placement mistakes that can sabotage your sound clarity.
Why do certain high-end headphones underperform compared to budget models?
This brash question reveals the importance of driver quality, impedance matching, and personal fit. Expert designers stress that a headphone’s true potential depends on optimizing these internal variables. For example, an expensive pair might leak sound or cause discomfort during extended use—issues that can be mitigated through better ergonomic design or using headphones for glasses wearers. Remember, establishing an optimal seal and resistance matching enhances clarity and comfort, which are often neglected in large-scale marketing claims.
Moreover, taking the time to calibrate your sound system—equalizing frequency response, adjusting crossover points, and tuning gain—can drastically reduce common issues like muddiness and harshness. Many users miss this step, assuming that their gear is flawed when it’s merely misconfigured. For advanced tuning techniques, I recommend reviewing amp tuning guides that can elevate your listening experience to professional levels.
Have you ever fallen into this trap of oversimplifying gear upgrades? Let me know in the comments below. Mastering these nuances is what separates true audiophiles from casual listeners, and the payoff is crystal-clear, immersive sound that rivals professional setups.
Tools I Trust for Sound System Upkeep
Keeping your home audio gear performing at its peak requires specific tools. I swear by a high-quality multimeter for diagnosing wiring issues; it helps me verify voltage levels and identify shorts or loose connections before they cause major problems. An infrared thermometer is invaluable for monitoring amplifier heat levels, ensuring your equipment isn’t overheating during extended playback sessions—a common culprit behind sound distortion over time.
For software management, I rely on Room EQ Wizard (REW). It’s a free, professional-grade program that allows me to measure frequency response and phase, guiding precise equalization adjustments. Regularly running REW tests helps me catch shifts in audio fidelity early, preventing long-term degradation. Investing in a decent microphone calibrated for acoustic measurements provides even more accurate data, making fine-tuning my system a breeze.
Steps to Sustain Your System’s Performance
Preventative maintenance is the key. Dust buildup can interfere with cooling fans and cause heat-induced distortion, so I schedule bi-annual cleaning of all vents and connections. Using compressed air, I gently blow out dust from amplifier heatsinks and speaker ports—don’t forget to do this in a well-ventilated area to avoid inhaling debris.
Most importantly, periodically tighten all connections—speaker wires, input jacks, power cords—as vibrations can loosen fittings over time. Also, swap out old cables with high-quality, low-loss variants to maintain pristine signal transmission. I often recommend replacing cheap RCA cables with gold-plated, shielded ones for better durability and reduced interference, especially if you notice subtle hiss or hum creeping in.
Planning for Future Upgrades and Scale
Looking ahead, integrating smart control systems will simplify ongoing maintenance. Smart amplifiers that connect via Wi-Fi can alert you to temperature spikes or connectivity issues via companion apps, reducing the risk of unexpected system failures. When scaling your setup, consider modular components—like adding a dedicated subwoofer or upgrading to bi-amping—only after verifying all current gear is fully operational. Verifying speaker impedance matching with tools like the [3-2026-amps-that-make-100-speakers-sound-like-1000](https://premiumsounddeals.com/3-2026-amps-that-make-100-speakers-sound-like-1000) ensures each component works harmoniously.
How do I maintain my sound system over time
Consistently scheduled check-ups using essential tools, cleaning, and proper cable management will extend your system’s lifespan and quality. For instance, I use the fast fixes guide to troubleshoot any minor noise issues before they escalate. As the trend leans toward smarter, interconnected home theaters, adopting intelligent monitoring tools will become even more critical. Don’t hesitate to implement these practices and try out advanced tuning techniques—they will immensely improve your listening experience in the long run.
Beyond the Manual: Hidden Lessons from My Audio Renovations
One of the most eye-opening truths I uncovered was that even the most expensive gear won’t deliver perfect sound without proper setup and maintenance. I used to assume that replacing components was the magic fix, but I found that patience, attention to detail, and understanding my gear’s nuances made a world of difference. For instance, I realized that regular wire tightening and cleaning could prevent most distortion issues—saving me time and money in the long run.
Another lesson was that sound quality isn’t just about power; it’s about harmony. Matching impedance, adjusting gain levels precisely, and positioning speakers correctly can elevate your system from decent to breathtaking. This insight pushed me to prioritize proper calibration over chasing the latest tech, which often leads to wasted resources.
Finally, I learned that a bit of knowledge about acoustics and room dynamics could transform my experience entirely. Small speaker adjustments and room tuning have turned my car into a concert hall. Embracing these understated yet impactful tweaks has been a game-changer, and I wish I had started sooner.
My Arsenal of Tools That Keep My Sound Spot-On
Over the years, I’ve curated a small yet powerful toolkit that helps me maintain top audio performance. A reliable multimeter allows me to diagnose wiring issues that cause crackles or hiss—making troubleshooting straightforward. I also swear by the Room EQ Wizard software, which provides detailed frequency response insights, guiding me to perfect equalization adjustments. A calibrated microphone is invaluable for precise measurements, ensuring every tweak results in cleaner, richer sound. These tools are my secret weapons for ongoing excellence in sound quality, and I highly recommend their incorporation into your setup.
Today’s Your Chance to Elevate Your Listening Experience
Transforming your car audio system from crackling chaos to crystal-clear harmony isn’t just about upgrading; it’s about understanding your gear, maintaining it diligently, and making informed adjustments. By applying the lessons and tools I’ve shared, you can enjoy music that truly moves you—without the distraction of unwanted noise. Remember, the quest for perfect sound is ongoing, but every small step brings significant rewards. So go ahead, tweak that gain, recheck those wires, and experiment with speaker placement—the ultimate listening experience awaits.
What’s your biggest challenge when it comes to achieving pristine sound in your setup? Share your stories or questions below—I’d love to help you conquer those audio hurdles!
Leave a Reply