
I sat there, remote in hand, cranking the volume until my windows rattled, yet I still couldn’t understand a single word the protagonist was whispering. It was embarrassing. I had just spent my entire weekend setting up what I thought was a dream home theater, but the dialogue sounded like it was coming from inside a soggy cardboard box. My mistake? I’d run out of room on the media console and decided that the carpet was a “perfectly fine” spot for my expensive center channel speaker. I was wrong. Dead wrong. Most of us treat the center channel like an afterthought, but it handles about 70% of a movie’s soundtrack. If you’ve been struggling to hear voices over explosions, you’re likely fighting a battle against physics that you’re currently losing. Today, I’m going to show you why that floor placement is killing your audio quality and how to fix it without spending another dime on gear.
Get Your Dialogue Out of the Shag Carpet
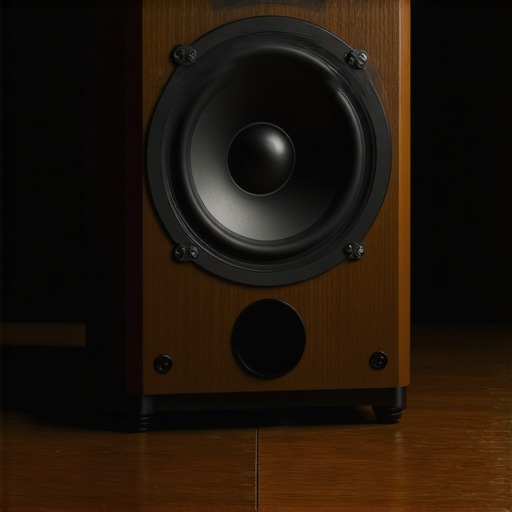
When I first started out, I honestly thought that as long as the speaker was “pointed at me,” the height didn’t matter. I even tried propping it up with a folded towel—a move that did absolutely nothing but make my living room look like a locker room. The reality is that you should never put your speakers directly on the floor because of a nasty phenomenon called floor bounce. Sound waves hit the floor and reflect upward, reaching your ears a fraction of a second after the direct sound. This creates “comb filtering,” which effectively mutes the very frequencies that make human speech intelligible.
Does a few inches of height really make a difference?
You might be thinking that your floor-dwelling speaker is “good enough” if you just turn the center channel level up in your receiver settings. Trust me, I tried that too. All it did was make the muffled voices louder and more annoying. According to acoustic research by the Audio Engineering Society, the human ear is incredibly sensitive to vertical localization; we are literally wired to expect voices to come from the same height as the faces we see on screen. When your audio is coming from your ankles, your brain has to work overtime to bridge the gap between the visual and the auditory. This is why your center channel should always be at ear level whenever possible. Have you ever felt like you were straining to hear, even when the volume was high? Tell me, have you ever caught yourself leaning forward just to catch a line of dialogue? That’s “listener fatigue,” and it’s usually caused by poor placement. Moving the speaker isn’t just about volume; it’s about clarity. When the speaker is on the floor, you’re missing out on the crispness of the high-end frequencies. I’ve seen people buy massive amplifiers thinking they needed more power, when all they really needed was a simple shelf or stand. If you’re currently dealing with this, stop your tv from cutting off dialogue by simply lifting the source of the sound. It’s the single most effective “free” upgrade you can give your system.
Ditch the Floor and Find the Sweet Spot
If you cannot wall-mount your speaker, you need a dedicated surface that aligns as closely as possible with your ears. When I finally moved my speaker from the carpet to a solid shelf, the difference was like wiping a thick layer of grease off a window. I realized that stop placing your speakers directly on the floor isn’t just about aesthetics; it is about protecting the integrity of the sound wave. If you are on a budget and your media console is too low, don’t panic. You can actually build your own speaker stands for under twenty dollars using simple wood offcuts or PVC pipe. The goal is to get that tweeter—the small driver responsible for high-pitched sounds—pointed straight at your head.
Aim the Tweeter Directly at Your Face
Think of your speaker like a flashlight in a dark room. If you point the flashlight at the floor, only a small amount of reflected light reaches the opposite wall. High-frequency sound waves, which carry the most important parts of human speech (like the ‘s’, ‘t’, and ‘f’ sounds), are extremely directional. If they are pointed at your shins, they stay at your shins. I remember a specific setup where I used a stack of old encyclopedias just to prop up the front edge of my speaker. It looked ridiculous, but the dialogue suddenly had ‘texture’ again. If you have a low-profile setup, you can make cheap speakers sound expensive simply by using rubber doorstops or foam wedges to tilt the speaker upward toward your seating position.
Kill the Reflections Before They Kill the Sound
Even if you lift the speaker six inches, you are still dealing with the hard surface of your floor or the top of your media cabinet. These surfaces act like acoustic mirrors. The sound bounces off them and creates a messy ‘echo’ that blurs the dialogue. To combat this, you should employ the simple rug trick that instantly improves your room acoustics. Placing a thick, shaggy rug between your speakers and your couch absorbs those early reflections, preventing them from muddying the direct sound. It is a low-tech solution that produces high-end results without needing a calibration microphone.
Isolate the Cabinet to Stop Muddy Bass
Another silent killer of clarity is vibration. When a center channel sits directly on a wooden shelf, it transfers energy into the furniture. The shelf itself starts to vibrate, acting like a secondary, much lower-quality speaker. This is why you might hear a weird buzzing or rattling during a deep-voiced monologue. You can learn how to stop your speaker grills from rattling at high volume, but you also need to isolate the entire cabinet. Using small silicone feet or specialized isolation pads decouples the speaker from the furniture. This ensures that the only thing moving is the air, not your media console. When I finally isolated my own setup, the ‘boxiness’ of the voices vanished, leaving behind a natural tone that actually sounded like a person standing in the room.
Forget the Marketing and Focus on the Physics
Now, let’s dig a bit deeper into the myths that the audio industry loves to sell you. Most people assume that if their dialogue still sounds ‘thin’ after lifting the speaker, they need a bigger amplifier or two-hundred-dollar ‘oxygen-free’ cables. This is where you need to be careful. In my years of tinkering, I’ve found that why expensive speaker cables are mostly a marketing trick is a pill many audiophiles refuse to swallow. Unless you are running wire through a corrosive, high-humidity environment, standard 14-gauge copper wire will perform identically to boutique brands. The same goes for those shiny connectors; in most home setups, why gold-plated connectors aren’t always better comes down to the fact that they don’t actually improve signal conductivity—they just resist tarnish better. If your sound is dull, the problem is likely your room’s geometry, not the price of your wires.
Are your speakers actually pushing air in the right direction?
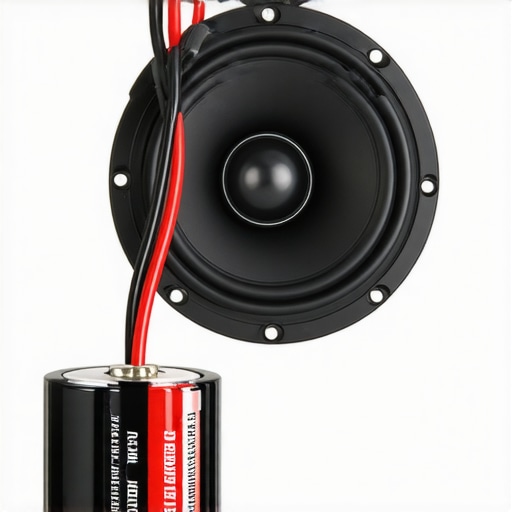
The real ‘ghost in the machine’ that ruins dialogue clarity is often phase cancellation. If you accidentally swapped the red and black wires on just one side of your setup, your speakers are working against each other. One pushes while the other pulls, which physically cancels out the frequencies where human voices live. It sounds like the actor is speaking from the bottom of a well. You can quickly verify this by learning how to use a 9v battery to check your speaker polarity. Dr. Floyd Toole, a renowned expert in psychoacoustics, has demonstrated in his research for Harman International that even slight phase shifts can degrade the stereo image more than almost any other electronic distortion. If your wiring is a mess, no amount of EQ can fix the ‘hollow’ sound.
The Ground Loop Trap and Hidden Interference
I once spent three days trying to figure out why my center channel had a faint, high-pitched whine every time the movie got quiet. I thought my receiver was dying. It turns out, I had a classic ground loop. If you have multiple devices plugged into different outlets, you might experience why your subwoofer makes a humming sound even when off. This interference can bleed into your main speakers, muddying the silence between words. Similarly, if you’re a vinyl enthusiast using a soundbar, you need to know how to properly ground your turntable to stop that buzzing noise. These small electrical inconsistencies are the difference between a system that sounds ‘okay’ and one that sounds truly ‘transparent.’
Can your amplifier actually handle those high-impedance headphones?
If you have moved your listening from the couch to a desk, don’t assume your laptop’s headphone jack is sufficient. Many high-end ‘cans’ have high impedance, meaning they require more voltage to move the drivers properly. When an amp is underpowered, the bass gets floppy and the vocals lose their crispness. You don’t need a thousand-dollar setup, though; there is a specific 50 dollar amp that drives high impedance cans without a struggle. Always check the Ohms on your gear before you assume the speakers themselves are the weak link. Have you ever fallen into the trap of buying ‘better’ gear when the issue was just a simple wiring mistake? Let me know in the comments below.
Once you’ve nailed the placement and ironed out the wiring issues, you enter the marathon phase: maintenance. I’ve seen thousand-dollar amplifiers end up in the trash simply because the owner didn’t know how to clean a potentiometer. If you hear a scratching sound when adjusting the gain, don’t panic. You can easily fix the crackling noise when you turn your amp volume by using a specialized contact cleaner like DeoxIT D5. This isn’t just ‘cleaning’; it’s chemical restoration that prevents oxidation on those tiny metal parts. Similarly, if you’re a vinyl lover, you need to be obsessive about your needle. I use a ZeroDust on-stylus cleaner after every few records because a dirty tip acts like a sandpaper lathe on your precious grooves. Learning the best way to clean a turntable stylus without breaking it will save you hundreds in replacement costs and keep your highs sounding crystal clear.
Keep the Dust Out and the Clarity In
The biggest silent killer of expensive electronics isn’t hardware failure—it’s heat and dust. I make it a habit to check the ventilation on my receiver every six months with a can of compressed air. If your unit is shoved into a tight cabinet without airflow, it’s only a matter of time before you need to learn how to tell if your vintage amplifier needs new capacitors because the heat has literally cooked the electrolytes inside. For modern digital setups, maintenance often means software. I’ve fixed more ‘broken’ systems by simply checking for a patch than by opening the chassis. You would be surprised how often your soundbar needs a firmware update to fix audio drops or HDMI handshake issues with your TV. Even your portable gear needs a refresh; if your music sounds muffled or the bass has lost its punch, it might be time to learn how to replace the foam pads on your favorite headphones to restore that original, intended acoustic seal.
How do I maintain my audio gear over time?
Consistency is more important than expensive tools. Beyond cleaning, you should re-evaluate your cable connections once a year. Screws on speaker terminals can loosen over time due to the subtle vibrations of the music itself. A loose connection introduces resistance and can even lead to short circuits. 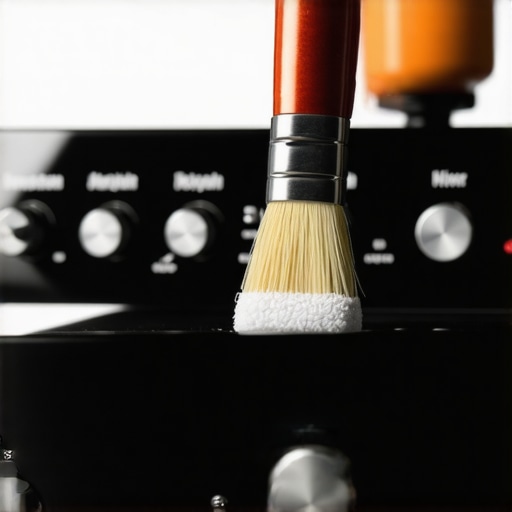 Looking ahead, I suspect the ‘set and forget’ era of home audio is ending. We are moving toward a world where AI-driven room correction, like the systems documented in Dr. Floyd Toole’s Sound Reproduction: The Acoustics and Psychoacoustics of Loudspeakers and Rooms, will become standard even in budget soundbars. These systems use internal microphones to constantly adjust for your room’s flaws in real-time. This is why your smart speaker is actually listening to your room acoustics right now—it’s trying to compensate for that ‘boomy’ corner you can’t move. If you want to take your system to the next level today, stop guessing and start testing. My advanced tip for the weekend? Grab a 9v battery and check your speaker polarity right now to ensure your drivers are in perfect sync. You’ll be amazed at how much ‘hidden’ bass you find when your speakers aren’t fighting each other.
Small Tweaks That Beat Big Checks
Looking back at my first ‘shag carpet’ disaster, I realize that the most expensive lesson I learned wasn’t about equipment—it was about physics. I used to think that buying better gear would mask a bad room, but it only makes the flaws louder. Here are the lightbulb moments that saved my setup:
- Physics is free: Moving your center channel six inches costs zero dollars but can provide a 50% improvement in clarity. Before you look for new budget upgrades that make cheap speakers sound expensive, check your angles and mounting height.
- The room is part of the speaker: Your floor and walls are acting like secondary drivers. If you don’t treat them, you’re hearing the resonance of your furniture rather than the intended movie score.
- Trust your ears, not the hype: If a cheap rubber wedge makes your dialogue clearer than a five-hundred-dollar cable, the wedge wins every time. Don’t be afraid to experiment with DIY solutions over boutique marketing.
My Go-To Kit for Audio Rescue
If you want to move beyond the basics, there are a few items I keep in my ’emergency’ audio drawer. First, a simple 9v battery is the best tool you’ll ever own to check your speaker polarity and ensure your wiring is perfect; it is the quickest way to find out if your speakers are out of phase. Second, I always keep a can of contact cleaner handy; it’s the only way to fix the crackling noise when you turn your amp volume without a trip to the repair shop. #IMAGE_PLACEHOLDER_E# Lastly, I highly recommend picking up a copy of Sound Reproduction by Dr. Floyd Toole. It’s the definitive guide to acoustics and will help you understand exactly why your room behaves the way it does, saving you from future buying mistakes.
Reclaim the Movie Night Magic
Setting up a home theater should be about the experience, not the stress of missing every third word. By getting your speakers off the floor, aligning your tweeters, and checking your wiring, you are doing more for your system than any ‘pro’ installer could. You don’t need a massive budget to get theater quality sound out of a small living room; you just need a little patience and a willingness to move things around. Take the time to dial in your home audio deals and you’ll find yourself reaching for the remote a lot less often. Have you ever spent hours troubleshooting a sound issue only to find it was something as simple as a loose wire or a bad angle? Let me know in the comments below.