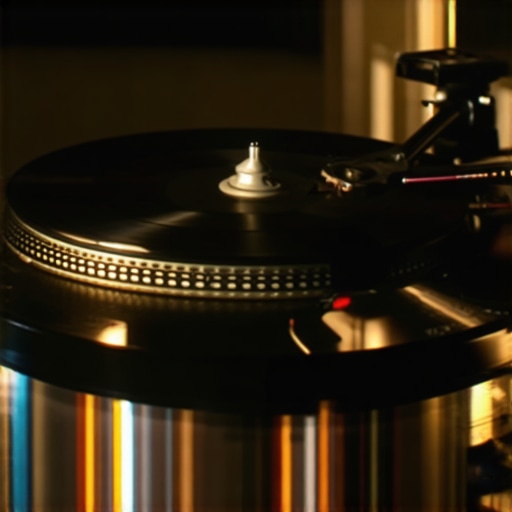
There was a moment when I set my vintage record player on my living room shelf, hit the start button, and was greeted not with warm, rich sounds but with a piercing, tinny squeal that made my ears cringe. It’s a familiar frustration—your cherished vinyl collection deserves better, yet something seems to rob your music of its vitality. I’ve been there, and I promise, you’re not alone in struggling with this issue.
Uncovering the Mystery Behind That Awful Sound
Over the years, I discovered that the most common culprit behind a tinny, dull sound isn’t always the gear itself; sometimes, it’s the little hidden problems that go unnoticed. And frankly, many of us overlook simple solutions, thinking we need to spend a fortune on upgrades. Well, let me tell you—most of the fix is faster and cheaper than you might expect, and I’ll guide you through it step by step.
Have You Faced This Issue and Felt Frustrated?
If your records sound more like noise than musical magic, I want to know—have you experienced that frustrating moment when everything sounds off? If so, you’re in the right place for a straightforward, effective fix.
Trust me, early on I made a mistake that many others do: ignoring the setup and assuming the equipment needed replacing. That misguided assumption cost me time and money. Instead, I learned that simple adjustments and cleaning could revive my records’ full richness. You can often improve sound quality by properly maintaining your setup.
Now, let’s get into why this happens and how you can fix it without professional help. Ready? Let’s dive into the first step toward reclaiming your vinyl’s soul.
Check and Clean Your Turntable Setup
Begin by ensuring your turntable is properly grounded. A loose connection can introduce hum and distort sound quality. Locate the grounding wire—usually a single screw terminal—and tighten or reattach it securely to the grounding post on your amplifier or receiver. Next, inspect the tonearm for proper alignment. Misaligned or skewed tonearms cause tracking issues leading to harsh or tinny sound. Use a protractor tool to realign the tonearm if necessary, following manufacturer instructions.
Clean Your Stylus and Records
Dirty stylus and records are common culprits for poor sound. Gently clean your stylus with a stylus brush, moving from back to front, never side to side, to avoid damage. For records, use a dedicated record cleaning solution and a microfiber cloth, or consider a record cleaning machine for deep cleaning. This process removes dust and static that can muddy the sound and cause distortion.
Adjust Speaker Placement and Calibration
Proper speaker placement significantly impacts audio clarity. Position bookshelf speakers at ear level, angling them slightly toward your listening position. Keep them at least 12 inches from walls to reduce bass boom and reflections. For a quick check, sit in your usual listening spot and see if the sound seems balanced. If it’s still off, calibrate your system using an SPL meter or calibration microphone with a receiver that offers room correction features. Correct positioning and calibration can transform dull sound into rich, warm audio.
Upgrade or Replace Faulty Cables
Worn or cheap cables often cause static, crackle, and loss of bass. Replace RCA cables with higher-quality, shielded connectors to ensure cleaner signal transfer. When replacing, make sure connectors are firmly attached and free from corrosion. Also, check for frayed or damaged wires, which are telltale signs for replacement. Proper cabling can substantially improve overall sound fidelity and eliminate irritating noise.
Examine the Cartridge and Stylus Condition
The cartridge and stylus play critical roles in sound quality. Remove the cartridge from the tonearm and inspect the stylus tip, which should be clean and free of debris. If the stylus appears worn or damaged, replacing it can restore detail and reduce harshness. Some cartridges can be upgraded to models with better cantilevers for improved clarity. Consider consulting a specialist to identify suitable replacements for your turntable model.
Experiment with External Components
Adding a dedicated phono preamp or upgrading your amplifier’s phono section can make a noticeable difference. External preamps often provide cleaner amplification, resulting in fuller and more detailed sound. During my own troubleshooting, I connected an external preamp and was amazed at the clear improvement in audio richness. For more insight, visit this guide on enhancing sound systems without replacing entire units.
Test and Fine-Tune
After making adjustments, play a familiar record at a comfortable volume. Listen carefully for any lingering issues like harshness or distortion. Tweak the tonearm balance, stylus pressure, and equalization settings until the sound feels natural and balanced. Keep a record of your adjustments for future reference. Remember, fine-tuning is often an iterative process, and small changes can have significant impacts.
 When it comes to upgrading your home audio setup, many enthusiasts and casual listeners alike fall into common traps that hamper their listening experience. One widespread misconception is considering wattage as the primary measure of an amplifier’s power—many believe that higher wattage always means better sound quality. However, this oversimplification overlooks the importance of amplifier efficiency, damping factor, and how well the amp matches your speakers. For instance, some high-wattage amps can actually drown smaller speakers in unnecessary power, causing distortion. Instead, focus on pairing amps with your speakers based on impedance matching and clarity, as discussed in expert sources like this article.
Another myth is that bigger speakers automatically deliver better audio. In reality, large towers aren’t always optimal for small rooms, and sometimes, small bookshelf speakers can outperform massive towers when placed correctly—this is especially true when considering clarity and imaging, as explained here. Choosing speakers should be based on room size, placement, and the specific sound signature you’re after, not just physical size.
Misunderstanding soundbars is also common. Many think they can replace a full surround system with a single unit, but the reality is nuanced. The best soundbars optimize speaker placement and use technologies like upward-firing drivers and Dolby Atmos to mimic surround sound—yet, they’re still limited by their form factor. For small living rooms, a well-calibrated soundbar can provide impressive sound, but bigger rooms might benefit from a combination of speakers and dedicated subwoofers. For guidance on this, you can read this comprehensive comparison.
Beware of the ‘More is Better’ approach to audio equipment. Investing in an ultra-high-end component doesn’t necessarily guarantee superior sound if it isn’t suited to your specific space or system synergy. Overly sensitive equipment can pick up unintended noise or resonate with room imperfections, creating ‘hidden’ problems that degrade fidelity. It’s crucial to understand your room acoustics, as well as component compatibility—this nuanced approach is often overlooked but vital for top-notch audio.
An advanced consideration that often gets neglected is the influence of electromagnetic interference (EMI) on system performance. Modern home theaters and hi-fi setups are susceptible to interference from Wi-Fi routers, power supplies, and other electronics. This unseen factor can cause subtle noise, drops in clarity, or hums. Investing in shielding cables and proper grounding can mitigate these issues—see this article for practical tips.
So, next time you consider an upgrade or choose new gear, remember that more wattage, larger size, or brand prestige isn’t the full story. Understanding these nuanced factors will help you make informed decisions and truly elevate your listening experience. Have you ever fallen into this trap? Let me know in the comments, and let’s uncover more hidden truths about home audio.
Maintaining your home audio equipment over time is essential to preserve sound quality and ensure longevity. From delicate vintage speakers to modern amplifiers, using the right tools and methods can save you money and frustration. In my experience, a combination of precise cleaning, regular calibration, and quality testing equipment forms the backbone of effective maintenance.
How do I maintain my audio system over time?
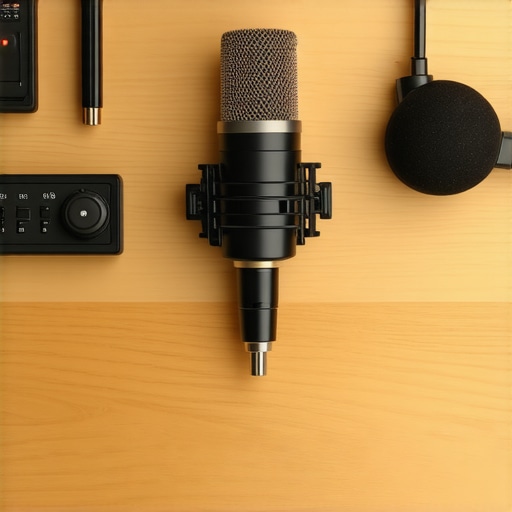
The first step is to invest in a good test and calibration mic. I personally use the MiniDSP UMIK-1 because its accuracy and ease of use make routine calibration straightforward, allowing me to detect and correct frequency response issues before they become serious. Regular calibration, especially after any physical adjustments or environmental changes, keeps sound crisp and balanced.
Keep a dedicated cleaning toolkit handy, which includes an ultraviolet stylus cleaner and a microfiber cloth. I use a gentle (not abrasive) brush to clean my stylus weekly, preventing dust buildup that causes muddiness or distortion. For speakers, a vacuum with a soft brush attachment can remove dust from grilles and cabinets, extending their lifespan.
When it comes to hardware, I use a digital multimeter to check and confirm proper grounding and wiring integrity, especially for vintage equipment. Proper grounding reduces hum and static, issues I encountered before I added a grounding wire—something I recommend following from this guide.
Another helpful device is a crossover analyzer. It allows you to verify whether your speaker’s crossover points are functioning correctly, preventing issues like muddy bass or harsh treble. I use it periodically to ensure my system maintains the clarity I crave. For ongoing performance, I also recommend checking your cables with a cable tester; good cables prevent static and signal loss.
Looking ahead, I believe connected devices and smart calibration tools will be more prevalent, enabling hassle-free system tuning via apps. For example, room correction software integrated into amplifiers or standalone units can automatically optimize your setup for acoustics and placement, saving you hours of manual adjustments.
To maximize the lifespan and performance of your home audio gear, I recommend regularly using your calibration mic after every physical change or environmental shift. Plus, leveraging advanced tools like crossover analyzers or external preamps can refine sound for years to come. Try out the calibration mic I mentioned, and experience the difference it makes in your listening experience.
And remember, proper maintenance can prevent costly repairs and upgrades down the line—so stay proactive with your equipment care. For more detailed advice on troubleshooting and optimizing your audio components, explore this resource.