
I stood there, staring at my turntable, feeling like a complete failure. I’d just spent a month’s rent on a beautiful new analog setup, yet my speakers were humming louder than the music. I checked my grounds, swapped my RCAs, and even tried to clean my stylus thinking maybe dust was the culprit. Nothing worked. It wasn’t until I physically picked up my phono preamp and moved it two feet away from my beefy power amp that the silence finally became golden. If you’ve ever dealt with that persistent, ghostly buzz in your vinyl setup, you aren’t alone. Today, I’m going to show you why physical distance is the most underrated upgrade you can give your record player. We’re going to talk about the invisible forces at play inside your power amp and why they absolutely hate your sensitive phono stage.
Your Power Amp Is Secretly a Giant Magnet
Inside that heavy power amplifier of yours sits a massive transformer. Its job is to take wall power and turn it into something your speakers can use, but in the process, it creates a significant electromagnetic field. Meanwhile, your phono preamp is designed to take the microscopic signal from your turntable and boost it by about 40 to 60 decibels. It is an incredibly delicate task. According to research published by the Audio Engineering Society, phono stages are particularly vulnerable because they must amplify signals as low as 0.5mV, making them exponentially more susceptible to electromagnetic interference (EMI) from nearby power transformers compared to line-level gear. When you put that sensitive ear right next to a shouting transformer, you get noise. Have you ever noticed a weird buzzing sound that only happens when your turntable is on? Drop a comment below—I’m curious how many of you are currently fighting the hum battle!
Is This All Just Audiophile Paranoia?
Look, I get it. We’re told a lot of things in the audio world—like how gold-plated connectors or expensive speaker cables are the only way to get real sound. It’s easy to be skeptical of a fix that literally costs zero dollars. But this isn’t about magic; it’s about basic physics and signal integrity. When I started out, I made the classic rookie mistake of stacking my components for that clean, symmetrical look. I thought shielding would handle the rest, but I was dead wrong. Even a subwoofer humming can sometimes be traced back to being placed too close to a high-draw power source.
Give Your Sensitive Gear the Space it Deserves
If you’ve already tried to properly ground your turntable and you still hear a ghost in the machine, it is time to look at your equipment layout. You wouldn’t try to have a private conversation next to a running jet engine, so don’t expect your preamp to work flawlessly on top of your power amp. Physical separation is the only way to ensure those electromagnetic fields don’t bleed into your music. Let’s dive into the practical steps of how to arrange your rack for the lowest possible noise floor.
Find the Heavy Side Before Moving Your Gear
Most power amplifiers are not symmetrical on the inside. Usually, one side houses a massive, heavy toroidal or frame transformer that acts as the heart of the power supply. This is the ‘danger zone’ for your sensitive vinyl signals. I remember helping a friend set up a vintage system where the hum was so bad it sounded like a hair dryer was running in the background. We spent twenty minutes swapping cables, only to realize his phono stage was sitting directly above the transformer on the left side of his receiver. By simply sliding the preamp to the right side of the shelf, the noise floor dropped so significantly he thought he’d accidentally disconnected the speakers. If you want to find your amp’s ‘noisy’ side, just feel for the weight; the heaviest corner is where the magnetic field is strongest. Move your phono stage as far as possible from that specific spot. 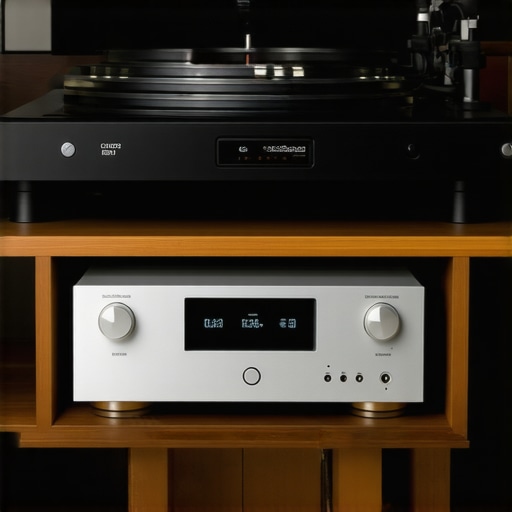
Stop Stacking Your Components Like Lego Bricks
It is incredibly tempting to stack your gear. It looks clean, saves space, and makes cable management easier. However, stacking is the primary reason users experience a persistent crackling noise when you turn your amp volume or a constant low-frequency buzz. When you stack a phono preamp directly on top of a power amp, you are essentially placing a high-gain microphone inside a magnetic storm. Air is the best insulator you have, and it costs nothing. If you are tight on space, consider using 3 budget upgrades that make cheap speakers sound expensive, such as simple isolation feet or even DIY platforms, to create at least four to six inches of vertical clearance. This gap allows the electromagnetic field to dissipate before it hits the sensitive circuitry of your phono stage.
Cross Your Power and Signal Wires at Right Angles
The interference isn’t just coming from the boxes themselves; it’s coming from the ‘tails’ hanging off the back. Your power cords carry high-voltage alternating current, which generates its own field. If your thin, unshielded turntable interconnects run parallel to those power cords, they will pick up that 60Hz hum through induction. I once spent a whole afternoon tracing a buzz only to find that my phono cable was literally zip-tied to my amp’s power cord. Don’t do that. If they must meet, ensure they cross at a 90-degree angle. This minimizes the contact area and prevents the hum from ‘jumping’ into your signal path. If you are struggling with messy wires, learning the best way to run speaker wire under your rug can help keep your signal lines far away from the high-voltage clutter behind your media console.
Why Three Feet of Air Beats Expensive Shielding
You might think that buying a more expensive, shielded preamp is the solution, but physics rarely cares about your budget. The inverse square law tells us that the strength of a magnetic field drops off sharply as you increase distance. Moving your preamp just twelve inches away is often more effective than adding three layers of lead shielding. This applies to your speakers too; you should never put your speakers directly on the floor or on the same vibrating surface as your turntable, as physical vibrations can translate into electrical noise just as easily as magnets do. If your current rack doesn’t allow for this distance, you might need to build your own speaker stands or a separate wall shelf to give your turntable and its preamp the isolated environment they need to perform flawlessly.Everyone tells you that a thicker, ‘audiophile-grade’ cable is the silver bullet for interference. In my experience, this is one of the most expensive lies in the industry. While shielding matters, a heavily shielded cable can actually act as a capacitor, rolling off your high-frequency detail before it even hits your amp. This is why expensive speaker cables are mostly a marketing trick when a simple change in physical layout would do more for your signal-to-noise ratio. If you’ve ever felt like your records sound ‘dark’ or ‘muddy,’ you might be fighting cable capacitance rather than interference. Have you ever fallen into this trap? Let me know in the comments!
Why Does My High-Gain Setup Still Hiss With the Motor Off?
If you have isolated your gear and the hum is gone, but you still hear a steady ‘shhh’ sound, you are likely dealing with the noise floor of the preamp itself. A common mistake is to crank the volume on a cheap phono stage and keep the power amp low. This is essentially amplifying the internal thermal noise of the preamp’s resistors. Dr. Floyd Toole, a renowned expert in acoustics and former President of the Audio Engineering Society, has noted in his research that ‘gain staging’—balancing the volume levels between your components—is far more critical to sound quality than the price of the boxes themselves. If you are hearing a crackling noise when you turn your amp volume, it might be time to clean your pots, but a constant hiss usually means your preamp is working too hard.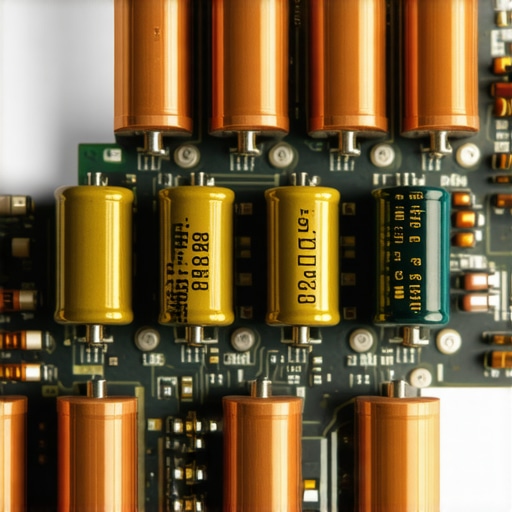
Don’t Let Vintage Aesthetics Mask Internal Decay
We all love the look of a 1970s silver-face receiver, and finding high-end gear at a bargain price is a thrill. However, the ‘nuance’ most enthusiasts miss is that capacitors have a shelf life. Those internal components are filled with an electrolyte that dries up over thirty or forty years. When they fail, they stop filtering the power supply properly, leading to a low-level hum that no amount of grounding or physical distance can fix. Before you assume your turntable is the problem, you need to learn how to tell if your vintage amplifier needs new capacitors. It is a common ‘oops’ factor to spend hundreds on a new cartridge while your amplifier’s power supply is literally dying on the inside.
The Room Is Your Most Important Component
Finally, I see so many people obsessing over the distance between their preamp and amp while ignoring the giant echo chamber they are sitting in. You can have a dead-silent noise floor, but if your speakers are firing into a glass coffee table, it won’t matter. Much like how you should never put your speakers directly on the floor, you shouldn’t leave your walls bare. Using the simple rug trick that instantly improves your room acoustics can do more for your ‘clarity’ than a thousand-dollar cable ever could. Advanced audio isn’t about the gear you buy; it’s about how you manage the environment and the electricity that gear relies on.Once you have the physical layout mastered, the battle for pure sound moves into the realm of chemistry and microscopic maintenance. I’ve seen systems worth thousands of dollars sound like cheap radios because the owner let oxidation build up on the connectors. Oxygen is the ultimate enemy of signal integrity. I make it a ritual to use a high-quality contact cleaner like DeoxIT D5 on every signal path once a year. If you skip this, you’ll eventually notice a degrading signal or, worse, you’ll have to learn how to fix the crackling noise when you turn your amp volume when the carbon in your pots starts to fail. Bill Whitlock, the industry legend behind Jensen Transformers, emphasizes in his technical papers that ‘interconnection hygiene’ is the most overlooked factor in maintaining a low noise floor. 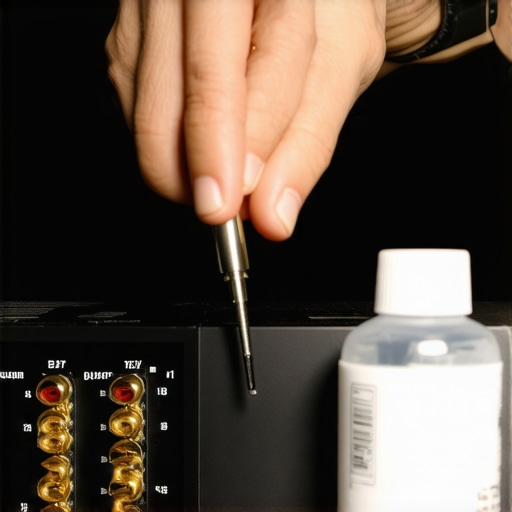
The Essential Toolkit for Every Audio Enthusiast
You don’t need a degree in electrical engineering, but you do need a few basic tools. The most important one is a digital multimeter. I use mine constantly to check for DC offset at the speaker terminals; this is crucial for vintage gear to ensure you don’t blow your drivers. If you’re hearing issues, a multimeter helps you diagnose why your surround sound receiver keeps clicking into protect mode before it’s too late. For headphone lovers, maintenance is even more personal. You need to keep an eye on your gear; for instance, understanding why your headphone pads are peeling and how to replace them can save a perfectly good set of cans from the landfill. And please, don’t forget your ears’ hygiene and its effect on the gear. Knowing how to clean earwax out of your iems without pushing it deeper is the difference between a five-minute fix and a permanent loss of high-frequency response in your favorite pair.
How do I maintain my high-end setup over time?
Consistency is key to long-term performance. Every six months, I do a complete ‘re-seat’ of every cable in the rack. This simple act of unplugging and plugging back in physically scrapes away tiny layers of oxidation that naturally occur. If you’re running older gear, keep a sharp eye out for leaking or bulging components. You should specifically look for signs of how to tell if your vintage amplifier needs new capacitors because once they go, they can take out your expensive transformers. For your headphones, always perform a periodic frequency sweep test. If the balance feels off, check how to tell if your headphones have a blown driver so you can address the issue before the warranty expires.
Your Phone Is the Secret Weapon for Modern Tuning
Looking toward the future, the ‘scaling’ of audio performance is moving away from heavier copper and toward smarter software. Even high-end manufacturers are embracing Digital Signal Processing (DSP) to fix room issues that physics alone cannot solve. You can see this technology already in play when you look at why your smart speaker is actually listening to your room acoustics. I predict that within five years, every high-end amplifier will come with a calibration microphone as standard. We are entering an era where software can compensate for a sub-optimal room, though it still won’t replace the need for good placement. My advice? Get ahead of the curve. Use a free RTA app on your smartphone to find the standing waves in your room today. Grab that multimeter and a can of cleaner this weekend and give your system a deep clean. You’ll be amazed at the clarity you’ve been missing.
Three Hard Truths I Learned While Chasing a Silent Signal
After years of tweaking my own system, I’ve realized that the most expensive cable in the world cannot fix a fundamentally poor equipment layout. First, air is the most effective insulator; physical distance is the only shielding that never fails and costs absolutely nothing. If you have ever wondered why your subwoofer makes a humming sound even when off, it is almost always because it is sitting too close to a stray magnetic field. Second, your eyes will lie to you, but your ears (and a multimeter) won’t. A perfectly symmetrical rack looks amazing on social media, but it is often an electromagnetic nightmare for a phono stage. Finally, the distinction between components matters more than the brand name. Understanding the difference between active and passive speakers explained simply helps you realize that where the power transformation happens is exactly where the noise begins.
My Essential Toolkit for Tuning Your Setup
If you are serious about maintaining your gear, you need more than just a microfiber cloth. Here is what I keep in my audio first-aid kit to keep things running smoothly: 1. A Digital Multimeter to check for DC offset and grounding continuity; it has saved my speakers from damage more than once. 2. DeoxIT D5, because oxidation is the silent killer of clarity and causes that annoying crackling noise when you turn your amp volume. 3. A Smartphone RTA App like Spectroid to visualize room resonances and find standing waves. These tools help you diagnose why your surround sound receiver keeps clicking into protect mode before a minor interference issue turns into a permanent hardware failure.
The Future of Your Soundstage Is in Your Hands
Setting up a high-end system is a continuous journey of trial, error, and refinement. Do not be discouraged if you still hear a tiny hum or a bit of hiss today; every time you adjust a cable or reposition your amplifier, you are gaining a deeper understanding of how electricity interacts with your unique environment. Once you have addressed the big maintenance hurdles, such as how to tell if your vintage amplifier needs new capacitors, the rest of the journey is pure enjoyment. Have you ever spent hours chasing a mysterious buzz only to find it was something as simple as a power cord touching a signal cable? Let me know your most frustrating ‘hum story’ in the comments below!