
I still remember the smell of fresh burgers on the grill and the absolute disappointment of hearing my favorite playlist sound like it was playing through a wet wool blanket. I had spent hours positioning my outdoor speakers perfectly, but I’d made one fatal mistake: I grabbed the thinnest, cheapest 100-foot spool of wire I could find at the local hardware store. I thought I was being smart. “Wire is wire,” I told myself. I was wrong. My speakers sounded thin, the bass was nonexistent, and the volume barely reached the end of the patio. It was a classic case of signal loss, and it’s a trap I see neighbors and friends fall into all the time when they’re trying to set up a larger room or a backyard system.
Stop strangling your audio with thin copper strands
If you are running more than 50 feet of cable, you aren’t just moving electricity; you are fighting physics. When you use cheap, thin wire (like 18 or 20 gauge), you’re essentially trying to shove a fire hose worth of data through a drinking straw. The technical term for this struggle is resistance. Over short distances, it doesn’t matter much. But once you hit that 50-foot mark, that resistance starts eating your high frequencies and turning your bass into a muddy mess. It’s one of those budget upgrades that make cheap speakers sound expensive just by getting the foundation right. I learned the hard way that saving ten bucks on wire can make a thousand-dollar pair of speakers sound like a clock radio.
Is fancy cable actually worth the hype
You might be skeptical. I get it. The audio world is full of “magic” cables that cost more than a used car. But we aren’t talking about silver-plated, cryogenically frozen nonsense here. We’re talking about basic electrical capacity. In fact, why expensive speaker cables are mostly a marketing trick is a huge topic in the community because the goal isn’t “better” sound, it’s “no loss” of the original sound. According to a study by Roger Russell, the former Director of Acoustic Research at McIntosh Laboratory, wire resistance shouldn’t exceed 5% of the speaker’s rated impedance to avoid audible changes. Cheap wire over 50 feet blows past that limit easily. Have you ever noticed your speakers sounding “smaller” or quieter after moving them further away from the amp? Tell me about your setup in the comments. Today, I’m going to show you how to calculate the right gauge for your distance and how to avoid the “speaker wire tax” while still getting crystal-clear audio. If you’re planning to tuck your cables away, you might also want to check out the best way to run speaker wire under your rug safely.
Pick the right thickness before you pull the cable
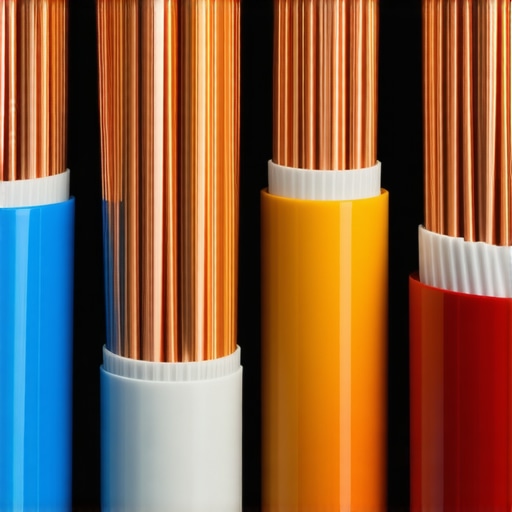
Think of your speaker wire like a hallway. If you have a hundred people—the audio signal—trying to get through a narrow corridor, they are going to get slowed down and frustrated. That frustration is resistance, and it manifests as heat in your amp and lost volume at your speakers. For anything under 50 feet, 16-gauge wire is usually fine. But once you cross that 50-foot threshold, you need to step up to 14-gauge. If you are pushing 100 feet or more, do not even think about using anything less than 12-gauge. I once tried to wire a whole-house audio system with 18-gauge because I found a “deal” at a yard sale, and the why your amplifier gets hot enough to burn your hand problem became a reality within twenty minutes. The amp was working overtime just to overcome the wire’s resistance.
Don’t wire your speakers backward
One of the most common mistakes in long runs is losing track of which wire is which. If you connect the positive terminal on the amp to the negative on the speaker, your bass will cancel out, and the soundstage will feel hollow. It is a frustrating way to ruin an afternoon. I always keep a small battery in my pocket for this. You can actually learn how to use a 9v battery to check your speaker polarity by touching the wires to the battery terminals and watching which way the speaker cone moves. If it pops outward, you have got it right. It is a trick I used when helping a neighbor who had “pro” installers leave his outdoor zones out of phase. He thought his speakers were blown, but they were just fighting each other.
Give your wires a solid grip at the terminal
Bare wire is fine, but for long-term reliability—especially if you are dealing with thick 12-gauge cable—you want a secure connection. When you just twist the strands and shove them into a spring clip, they tend to fray or work themselves loose over time. If you notice a sudden drop in output, you should probably check how to repair a loose speaker terminal in under five minutes before you start buying new gear. Using banana plugs or spade connectors makes the connection much more robust. While there is a lot of talk about materials, the truth about gold plated audio connectors for home stereos is that they are more about preventing corrosion in humid environments than adding “magic” to the sound. For an outdoor setup or a basement run, that corrosion resistance is actually a lifesaver.
Most people think that if they just buy the thickest wire, their job is done. But there’s a nuance that even experienced enthusiasts miss: the relationship between damping factor and wire resistance. While we have discussed gauge, there is another myth that needs busting. People will tell you that you need ‘balanced’ connections to get a ‘cleaner’ sound. In reality, the real performance benefit of using balanced xlr cables isn’t about better frequency response; it is about common-mode rejection. If you aren’t running cables past a noisy refrigerator or through a studio filled with electromagnetic interference, those expensive XLRs are likely doing nothing for your actual sound quality. We often over-engineer the wrong parts of the signal chain while ignoring the elephants in the room.
Don’t let low impedance kill your amplifier
The ‘Oops’ factor often comes down to thermal management. I have seen hobbyists buy massive 12-gauge cables only to find why your new amplifier gets hot after only twenty minutes. The problem usually wasn’t the wire thickness itself; it was a mismatch between the speaker’s impedance dips and the amplifier’s current delivery. If your speaker drops to 2 or 3 ohms at certain bass frequencies, your amp is basically trying to survive a short circuit every time the kick drum hits. Thick wire actually makes this worse by allowing more current to flow easily, which can push a cheap receiver past its thermal limit. Have you ever fallen into the trap of buying ‘better’ gear only to have it shut down on you? Let me know in the comments.
Why does my high-end system sound thin despite the thick wiring?
This is where we have to look at the room, not the copper. Dr. Floyd Toole, a legendary figure in acoustics research and former VP at Harman, has proven through decades of blind testing that the room contributes roughly 50% of the sound quality you actually perceive. You can spend thousands on boutique cables, but if your room is full of hard surfaces and glass, you are hearing chaotic reflections, not high-fidelity audio. I always suggest starting with the simple rug trick that instantly improves your room acoustics before you swap out a single cable. It is the single most effective way to fix ‘thin’ sound without opening your wallet for a new amp.
Tiny spatial details that ruin your soundstage
Another subtle mistake is the physical placement of your electronics relative to each other. I once spent an entire Saturday trying to hunt down a persistent hum in a high-end vinyl setup, only to realize why your phono preamp needs to be far away from the power amp. The massive power transformer in the amplifier was bleeding electromagnetic noise directly into the sensitive circuitry of the phono stage. It is these tiny spatial details that separate a ‘good’ setup from a truly professional one. If you are pushing high-power gear in a cramped cabinet, keep a close eye on ventilation, because the real reason your amp is getting hot to the touch might be as simple as poor airflow or stacked components choking the heat sinks. Get the basics of physics right first, and the ‘magic’ of high-end audio will follow naturally.
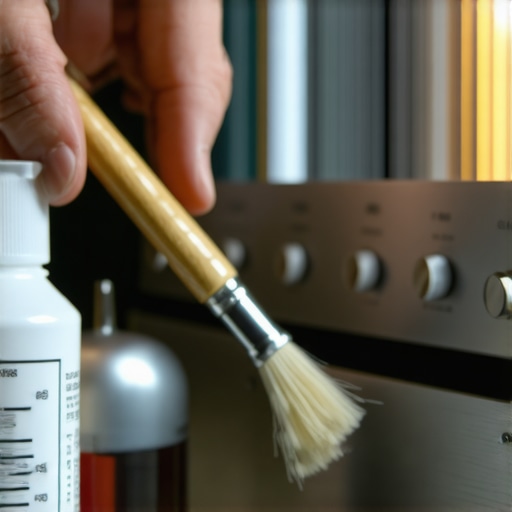
Even the most expensive setup can sound like garbage if you let dust and oxidation take over. I have a vintage Marantz receiver that I bought for fifty bucks because the previous owner thought it was broken. It was making a horrific static noise every time he touched the volume knob. All I did was use a can of specialized contact cleaner, and it sounded brand new. If you are dealing with a similar headache, you should check out the easy way to fix a scratchy volume slider on your radio before you give up on your gear. Oxidation is a silent killer for analog connections, especially in humid environments where the copper and silver contacts slowly grow a layer of non-conductive film.
Keep the grime out of your volume knobs
Maintenance is not just about the internal circuits. For those of us who still love physical media, keeping your interface clean is non-negotiable. I use a dedicated carbon fiber brush for my vinyl, but the stylus is where the real detail lives. Learning the best way to clean a turntable stylus without breaking it saved me from replacing a three-hundred-dollar cartridge last year. The same logic applies to your daily drivers; if you use IEMs, you need to know the best way to clean your ear tips for better noise isolation. Earwax and oils don’t just look gross; they actually dampen the high-frequency response and ruin the seal that provides your bass.
How can I keep my audio gear running for decades?
The secret isn’t just cleaning; it’s heat management and software vigilance. Many enthusiasts assume hardware is static, but if you are using a modern digital system, why your soundbar needs a firmware update to fix audio drops is often the real solution to hardware-level glitches. For your amplifiers, remember what we discussed earlier about heat. According to Henry Ott, a renowned expert in Electromagnetic Compatibility Engineering, heat is the primary catalyst for component failure in power electronics. To extend the life of your amp, ensure it has at least three inches of clearance on all sides. If the pads on your headphones are starting to flake, don’t throw the headphones away—knowing why your headphone pads are peeling and how to replace them can give a five-year-old pair of cans a second life.
Your electronics need to breathe to survive
Looking toward the future, I expect we will see a massive shift toward AI-integrated room correction that happens inside the amplifier itself. We are already seeing the beginnings of this with how why your smart speaker is actually listening to your room acoustics to adjust its EQ in real-time. Soon, your amp might automatically compensate for thin wires or poor speaker placement by analyzing the return signal. Until then, you have to be the technician. If you hear a crackle, take five minutes to learn how to fix the crackling noise when you turn your amp volume. It is usually a simple fix that prevents you from buying unnecessary replacements. I highly recommend picking up a can of DeoxIT D5 and a basic multimeter; they are the two most important tools in my kit for keeping my soundstage crystal clear and my connections solid. My challenge to you: go find one scratchy knob or one dusty speaker grill in your house today and clean it properly. You will be amazed at the difference it makes in your listening experience.
The Hardest Lesson I Learned About Chasing the Perfect Signal
For years, I believed that if I could hear the music, the job was done. I eventually realized that settling for “good enough” connections was actually robbing me of the depth and clarity I’d paid for. One major lightbulb moment occurred when I realized that many amplifier failures aren’t hardware defects at all. Understanding why your surround sound receiver keeps clicking into protect mode can save you from an expensive and unnecessary replacement; usually, it’s just the amp’s way of begging for better wire management. I also learned that you don’t have to abandon vintage gear just because it lacks modern ports. Learning how to add an optical input to your old home stereo allowed me to keep my favorite analog warmth while still enjoying high-res digital streams. Finally, never trust your eyes alone—always use a physical check for polarity, because even a single speaker wired backward can destroy your entire soundstage.
#IMAGE_PLACEHOLDER_E#
Gear I Carry to Every Thrift Store Hunt
I’ve spent a lot of time digging through secondhand shops, and I’ve learned that a few simple tools make the difference between a bargain and a burden. I never leave home without knowing the best way to test a used receiver before you buy it. Along with a basic multimeter, I always keep a can of specialized electronics cleaner in my trunk. It is the most reliable way to how to fix the crackling noise when you turn your amp volume without needing a professional repair shop. I also trust a simple 9V battery for quick speaker tests; it’s a low-tech solution that provides instant peace of mind before I commit to a heavy pair of floorstanders.
Time to Bring Your Music Back to Life
Audio is more than just a collection of wires and boxes; it’s an investment in how you experience your favorite art. By respecting the physics of your cables and staying on top of basic maintenance, you ensure that your system remains a source of joy rather than frustration for years to come. Whether you are troubleshooting a heat issue or simply re-stripping your speaker wire for a tighter fit, every small adjustment brings you closer to that perfect, transparent sound. Have you ever discovered a tiny wiring mistake that was secretly holding your speakers back? Let me know your stories in the comments below!