
I still remember the crisp November morning I walked out to my sedan, coffee in hand, ready for the commute. I’d spent the previous Saturday afternoon installing a beautiful new touchscreen head unit. It looked factory, sounded incredible, and I was feeling pretty proud of myself. I turned the key, and… click. Nothing. Not even a groan from the starter. My heart sank because I knew exactly what happened: my new toy had sucked the life out of my battery while I slept. It’s a gut-wrenching feeling when a DIY win turns into a Monday morning failure. If you are reading this, you are probably standing in your driveway right now wondering why your car’s aftermarket radio is draining your battery overnight. I’ve been there, and I’m going to help you fix it.
The Morning I Found My Battery Completely Flat
The problem is rarely the radio itself, but rather how we—the eager DIYers—hook it up. When I did my first install, I made the classic mistake of thinking all power wires were created equal. I’ll admit it: I got lazy with the multimeter. I assumed that as long as the music played, the job was done. But why your car audio system drains your battery often comes down to the difference between ‘switched’ and ‘constant’ power. If you’ve ever noticed that your car radio dims when the bass hits, you already know how sensitive these electrical systems can be. Today, we are going to dive into the wiring harness, find that parasitic thief, and make sure your car starts every single time, no matter how many amps you’re running.
Is a small head unit really enough to kill a massive battery?
It seems impossible, right? A car battery is a heavy beast, and a radio is just a small piece of plastic and copper. However, it’s not about the size of the device; it’s about the constant pull. According to technical data from Delphi Technologies, a healthy vehicle should only have a parasitic draw of about 50 to 85 milliamps to keep things like your clock and ECU memory alive. A miswired aftermarket radio can easily pull 500 milliamps or more. Over ten hours, that is enough to drop your voltage below the threshold needed to turn the engine over. Have you ever experienced that dreaded ‘click-click-click’ after a weekend of working on your sound system? It’s a common rite of passage, but it’s one we’re going to end today.
The Constant Drain You Do Not Even See
The most frequent culprit I see in my neighbor’s garage is the ‘Illumination’ or ‘Remote Turn-on’ wire being incorrectly pinned. I once spent three days chasing a drain only to realize I had bridged the accessory wire directly to the battery lead. I thought I was being clever by making the radio work even when the key was out, but all I did was keep the internal amplifier energized 24/7. Even if you’ve tried adding a second battery for your high power car audio, a wiring flaw will eventually drain both of them. We need to ensure that when the key is off, the radio is truly ‘asleep.’ Before you go out and buy a new alternator or try to add more bass to your factory car speakers for free, we have to stabilize the foundation of your electrical system.
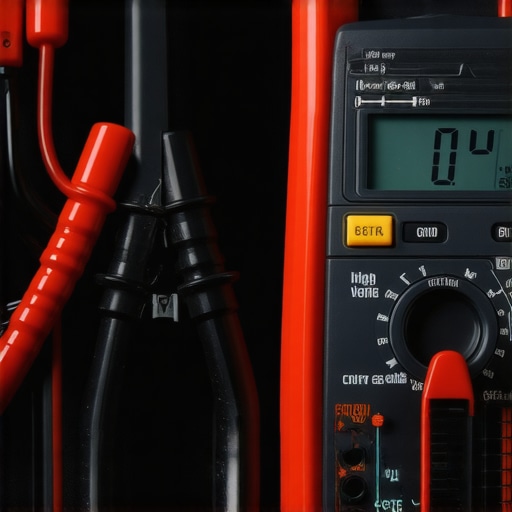
To catch the thief, you need a multimeter. Think of your car’s electrical system like a plumbing network; if there is a drip you can not see, the tank eventually runs dry. You will want to set your multimeter to the DC Amps setting—usually the 10A port—and disconnect the negative battery terminal. By placing the meter in series between the battery post and the cable, you can see exactly how much current is leaving the battery while the car is off. If you see anything higher than 0.05 amps, you have got a leak. I remember doing this on a friend’s old hatchback where we had just installed a budget setup. We were seeing a massive 0.8A draw, nearly ten times what it should have been. It turned out we had not properly managed the remote wire, which was keeping the internal amp stage active even with the faceplate off.
Pull Fuses until the Number Drops
Once you have confirmed a high draw, it is time for the process of elimination. While watching the multimeter, have a friend pull fuses from the dash one by one. When the reading on the meter plummets, you have identified the circuit causing the trouble. If pulling the Audio or Radio fuse brings that 0.8A down to a healthy 0.03A, you know the issue is behind the dash. This is much more effective than guessing, similar to how you would use a 9v battery to check your speaker polarity rather than just hoping the wires match. If the drain persists even after the radio fuse is out, the problem might be an external component, like an amp that does not know when to quit. I’ve seen cases where people fix a car amplifier that keeps shutting off in summer only to realize the remote turn-on lead was bridged to a constant 12V source, causing a slow death for the battery every night.
Swap the Red and Yellow Wires
The most common wiring blunder is mixing up the Constant 12V (Yellow) and Switched or Accessory 12V (Red) wires. The yellow wire is the memory—it keeps your clock and radio presets saved. It needs a tiny bit of power all the time. The red wire is the wake-up call; it should only have power when the key is turned. If you swap these, or if you tie them both to a constant power source, your radio stays in a high-power state indefinitely. While you are back there tidying up the harness, it is a good time to ensure you are not creating other issues, like the ground loops that cause you to get rid of the engine whine in your car speakers. A solid, clean connection on that ground wire is just as important as getting the power wires right. If your lights still flicker or your car radio dims when the bass hits, you might need to look at your wire gauge or the battery health itself, but usually, fixing the red-to-switched and yellow-to-constant alignment solves the overnight drain once and for all.Many DIYers assume that if the screen is dark and the music stops, the radio is truly off. In my years of troubleshooting electrical gremlins, I have found that this is the biggest lie in car audio. We often blame the battery’s age or the alternator’s output, but the real culprit is frequently a ‘zombie’ state in the head unit. I have seen enthusiasts spend hundreds of dollars on a new deep-cycle cell when they should have been looking at their data bus interface. Have you ever fallen into this trap where you keep replacing parts only to find the same dead battery on Monday morning? Let me know in the comments, because you are definitely not alone.
Could your modern head unit be keeping the car’s computer from sleeping?
In vehicles made after the mid-2000s, the radio isn’t just a music box; it is a node on a complex data network called the CAN bus. A common, advanced mistake occurs when using a cheap wiring interface that doesn’t properly communicate with the vehicle’s ECU. According to technical documentation from the Society of Automotive Engineers (SAE), a vehicle should enter a ‘sleep mode’ within 20 to 30 minutes of the ignition being turned off. However, a poorly programmed aftermarket interface can keep ‘pinging’ the network, effectively keeping the car’s entire computer system awake all night. It is not just the 500mA from the radio; it is the 5 to 10 amps from the car’s modules that never shut down. Before you try to properly bridge a car amplifier for more power, you must ensure your basic head unit isn’t sabotaging the vehicle’s power management system. 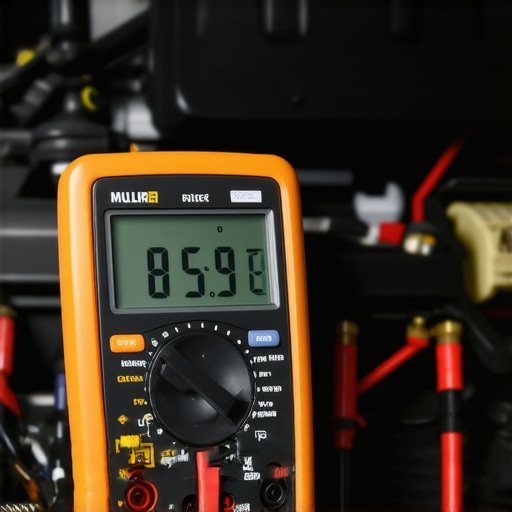
The dangerous myth of the ‘always-on’ memory wire
There is a persistent myth in the forums that the yellow ‘constant’ wire can be tapped into any live circuit. This is a recipe for disaster. I once helped a friend who tapped his memory wire into the hazard light circuit. Every time his blinkers flashed, his radio presets reset, and the internal capacitor in the head unit would pull a massive spike of current to recharge. This constant cycling can lead to situations where your amplifier gets hot enough to burn your hand because it is struggling with unstable input voltage. You should always use a dedicated, fused constant source. If you are worried about your system’s efficiency, knowing how to tell if your amplifier has enough headroom for your speakers is important, but that headroom means nothing if your resting voltage is sitting at 11.2V because of a ‘ghost’ draw.
Watch out for the Bluetooth ‘Always-Active’ trap
Another nuance most people miss involves the Bluetooth or Wi-Fi standby settings on high-end units. Some ‘Instant-On’ features keep the internal wireless modules energized so your phone connects the second you open the door. While convenient, this can double your parasitic draw. If you find your battery struggling, try disabling ‘fast boot’ or ‘standby’ modes in the radio’s factory settings menu. It might take ten seconds longer to start up, but it is better than a car that won’t start at all. Even if you have already mastered how to add more bass to your factory car speakers for free, these tiny software settings are what determine whether your car survives a three-day weekend in the garage.To keep your system running without a hitch, I have moved beyond the basic multimeter. While it is great for a quick check, I now swear by dedicated Bluetooth battery monitors that stay permanently connected to the terminals. These little devices send a notification to my phone if the voltage drops below a certain threshold while I am at work. This is a game-changer if you have already invested time to add a second battery for your high power car audio and want to ensure both cells are staying balanced. I have seen too many people assume their wiring is perfect, only to find a slow leak months later due to a loose ground or a faulty relay. According to technical specialists at Metra Electronics, over 40% of modern ‘dead battery’ complaints in aftermarket installs are actually ‘CAN-wake’ issues where the radio interface prevents the car’s computer from entering its low-power sleep state.
How do I maintain my car’s audio electrical system over time?
Maintaining your system is about more than just checking the fuses; it is about physical integrity. Every six months, I pull my head unit and check the tension on the harness. Heat and vibration can cause crimp connectors to loosen, which leads to resistance and heat. If you have noticed the real reason your amp is getting hot to the touch is often related to poor current flow, the same logic applies to your head unit. I also make it a habit to look for environmental damage. You would be surprised how quickly moisture can travel up a power wire, so knowing how to clean green oxidization off your copper speaker terminals is a vital skill for anyone living in humid or coastal climates. Keeping those contact points shiny ensures your radio draws only what it needs and nothing more. 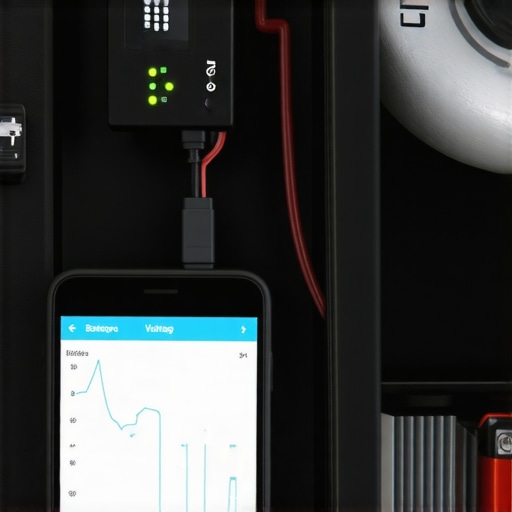
Stop the drain before it starts
If you are planning to properly bridge a car amplifier for more power, you are putting even more pressure on your vehicle’s resting voltage. I predict that as we shift toward electric vehicles, the traditional ‘parasitic draw’ troubleshooting will evolve into software debugging, where we will need to manage ‘heartbeat’ signals from the car’s DC-DC converter. For now, the best thing you can do is simplify your wiring. Avoid using T-taps or ‘vampire’ clips; they are notorious for creating high-resistance points that can confuse modern sensors. Instead, use a proper soldering iron and heat-shrink tubing for every single connection. I challenge you to open your hood this weekend and check your main battery terminals for any signs of crust or loose nuts—it is the easiest five-minute fix to prevent a Monday morning headache. You might find that a simple cleaning is all you need to keep your electronics happy for years to come.
What Most DIY Manuals Forget to Tell You
The biggest lightbulb moment for me was realizing that ‘Off’ doesn’t always mean ‘Off’ in the world of CAN bus systems. I spent weeks blaming a bad alternator before I realized my cheap wiring harness was keeping the car’s computer awake. It taught me to always verify the ‘sleep’ current with a multimeter before closing up the dash. Also, remember that why your car audio system drains your battery overnight is often hidden in the software settings, not just the physical wires, like a stealthy vampire hidden in the code.
#IMAGE_PLACEHOLDER_E#
My Go-To Toolkit for Hunting Electrical Gremlins
I never start a job without a quality digital multimeter and a set of nylon trim tools to avoid scratching the dash. I also highly recommend using soldered joints with heat-shrink tubing instead of crimp connectors. If you’re working on older gear, knowing how to clean green oxidization off your copper speaker terminals is essential for keeping the path of least resistance. I trust brands like Metra and PAC for wiring interfaces because they actually talk to the car’s ECU properly, which prevents those mysterious sleep-mode failures.
Reclaim Your Morning Commute
Whether you are planning to properly bridge a car amplifier for more power or just want to listen to tunes without needing a jump-start the next day, you now have the blueprint. Don’t let a few copper wires or a complex fuse box intimidate you. You’ve diagnosed the draw, isolated the circuit, and corrected the wiring. Your car should be a source of joy, not a source of stress. Have you ever spent hours chasing a battery drain only to find it was something incredibly simple like a glovebox light or a single pinched wire? Let me know in the comments below—I’d love to hear your troubleshooting wins!