
I was standing in my garage three years ago, staring at a pair of 1974 Pioneer CS-99As I’d just hauled home from a rainy estate sale. I’d spent my lunch money for a month on these things, convinced they’d be the centerpiece of my listening room. But when I finally wired them up? Total disappointment. They didn’t sing; they grumbled. The highs were non-existent, and the bass felt like it was stuck in a vat of molasses. I felt like I’d been scammed by the “vintage” hype. I nearly gave up and went back to a soundbar, but then I realized something crucial: these speakers weren’t dying, they were just suffocating under fifty years of dust and outdated tech.
Why Those Beautiful Cabinets Sound Like Muffled Junk
It’s a common story. You find a gorgeous pair of speakers at a thrift store—maybe you used my tips for finding high-end audio gear at thrift stores—and you expect instant magic. Instead, you get a muddy mess. The problem usually isn’t the wood or even the paper cones; it’s the internal components that have simply reached their expiration date. Most people think they need to replace the whole unit, but you can actually bridge the gap between 1970s warmth and 2024 clarity with just a few strategic tweaks. Today, we are going to fix that “veil” over your music and get those old woofers hitting like they just left the factory. Have you ever felt like your “classic” setup is actually holding back your favorite albums?
Stop Blaming the Drivers and Look at the Crossover
Early in my hobby, I made the classic rookie mistake: I thought the “muddy” sound meant the speakers themselves were blown. I wasted weeks trying to safely remove a pushed-in speaker dust cap and even looked for tears in the cones that weren’t there. In reality, the culprit was the crossover—the tiny circuit board inside that tells the sound where to go. According to research from the Audio Engineering Society (AES) on component longevity, electrolytic capacitors are notorious for drifting in value or leaking over decades, which effectively “muffles” the tweeter. By simply swapping these out for modern film capacitors, you can restore the high-end sparkle that’s been missing for thirty years. You don’t need a degree in electrical engineering either; if you can repair a loose speaker terminal, you can likely handle a basic recap.
Is this DIY project actually worth the effort?
I get the skepticism. Why spend Saturday afternoon with a soldering iron when you could just buy a new pair of bookshelf speakers? The answer lies in the build quality. The heavy, dense cabinets used in the golden age of audio are often superior to modern, mass-produced plastic shells. When you combine that old-school craftsmanship with modern signal paths—like learning how to add an optical input to your old home stereo—you get a system that outperforms modern setups costing three times as much. It’s about getting that “big” sound without the “big” price tag. We’re going to dive into the specific budget upgrades that make cheap speakers sound expensive, starting with the simplest fixes first.
Why the 9V Battery is Your Best Diagnostic Tool
Before you tear the cabinet apart, you need to know if the motor—the voice coil—is actually alive. I once spent three hours desoldering a tweeter only to realize the internal wire had just wiggled loose. Take a standard battery and touch the leads to the speaker terminals. If you hear a ‘pop’ and see the cone move, you’re in business. If it doesn’t move, or moves the wrong way, you’ve found your first major hurdle. Learning how to use a 9v battery to check your speaker polarity is the fastest way to see if your vintage find is a restoration project or a parts donor. If the cone moves outward, you have the positive lead on the positive terminal. If it sucks inward, they are reversed.
Ditch the Corroded Terminals for a Clean Signal
Signal loss is the silent killer of vintage audio. Those old spring-loaded clips from the 70s are usually oxidized to the point of being useless. Think of your audio signal like water in a pipe; if the pipe is rusted at the joint, the water barely trickles through. I remember a pair of JBLs I bought that sounded like they were underwater until I realized the terminals were so loose they were arcing. You can repair a loose speaker terminal by tightening the internal nut, but for real performance, swap them for gold-plated binding posts. It’s a ten-minute job that removes a massive bottleneck between your amp and the music. While you’re at it, check your cables; using cheap speaker wire causes signal loss over 50 feet, so keep your runs short and thick to maintain that damping factor. 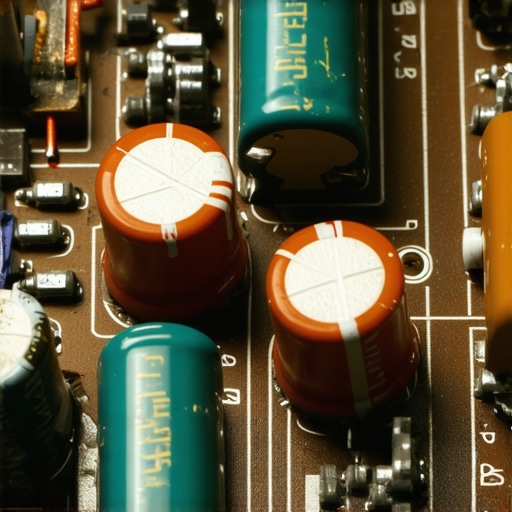
Seal the Leaks with a Dab of Glue
Vintage speakers often suffer from ‘surround rot’ or small punctures. If you see a tiny tear in the paper or the foam edge, don’t panic. You don’t always need a full recone kit. I once saved a set of rare bookshelf speakers using nothing but a tiny bit of flexible adhesive. You can fix a small rip in a speaker surround with glue and some patience, restoring the airtight seal necessary for deep bass. If air is escaping through the holes, the woofer can’t create the pressure needed for those low-end hits, resulting in a thin, ‘boxy’ sound.
Why You Need to Kill the Floor Reflection
Once the internals are healthy, the biggest mistake people make is where they put the speakers. If you stop placing your speakers directly on the floor, you instantly eliminate the ‘muddy’ bass caused by boundary reinforcement. When a speaker sits on the floor, the low frequencies bounce off the wood or carpet and arrive at your ears slightly out of sync with the direct sound. It’s like trying to have a conversation in a tiled bathroom. Elevating them just twelve inches makes the difference between hearing a bass guitar’s strings and just hearing a generic rumble. If you can’t afford fancy stands, you can build your own speaker stands for under twenty dollars using some simple lumber and a few screws.
Stop the Vibration Before it Starts
Sometimes the speaker sounds great, but the cabinet itself is rattling against the bookshelf or floor. This mechanical noise ruins the soundstage. I’ve found that stopping your speaker from vibrating off the shelf with simple rubber isolation feet can tighten up the imaging significantly. It decouples the speaker from the furniture, ensuring that only the air is moving, not your desk.I’ve seen guys spend five hundred dollars on ‘audiophile’ cables while their amplifier is gasping for air on a dusty shelf. It’s the ultimate irony of the hobby. While we’ve covered the speakers themselves, the electronics driving them are where the real myths—and the real performance gains—live.
Why Gold Connectors Won’t Save a Bad Circuit
There is a massive misconception that gold-plated everything is the silver bullet for better sound. Let’s be real: gold is a worse conductor than copper or silver. Its only benefit is that it doesn’t oxidize. If you are constantly swapping gear, is gold-plated hardware really worth the extra cash? Probably. But if your system stays plugged in for years, that ‘premium’ coating is mostly doing marketing work. In fact, the truth about gold-plated audio connectors for home stereos is that they are about reliability, not magic frequency response. I’ve found that cleaning your existing nickel or copper terminals with a bit of deoxit does more for your signal-to-noise ratio than buying a brand-new set of gold-tipped ‘snake oil’ cables.
Stop Starving Your Amp with Thin Extension Cords
Here is an ‘oops’ moment I learned the hard way: I once thought my vintage Marantz was failing because it kept clipping during bass-heavy tracks. It turned out I had it plugged into a cheap, 15-foot utility extension cord. Amplifiers—especially the high-current monsters from the late 70s—need a direct, stable path to the wall. This is why you should avoid using an extension cord for your power amp; the voltage drop during peak demands can literally choke your sound, making it thin and lifeless. Furthermore, a starved amp runs less efficiently, which is often the real reason your amp is getting hot to the touch. If you can’t touch the top of your receiver for more than five seconds, you aren’t just losing sound quality; you’re cooking your transistors. 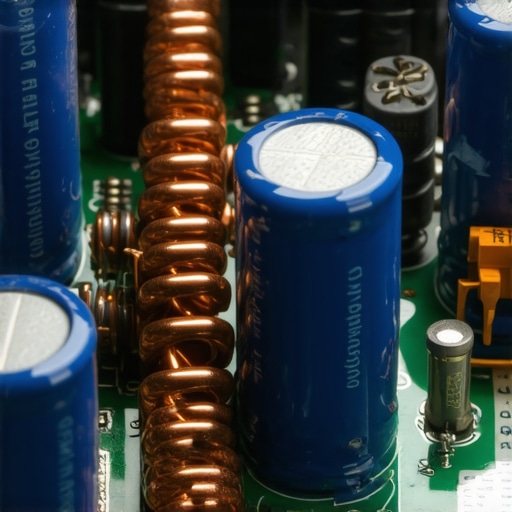
Keep Your Phono Preamp Away from the Transformer
If you’ve successfully restored your speakers but still hear a persistent hum, you’re likely dealing with electromagnetic interference (EMI). A common mistake is stacking your gear like a skyscraper. Research from the IEEE Signal Processing Society highlights that EMI from a power amplifier’s massive transformer can easily induce noise into the sensitive, low-voltage circuitry of a turntable’s preamp. This is exactly why your phono preamp needs to be far away from the power amp. Moving that little box just twelve inches to the left can drop your noise floor significantly. Combine that with learning how to properly ground your turntable to stop that buzzing noise, and you’ll suddenly hear details in your vinyl that were previously buried in the static.
Can your modern smartphone really drive those vintage 600-ohm cans?
I get asked this constantly by people who find old AKG or Sennheiser headphones at estate sales. They plug them into a dongle and wonder why the volume is so low. The truth about using your phone to power high-end headphones is that most mobile devices lack the voltage swing to move those high-impedance drivers effectively. You’ll get sound, but it will be ‘tinny’ and compressed. You don’t need a thousand-dollar stack, though; there is usually the $50 amp that drives high impedance cans without a struggle, providing the overhead needed to make those vintage drivers sing. Have you ever fallen into the trap of buying ‘magic’ cables before fixing your basic setup? Let me know in the comments.
Keep Your Gear Out of the Repair Shop
If you’ve ever turned a volume knob and heard a sound like gravel in a blender, you’ve met the number one enemy of vintage audio: oxidation. I used to think a scratchy dial meant the whole preamp was toast, but usually, it’s just microscopic debris on the carbon track. According to technical bulletins from Caig Laboratories regarding their DeoxIT series, specialized contact cleaners don’t just wash away dirt; they chemically deoxidize the metal and leave a microscopic layer of protection to prevent future buildup. Learning the easy way to fix a scratchy volume slider on your radio or amplifier will save you a $100 bench fee at a specialty shop. Don’t just spray generic lubricants in there; that’s a death sentence for delicate electronics. Using the right chemicals ensures your signal stays pure for another decade of listening.
Precision Tools Save You From Costly Guesswork
You can’t fix what you can’t measure, and in the world of home audio, guessing is expensive. I wasted years “tuning” by ear before I realized that my turntable’s wow and flutter were way out of spec. If you notice your music sounds slightly “off-key” or lacks rhythm, the reason your turntable speed keeps drifting mid-record is usually a worn belt or a dry spindle bearing that needs a single drop of sewing machine oil. A simple strobe disc and a digital multimeter are the only two tools you really need to transition from a casual listener to a hobbyist technician. With a meter, you can verify if your speakers are truly matched or if one crossover is leaking power into the ether.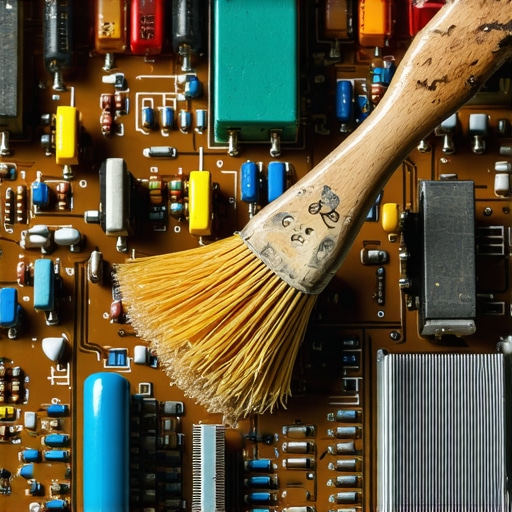
How do I maintain my vintage audio collection over time?
Maintenance isn’t just about the internal circuits; it’s about the materials that touch your skin and the acoustics of your room. If you use your gear daily, you’ll eventually notice why your headphone pads are peeling—human sweat and skin oils break down faux leather over time. I make it a habit to wipe down my gear once a month and replace the foam pads on your favorite headphones every two years to keep the acoustic seal tight and the comfort level high. For your living room setup, check your subwoofer placement twice a year. Furniture moves and rugs get swapped, which changes how bass waves interact with the walls. Finding the best way to position your subwoofer for clearer lows is an ongoing process, not a “set it and forget it” task. If you neglect this, you might eventually find why your subwoofer rattles your neighbors’ walls instead of providing tight, punchy bass in your own listening chair.
The Surprising Way Analog Meets AI in the Near Future
Looking ahead, I see a fascinating shift in how we maintain these classic systems. We are moving toward a world where vintage analog warmth is managed by digital AI room correction. We are already seeing why your smart speaker is actually listening to your room acoustics to adjust its internal EQ on the fly. In the next few years, I expect “smart” hardware bridges that can plug into a 1970s receiver and automatically calibrate the output to compensate for your room’s specific dead zones or aging capacitors. It is the ultimate bridge between two golden eras of technology. **My challenge to you:** Pick up a can of high-quality electronic contact cleaner this weekend and treat every input and output on your main receiver. You’ll be shocked at how much “air” and detail returns to your music just by cleaning the signal path.
The Lessons My Ears Had to Learn the Hard Way
After years of tinkering with Craigslist finds and estate sale survivors, I’ve realized that the most expensive mistake you can make is assuming that ‘broken’ means ‘trash.’ Most of the time, your gear is just suffering from a lack of maintenance. First, never underestimate the power of a deep clean; ninety percent of signal issues are just dust acting as an insulator. Second, your room is the most important component of your system. You can spend thousands on gear, but if you don’t use the simple rug trick that instantly improves your room acoustics, you are only hearing half of what your speakers can do. Finally, trust your gut but verify with tools. If a speaker sounds ‘off,’ it might not be the driver; before you panic, how to tell if your headphones have a blown driver is a skill that translates directly to testing larger cabinets, saving you from replacing parts that are still perfectly functional.
Gear and Wisdom to Keep Your Setup Alive
Building a reliable listening room doesn’t require a boutique budget, but it does require a specific toolkit. I never go to a swap meet without a digital multimeter and a small flashlight. If you are just starting out, prioritize learning the best way to test a used receiver before you buy it so you don’t bring home a fire hazard. I also highly recommend keeping a dedicated ‘maintenance kit’ that includes DeoxIT for scratchy pots, a basic soldering iron for when you need to repair a loose speaker terminal in under five minutes, and a reliable grounding wire. If you are into vinyl, knowing how to properly ground your turntable to stop that buzzing noise is the difference between a relaxing evening and a headache-inducing hum. These tools turn you from a consumer into a curator.
The Music is Waiting for You to Flip the Switch
There is a profound sense of satisfaction that comes from hearing a pair of 50-year-old woofers roar back to life because of a ten-cent dab of glue or a five-minute cleaning session. Vintage audio isn’t just about nostalgia; it’s about preserving a level of craftsmanship that is becoming increasingly rare in our ‘disposable’ tech culture. Don’t let a little oxidation or a muddy crossover stand between you and the best sound you’ve ever heard. Take it one step at a time, trust the process, and soon your home audio system will be the envy of everyone who thinks ‘new’ always means ‘better.’ What’s the one piece of ‘junk’ gear you managed to bring back to life? Let me know your restoration story in the comments below!