
I remember the day my dream headphones arrived. I had saved up for months, unboxed them with genuine excitement, and slid them onto my head, expecting pure bliss. Within twenty minutes, I felt like my skull was being held in a hydraulic press. It wasn’t just a snug fit; it was a localized migraine. My ears were throbbing, and my temples felt bruised. I tried to push through it, telling myself they just needed to be broken in, but by the end of an hour, I had to take them off and sit in a dark room. It is a crushing irony when a piece of gear designed for relaxation becomes an instrument of torture.
Headphones Should Feel Like a Cloud Not a Vice
The technical term for this misery is clamp force. While manufacturers design headphones to stay secure on your head, they often overdo it, assuming everyone has a narrow profile. If you have a slightly larger head or wear glasses, that pressure becomes unbearable. I once made the massive mistake of trying to force the process by stretching a pair of high-end Sennheisers over a stack of heavy textbooks for three days straight. I heard a sickening crack on day two. I had permanently warped the plastic and ruined the seal, which led to a frustrating situation where my headphones sound slightly different in each ear because one side no longer sat flush against my head.
We are going to fix that today. I’m going to show you how to safely ease that tension without ending up with a pile of broken plastic. We want to reach that sweet spot where the earcups provide a perfect seal—essential for bass response—without making you reach for the ibuprofen. After all, what’s the point of having the 50 dollar amp that drives high impedance cans perfectly if you can only stand to wear them for five minutes? Have you ever had to return a pair of headphones simply because they hurt too much to wear?
Will Stretching My Gear Permanently Ruin the Sound?
This is the biggest fear I hear from fellow audio nerds. They worry that by widening the headband, they are going to lose that precious acoustic seal. It is a valid concern. If the fit is too loose, your expensive headphones might sound thin because the low-end frequencies escape through the gaps. However, the goal isn’t to make them floppy; it’s to normalize the tension. According to research published in The Ergonomics Open Journal, excessive pressure on the temporal bone and surrounding nerves doesn’t just cause pain—it can actually lead to a temporary decrease in your ability to perceive certain frequencies due to the physical stress on your ear canal. Stretching them safely actually helps you hear better because you aren’t distracted by the dull ache in your jaw. We also need to be mindful of the materials; if your headphone pads are peeling, the stretching process might accelerate that wear, so we have to be gentle. Let’s look at the actual physics of your headband and how to manipulate it without a disaster.
Think of your headphone headband like a torsion spring that has been wound way too tight at the factory. To fix it, we have to gently ‘teach’ the material a new resting position. If you rush this, you risk a catastrophic failure where the internal structure snaps. I once spent three nights gingerly sliding my AKGs over a stack of heavy vinyl records. I was terrified I’d hear that same sickening snap I experienced with my old Sennheisers, but I checked the width every six hours like a worried parent. By Monday morning, the ‘vice-grip’ was gone, replaced by a secure but breathable fit that didn’t leave me with a headache.
The Bookshelf Method for Controlled Stretching
The most reliable way to reduce tension is to find an object that is just slightly wider than your own head. Common household items like a stack of books, a computer tower, or even the box the headphones came in work perfectly. The trick is to start small. Don’t go for a massive stretch immediately; you want to expand the band by only half an inch more than your head width at first. If you stretch them too far, you might lose that essential acoustic seal, and suddenly you’ll be wondering how to tell if your headphones have a blown driver because the bass response has vanished entirely.
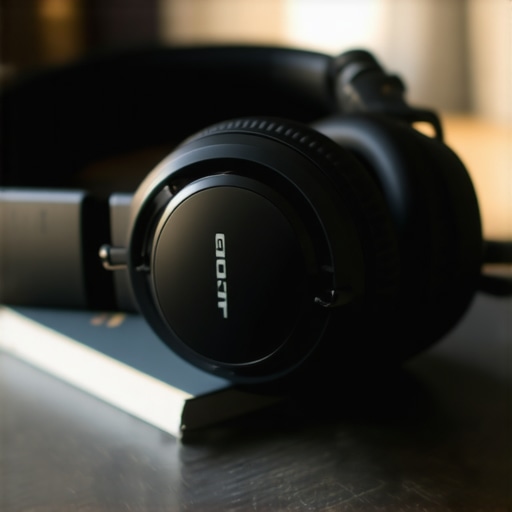
Leave the headphones on the object for about 12 hours, then test them. If they are still too tight, add one more book to the stack and repeat. This gradual process allows the molecules in the plastic or the metal core to shift without reaching their breaking point. While you wait for the material to settle, it’s a great time to organize the rest of your setup, perhaps finally figuring out why your headphone cable is always tangled and how to fix it so your desk looks as good as your gear feels.
The Manual Flex for Metal-Core Bands
If your headphones have a visible metal band, you can be a bit more assertive. Metal has a ‘memory’ that responds well to physical manipulation. Hold the headphones by the hinges—not the earcups—and apply steady, outward pressure. Use your thumbs as a fulcrum in the center of the arc. You are looking for a slight ‘give’ rather than a permanent bend. If you feel the metal start to resist sharply, stop. Over-bending can lead to uneven pressure, which is a common reason why your headphones sound slightly different in each ear because one side isn’t clamping at the same angle as the other.
Why Pad Swapping is the Ultimate Secret Weapon
Sometimes the clamp force isn’t the problem; it’s the pads. If the stock pads are too thin, your ears are pressing against the hard plastic of the driver housing. Switching to thicker, memory-foam pads can act like a suspension system for your skull. It adds a buffer that absorbs the pressure before it reaches your sensitive temple nerves. Just be aware that changing pads can change the sound profile. If you move from leather to velour, you might find that why your noise canceling headphones struggle with high voices becomes more apparent because the isolation isn’t as tight as it used to be. It’s a balancing act between the physical relief of soft foam and the acoustic precision of the original design.
There is a massive misconception in the audiophile community that a ‘death-grip’ clamp force is necessary for high-fidelity bass. While it’s true you need a seal, many people overshoot the mark and end up compressing their own ear canals. When you apply too much pressure, you’re not just hurting your head; you’re literally altering your anatomy. A study published by the Acoustical Society of America on Head-Related Transfer Functions (HRTF) suggests that physical deformation of the outer ear and ear canal—caused by excessive clamping—can shift the resonant frequencies you perceive. Essentially, you are ‘tuning’ your ears to a worse setting just by trying to get more bass. This is often why your expensive headphones sound thin even if you think the seal is tight; your brain is too busy processing pain signals to accurately interpret low-end sub-bass.
The Heat Gun Trap That Ruins Drivers
I’ve seen ‘experts’ on forums suggest using a hair dryer or heat gun to soften a plastic headband for easier stretching. Please, for the love of your gear, do not do this. Headphone housings are often made of thermoplastics that have a very narrow window between ‘malleable’ and ‘liquid.’ More importantly, the heat can easily migrate into the driver assembly. If the voice coil or the delicate diaphragm gets even slightly warped by the heat, you’ve just turned a $500 investment into a paperweight. If you are struggling with power rather than fit, it’s better to understand the difference between peak and RMS power before you go blaming the physical structure for a lack of ‘impact.’
Is Balanced Audio Actually Worth the Price of New Cables?
Once you’ve perfected the fit, the next rabbit hole is usually the wiring. You’ll see people spending hundreds on silver-plated, oxygen-free copper cables. But here is the nuance most beginners miss: the cable itself rarely changes the frequency response. The real magic happens in the topology of your amplifier. Understanding the real performance benefit of using balanced XLR cables is about noise rejection and crosstalk, not a magical increase in ‘detail’ from the metal itself. I’ve seen enthusiasts get frustrated when a $200 cable doesn’t fix their ‘muddy’ sound, unaware that the truth about gold-plated audio connectors is that they are mostly for corrosion resistance, not signal speed.
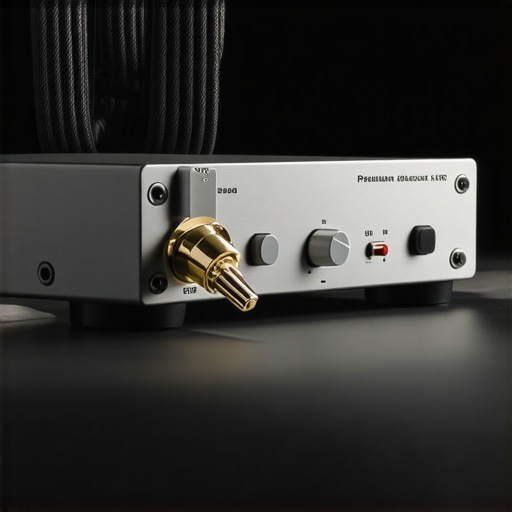
You have to look at the system as a whole. A balanced connection might give you a lower noise floor, which allows you to hear more micro-detail, but if your pads are poorly fitted or your headband is crushing your temples, that detail is lost. I once wasted weeks swapping cables on a pair of planar magnetics, only to realize the real culprit was a slight oxidation on my terminals. A quick check on why gold plated connectors aren’t always better would have saved me a lot of money. Don’t let marketing jargon distract you from the physical reality of how gear interacts with your body. Have you ever fallen into the trap of over-modding your gear only to break it? Let me know in the comments.
Long-term performance is the result of boring, consistent habits rather than expensive one-time upgrades. I’ve seen two-thousand-dollar setups sound like garbage because the owner let their cables sit in a humid basement for three years without a second thought. If you want your investment to last a decade, you need to treat it like a precision instrument. This goes beyond knowing the best way to store your IEMs to prevent driver damage; it requires an active maintenance routine that addresses the invisible enemies of high-fidelity sound: oxidation and mechanical wear.
A Clean Signal is a Happy Signal
Maintenance isn’t just about dusting your shelves; it’s about preserving the electrical integrity of every point of contact. I am a massive advocate for using specialized contact cleaners like DeoxIT D5. I have seen enthusiasts discard perfectly good receivers because of a scratchy volume knob, when all they really needed was a five-minute cleaning. If you’ve ever wondered how to fix the crackling noise when you turn your amp volume, it is almost always surface oxidation on the internal potentiometer. I keep a dedicated ‘maintenance kit’ in my desk: a can of contact cleaner, a microfiber cloth, and a small brush for my IEM nozzles. Taking thirty seconds to learn the best way to clean your ear tips doesn’t just improve hygiene; it restores the acoustic seal you worked so hard to perfect when you were stretching that headband.
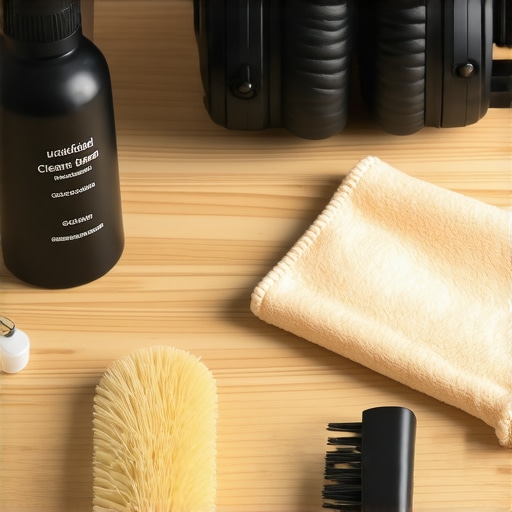
The Audio Engineering Society (AES) technical document AES-R1-2015 highlights that even microscopic layers of oxidation on non-noble metal connectors can increase contact resistance enough to introduce measurable non-linear distortion. This is the technical reason why you need to know how to clean green oxidization off your copper speaker terminals before it eats away at your sound stage. If you live in a coastal area with salt air, this isn’t optional; it is a survival skill for your speakers.
How do I maintain my high-end headphones for the long haul?
The most important thing you can do for headphones is to manage moisture and physical stress. After a long listening session, don’t just throw them in a drawer. Sweat and skin oils are surprisingly corrosive. I use small silica gel packets in my headphone cases to pull away any residual humidity. Furthermore, you should regularly inspect the moving parts. If you catch a loose screw early, you can avoid a situation where you are searching for how to repair a loose speaker terminal or a snapped hinge. I predict that the future of high-end audio will move toward extreme modularity—where brands provide official ‘refresh kits’ for drivers and internal wiring—but until that becomes the industry standard, we are the stewards of our own gear.
Don’t ignore the cables either. Stress at the connector is the number one cause of failure. If you are tired of your setup looking like a disaster, take a moment to learn the best way to run speaker wire under your rug or along your desk. Proper cable management isn’t just for aesthetics; it prevents accidental trips that can yank a jack right out of a motherboard or amp. My challenge to you is this: find that one piece of ‘broken’ gear in your closet—the one with the fuzzy signal or the crackling output—and hit the connectors with a dedicated contact cleaner today. You might just save yourself five hundred dollars on a replacement.
Hard Truths About Breaking in High-End Gear
After years of trial and error, I’ve realized that the biggest mistake most enthusiasts make is assuming that physical discomfort is a rite of passage. It isn’t. If your headphones are still painful after a week, they aren’t going to ‘self-correct.’ You have to take control of the ergonomics. One vital lesson I learned the hard way is that ‘brain burn-in’—the time it takes for your nervous system to adjust to a new sound signature—is often confused with physical break-in. If you are distracted by a headache, you will never truly hear the detail in your music. Furthermore, remember that the environment matters; for instance, even if you fix the fit, why open back headphones are the worst choice for an airplane remains a reality due to noise floor, not just comfort. Don’t force a bad fit in a bad environment.
My Go-To Toolbox for Audio Longevity
I don’t believe in magic cables, but I do believe in chemical maintenance and physical protection. My personal toolkit always includes a can of DeoxIT D5 for cleaning jacks and a high-quality headphone stand that doesn’t put tension on the pads. If you’re dealing with more than just headphone issues, like a messy room setup, knowing how to fix the annoying echo in your minimalist home theater can be just as important for your overall sanity. I also recommend following resources like InnerFidelity (archived) or RTINGS for their specific clamp-force measurements before you even buy a new pair. These tools help you avoid the ‘vice-grip’ models from the start.
Reclaim Your Listening Comfort
Audio should be a sanctuary, not an endurance test. By taking these deliberate steps to ease the tension on your headband and maintaining the electrical integrity of your gear, you are ensuring that your investment lasts for a decade rather than a season. Whether you are dealing with a desktop setup or trying to find the fix for annoying audio lag on your gaming headset, the goal is always the same: a seamless, painless connection to your music. Don’t be afraid to gently manipulate your gear to fit your unique anatomy. Your ears deserve the best possible experience without the physical cost. Have you ever accidentally snapped a headband while trying to stretch it out? Let me know your horror stories in the comments below.