
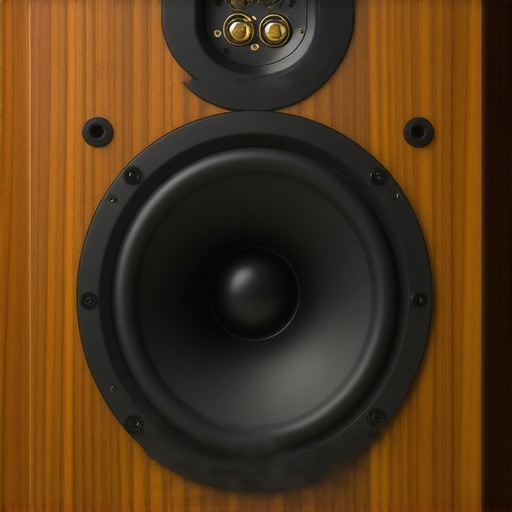
I remember the day I finally unboxed my first pair of ‘audiophile’ bookshelf speakers. They were beautiful, finished in a deep walnut, and I was convinced they would transform my living room into a concert hall. I hooked them up to a modest little vintage receiver I’d found at a garage sale, turned the dial, and… nothing. Well, not nothing, but the sound was thin, brittle, and lacked any sort of soul. I felt cheated. I thought because the speakers were small, they would be easy to drive. It was a classic rookie mistake that almost made me give up on high-end audio entirely.
Small Speakers Demand a Heavy Lift
The biggest lie in home audio is that size equals power requirements. We naturally assume that a massive floor-standing tower needs a nuclear reactor to run, while a dainty bookshelf speaker can live off scraps. In reality, it is often the exact opposite. Many small speakers are notoriously inefficient. Because they have smaller cabinets, designers often have to sacrifice sensitivity to get decent bass response. This means you have to pour in significantly more wattage just to get them to wake up and sing. When I first started, I didn’t even know how to tell if your amplifier has enough headroom for your speakers, and my poor little receiver was clipping its heart out trying to keep up. I was effectively starving my music, leaving the mid-bass flat and the highs feeling sharp enough to cut glass.
Is High-Wattage Gear Actually Worth the Hype?
You might be wondering if this is just a ploy to get you to buy a massive, expensive amplifier. I used to think the same thing. I worried that if I bought a high-power amp, I’d accidentally blow my speakers or, worse, waste money on power I’d never use. But it isn’t about playing music louder; it’s about ‘control.’ A high-current amplifier grips the speaker cone, moving it precisely and stopping it instantly. Without that power, the speaker wanders, causing that muddy, indistinct sound we all hate. According to research from the Audio Engineering Society (AES), clean power is far less dangerous to a speaker than a low-powered amp pushed into distortion, which is the number one killer of tweeters. If you’ve ever felt like your music loses its ‘punch’ when you turn it up even slightly, you’re likely hitting the limits of your current setup. Have you ever noticed your speakers sounding great at low volumes but falling apart the moment you try to fill the room? Drop a comment and let me know, because that’s the first sign of a power deficit.
Understanding the difference between peak and rms power explained simply can save you a lot of headache here. I spent years chasing ‘peak’ numbers on boxes before I realized that it’s the continuous, stable power that actually handles the heavy lifting of a bass line or a sudden orchestral swell. Don’t let the small footprint of your bookshelf speakers fool you—they are hungry for current, and feeding them properly is the only way to hear what they are truly capable of.
Match Your Amp to Your Speaker’s Hunger
The first step in waking up a dormant set of bookshelf speakers is ensuring the amplifier isn’t gasping for air. Think of your amplifier as the lungs of your system; if it can’t deliver enough air (or in this case, current), the performance will be wheezy and weak. I once hooked up a pair of vintage 4-ohm monitors to a budget AV receiver I’d bought at a big-box store. Within twenty minutes, the unit was so hot I could have fried an egg on the chassis. I learned the hard way that the real reason your amp is getting hot to the touch is usually a mismatch between the speaker’s impedance and the amp’s ability to provide stable current. If your speakers are rated at 4 or 6 ohms, you need an amp specifically rated to handle those lower loads without breaking a sweat.
Ensure Your Wires Aren’t Strangling the Signal
You can have the best amplifier in the world, but if you’re using the ‘dental floss’ wire that came free in a box, you’re creating a massive bottleneck. Thin wire has high resistance, which effectively eats your power before it ever reaches the driver. This is especially true if your equipment is on the other side of the room. I’ve seen setups where why cheap speaker wire causes signal loss over 50 feet becomes a very real problem, leading to a noticeable drop in volume and a loss of high-frequency detail. Aim for at least 14-gauge oxygen-free copper wire for most home setups to ensure the full energy of your music makes the trip intact.
Clean Up Your Connections Regularly
Maintenance is often the most overlooked part of the ‘how-to’ for great audio. Over time, copper wire reacts with the oxygen in the air, creating a layer of non-conductive crust. If you see a weird tint on your wires, you need to learn how to clean green oxidization off your copper speaker terminals to restore that metal-on-metal contact. While you’re back there, if you notice a static sound when adjusting levels, it might be time to address internal components too. Knowing how to fix the crackling noise when you turn your amp volume usually just requires a quick shot of contact cleaner into the potentiometer to clear out years of dust and grime.
Give Your Sound Some Breathing Room
Placement is the most effective ‘free’ upgrade you can give your speakers. Many people tuck bookshelf speakers into actual bookshelves or, even worse, put them right against the carpet. This is a recipe for muddy audio. You must stop placing your speakers directly on the floor for better bass, because the floor reflects low frequencies in a way that creates ‘boominess’ rather than punch. When I finally moved my speakers to ear level, the soundstage opened up like a curtain being pulled back.
Elevate the Experience with Stands
If you don’t have the budget for high-end furniture, don’t worry. You can easily find out how to build your own speaker stands for under twenty dollars using simple materials from a hardware store. The goal is to decouple the speaker from the surface it’s sitting on and get that tweeter pointed directly at your ears. This simple change in height and stability does more for clarity than almost any expensive cable ever could.
While getting your speakers off the floor and positioned correctly is the foundation of a good system, there is a deeper level of nuance that separates a casual listener from a seasoned audiophile. One of the most common pitfalls I see is the obsession with ‘purity’ through expensive accessories. Many people believe that spending hundreds of dollars on gold-plated interconnects will magically widen their soundstage. In my experience, and according to many electrical engineers, gold is actually less conductive than silver or copper. Its only real advantage is its resistance to corrosion. If you’ve been wondering is gold plated hardware really worth the extra cash, the answer is usually no—unless you live in a very humid environment where oxidization is a constant threat. For the average dry living room, high-quality oxygen-free copper is objectively superior for signal transfer.
Does a High-End DAC Actually Solve Your Noise Problems?
Another myth that often leads to wasted money is the idea that an external Digital-to-Analog Converter (DAC) is a silver bullet for poor sound. While a dedicated DAC can improve clarity, it can also introduce its own set of technical quirks. I once spent a week trying to diagnose why your digital to analog converter is making a clicking sound, only to realize it was a sample rate mismatch between my source and the hardware. In the pursuit of ‘high-res’ audio, people often overlook the fact that the biggest bottleneck is usually the recording itself or the amplifier’s noise floor. Dr. Floyd Toole, a pioneer in acoustics research, has noted in his work that the room and the speakers contribute significantly more to the final sound quality than the difference between two well-designed DACs. Have you ever fallen into the trap of thinking a more expensive cable or a tiny DAC would fix a fundamental speaker issue? Let me know in the comments below.
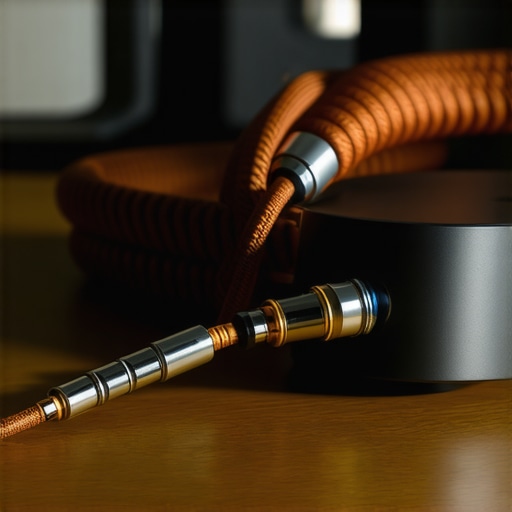
If you’re a headphone enthusiast, the ‘power mismatch’ issue is even more pronounced. It’s a common ‘oops’ moment to buy a pair of 300-ohm studio monitors and wonder why your expensive headphones sound thin on a basic smartphone. A smartphone simply doesn’t have the voltage to swing those big drivers, resulting in a sound that lacks any dynamic range. Moving to a professional setup can help, but even then, you need to understand the real performance benefit of using balanced XLR cables. It isn’t that they sound ‘better’ in a magical sense; it’s that they reject external interference, which is vital if you’re running long cables near power lines or routers.
The Current Trap That Kills Your Amp’s Dynamics
One of the most dangerous mistakes you can make—and one that I see all the time in home theaters—is using an undersized power source. Specifically, why you should avoid using an extension cord for your power amp is a lesson in basic physics. High-power amplifiers require massive bursts of current to handle bass transients. When you put a thin, 16-gauge extension cord between the wall and your amp, you are effectively creating a bottleneck that chokes the power supply. This leads to ‘soft’ bass and a lack of punch, making even a high-end system sound like a budget soundbar. Similarly, if you’ve added a subwoofer to your setup to compensate for thin bookshelf speakers, you must be surgical with its placement. Taking the time to learn the best way to position your subwoofer for clearer lows will do more for your system’s impact than any $500 ‘audiophile’ power cable ever could. True audio expertise isn’t about how much you spend, but how well you manage the energy flowing through your system.
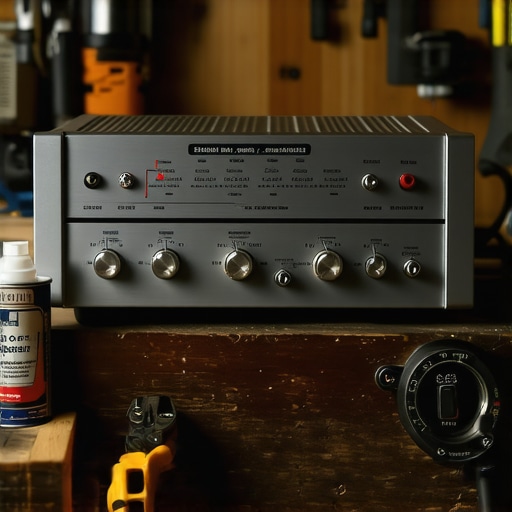
I’ve seen too many people toss perfectly good receivers because of a bit of dust. I personally keep a can of DeoxIT D5 in my drawer at all times; it is the gold standard for anyone serious about gear because it doesn’t just clean—it deoxidizes and protects the signal path. When you finally find the easy way to fix a scratchy volume slider on your radio, you’re usually just clearing out a tiny bit of carbon buildup that has been strangling your signal. This isn’t just about ‘cleaning’—it’s about restoring the electrical integrity that the original designer intended for the circuit.
Keep the Signal Path Pristine
Maintenance is the bridge between a ‘good deal’ and a ‘forever system.’ I’ve spent countless hours in my garage refurbishing old gear, and the most common failure point isn’t a blown transistor—it’s simple neglect. Beyond just spraying pots, you should be checking your physical connections every six months. If you’re using bare wire, that copper is constantly corroding. Snip the ends, strip back a fresh half-inch, and re-tighten those terminals. If you notice things feel a bit wobbly on the back of your unit, knowing how to repair a loose speaker terminal in under five minutes can prevent a short circuit that might otherwise fry your output stage during a high-volume session.
How can I keep my vintage gear alive for another decade?
The longevity of your setup often comes down to the health of the soft materials. If you’re rocking older speakers, the foam surrounds are your biggest enemy. Humidity and time turn that flexible foam into sticky crumbs, a process known as ‘foam rot.’ I’ve rescued dozens of pairs of high-end monitors by knowing how to fix a small rip in a speaker surround with glue before the entire suspension disintegrates. It sounds intimidating to perform surgery on a driver, but a little bit of specialized flexible adhesive can buy you another five to ten years of listening for the price of a cup of coffee. Don’t wait until the bass starts rattling; inspect your cones with a flashlight once a season.
The $20 Toolkit Every Audiophile Needs
You don’t need a degree in electrical engineering, but you do need a basic multimeter. Full stop. It allows you to check if your speaker terminals are making a solid connection or if you have a hidden short in your wiring. If you don’t have a meter handy, you can still use a simple trick: how to use a 9v battery to check your speaker polarity. This ensures your woofers are moving in unison (in phase), which is the only way to get that tight, centered bass image that makes a system sound expensive. According to amplifier designer Nelson Pass in his technical ‘Damping Factor’ white papers, the relationship between the amp’s output impedance and the speaker’s load is critical for bass control—but you can’t manage that relationship if your wiring is out of phase or if a terminal is failing.
Future-Proofing Your Sound
I suspect the future of this hobby isn’t in ‘better’ hardware, but in smarter software integration. We are seeing a massive shift toward DSP (Digital Signal Processing) and AI-driven room correction. In ten years, the ‘audiophile’ will be someone who knows how to use a calibrated microphone to map their room’s acoustic flaws rather than someone who buys $5,000 cables. The hardware is becoming a commodity; the room is the final frontier. My challenge for you: Unplug your speakers tonight and perform that 9V battery test mentioned above. You might be shocked to find your speakers have been fighting each other for years, canceling out the very bass you’ve been trying to find.
Lessons My Neighbors Wish I Never Learned
After decades of swapping gear, I’ve realized that the most expensive upgrade is often the one you didn’t need. I spent way too long thinking a new pair of speakers would fix a ‘thin’ sound when the real culprit was a lack of current. If you’re working with older gear, the trick to making vintage speakers sound modern again is usually found in the internal components like capacitors, not just the drivers. Also, don’t over-analyze tiny imperfections immediately; understanding why your headphones sound slightly different in each ear can often lead you to discover that your room’s reflective surfaces are the real problem, not the equipment itself.
The Three Tools That Saved Me Thousands
You don’t need a massive budget to build a world-class system. First, I always recommend finding legitimate high-end gear at local thrift stores; many people donate high-quality passive speakers simply because they don’t have Bluetooth. Second, you can save a fortune on high-res hardware by learning how to use an old smartphone as a high-res music streamer, which often rivals dedicated units costing hundreds. Finally, keep a basic contact cleaner handy to ensure every watt your amp produces actually reaches the voice coil without being lost to heat and resistance.
#IMAGE_PLACEHOLDER_E#
Stop Chasing Specs and Start Hearing the Music
It is incredibly easy to get lost in the ‘gear acquisition syndrome’ loop, constantly hunting for the next 1% of performance. But at the end of the day, your bookshelf speakers exist for one reason: to connect you to the artist. Once you’ve handled the basics of power, placement, and maintenance, give yourself permission to stop tweaking. True audio bliss happens when the equipment disappears and only the performance remains. Have you ever been disappointed by a ‘high-end’ speaker only to find out it was actually your amplifier or a thin cable’s fault? Let me know your story in the comments below!