
I’ll never forget the first time it happened to me. I had just finished a three-hour deep dive into a new jazz fusion album, feeling completely in the zone. I stood up, walked to the bathroom to splash some water on my face, and froze. My ears and neck were covered in hundreds of tiny, black, rubbery flakes. It looked like my skin was peeling off in some weird tech-themed horror movie. My favorite pair of over-ears—the ones I’d saved up for months to buy—were literally disintegrating against my skin. It’s a heartbreak every audiophile knows, and frankly, it feels like a betrayal by the brands we trust. Today, I’m going to help you understand exactly why this happens and, more importantly, how to stop your next pair from suffering the same fate. We’re going to talk about the chemistry of sweat, the mistake of ‘budget’ storage, and how to keep those cushions plush for years.
It Starts With One Tiny Crack
You probably didn’t notice it at first. Maybe there was a slight wrinkling on the underside of the pad, or a tiny split near the seam. But once that protective top layer of ‘protein leather’—which is really just a fancy name for plastic-coated fabric—is compromised, it’s game over. I’ve made plenty of mistakes myself, like the time I thought stretching my headphones would somehow relieve the pressure on the pads and stop the peeling. Spoiler: it didn’t. In fact, if you wear glasses, you might notice the peeling starts exactly where the frames meet the cushion, a problem that also explains why your headphones sound thin when you wear glasses. Have you ever looked down at your desk and realized you were covered in ‘headphone dandruff’? It’s the worst, isn’t it?
Is it actually worth buying expensive replacement pads?
You might be skeptical about spending another thirty or forty dollars on a pair of pads for headphones you already paid a premium for. I get it. But here is the reality: cheap third-party replacements often change the acoustic seal, leading to that annoying situation where your headphones sound slightly different in each ear because the foam density isn’t consistent.
The Hidden Enemies Attacking Your Gear Every Day
The main culprit isn’t just ‘old age.’ It’s you. Well, more specifically, it’s your skin. Human sweat and sebum (the natural oils we produce) are surprisingly corrosive to synthetic materials. According to researchers at the American Chemical Society, the salts and lipids in human sweat can cause the plasticizers in synthetic leather to leach out, making the material brittle and prone to cracking. This is why your gym headphones look like they’ve been through a war zone after six months while your office pair looks pristine. While you are busy keeping your gear clean, like learning how to clean dust out of your headphone jack, you’re likely ignoring the very things touching your face. If you don’t wipe them down, you’re essentially leaving a chemical solvent to eat away at your investment overnight.
Save Your Pads with a Ten-Second Post-Session Routine
After that nightmare with the black flakes on my neck, I realized that prevention is the only real cure. The most effective thing you can do is wipe down your ear pads with a clean, dry microfiber cloth after every single use. It sounds like a chore, but it takes ten seconds. Think of it like washing your face after a long day; you are removing the salt and sebum before they have a chance to penetrate the synthetic surface. If you let those oils sit, they act as a slow-motion solvent that eventually turns your expensive gear into a crumbly mess. It’s the same logic you apply when you need to how to clean sticky speaker surrounds without damaging the rubber—you want to remove the contaminant without compromising the material itself.
Ditch the Alcohol and Use This Instead
One of the biggest mistakes I ever made was thinking a standard isopropyl alcohol wipe would ‘sanitize’ my headphones. Within two weeks, the pads felt like sandpaper. Alcohol accelerates the leaching of plasticizers, making ‘protein leather’ brittle. Instead, use a drop of mild, oil-free dish soap diluted in a bowl of warm water. Dampen your cloth, wring it out until it is barely moist, and gently wipe. This safely lifts the grease without chemical warfare. 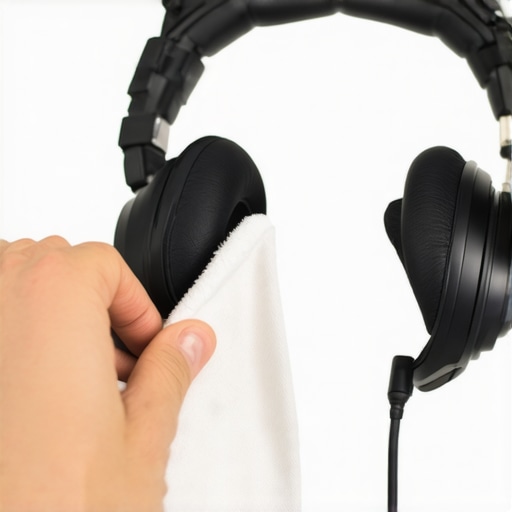
Ditch the Cheap Plastic and Go Natural
When the damage is already done and you are ready for replacements, look beyond the original manufacturer’s synthetic options. If your headphones are a long-term investment, upgrade to real sheepskin or cowhide leather pads. Unlike synthetic materials, natural leather is porous and handles human oils much better without disintegrating. However, be careful with the fit. If the pads aren’t an exact match, you might end up with an air leak, which is a common reason why your headphones sound slightly different in each ear. A poor seal can ruin the sub-bass response and the soundstage you paid for.
Stop the Squeak Before It Starts
As pads age and dry out, they don’t just peel—they start to make noise. If you’ve ever felt like your gear was fighting you, you need to learn how to stop your high-end headphones from creaking when you move. Often, that creak is actually the friction between the pad’s mounting ring and the headphone cup. A tiny amount of dry PTFE lubricant on the plastic contact points can make them feel brand new.
Master Your Storage to Beat Humidity
Where you put your headphones when you aren’t wearing them matters just as much as how you clean them. Avoid hanging them on stands that put constant tension on the foam, as this stretches the outer coating and invites cracks. More importantly, keep them out of humid environments. High humidity triggers hydrolysis in many synthetic leathers—literally a chemical breakdown caused by water in the air. This is a similar principle to the best way to store your iems to prevent driver damage; keeping things dry and stable is the secret to longevity. If you live in a particularly humid climate, throw a small silica gel packet in your headphone case to soak up the moisture before it eats your cushions. Remember, once the peeling starts, you can’t ‘glue’ it back together. You can only slow it down or replace the part. Just like why your expensive headphones sound thin on a basic smartphone, your gear is only as good as the weakest link in the chain.
It’s easy to get sucked into the specs war, especially when you see a ‘deal’ on a 1000-watt receiver for a hundred bucks. But here’s the contrarian truth: wattage is often the most manipulated stat in the industry. Most people believe more power equals better sound, but in reality, doubling your wattage only gives you a measly 3dB increase in volume—barely enough for your ears to register. If you’re hunting for deals, you’re better off looking at speaker sensitivity. I’ve seen enthusiasts spend thousands on massive towers only to find why your bookshelf speakers need more power than you think because they aren’t efficiently converting those watts into waves. Before you buy, you must learn how to tell if your amplifier has enough headroom for your speakers or you’ll end up with clipped, distorted audio that kills your dynamics.
The Used Gear Trap You Never See Coming
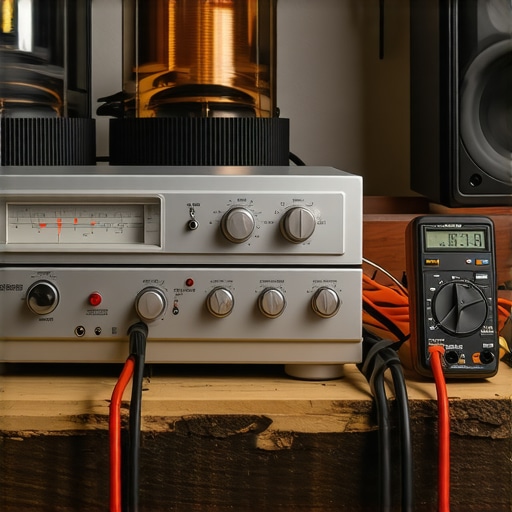
The ‘Oops’ factor often happens in the used market. You find a ‘vintage’ gem, bring it home, and realize the capacitors are dried out or the tweeter is fried. Just because a speaker looks pristine doesn’t mean the internal crossover hasn’t drifted. Before you hand over cash, you need the best way to test a used receiver before you buy it. I once bought a gorgeous Marantz only to realize too late that the DC offset was high enough to melt my voice coils. It’s a painful lesson in ‘too good to be true.’ This is why I always carry a multimeter and a cheap sacrificial speaker to every Facebook Marketplace meetup.
Why does my high-end system sound thin even at high volume?
Many audiophiles struggle with a ‘thin’ or ‘hollow’ sound despite spending thousands. Usually, this isn’t a hardware failure; it’s a phase issue. If your speakers are wired out of sync, their low-end frequencies literally cancel each other out. You can use a simple trick involving how to use a 9v battery to check your speaker polarity to ensure your drivers are moving in the same direction. According to research published by Dr. Floyd Toole of the Audio Engineering Society (AES), the interaction between a speaker and the room’s boundaries accounts for roughly 30% of what we actually hear. This is why even a cheap soundbar can sometimes feel ‘fuller’ if you know how to get deep bass from a soundbar without using a subwoofer by utilizing corner loading. If you ignore room acoustics and phase, you are effectively throwing half your budget out the window. Have you ever fallen into this trap? Let me know in the comments.
Beyond just avoiding the ‘thin’ sound, you have to be proactive about the physical health of your components. I’ve seen five-thousand-dollar systems reduced to static-filled messes simply because the owner didn’t know how to fight the invisible creep of oxidation. I keep a can of DeoxIT D5 in my desk drawer like it is life-saving medicine. Why? Because every time you plug and unplug a cable, you are risking micro-abrasions that eventually lead to signal degradation. If you see that dull, cloudy look on your wires, you must learn how to clean green oxidization off your copper speaker terminals immediately. It’s not just about aesthetics; it’s about maintaining the low-resistance path your music requires to breathe.
Wipe Out Noise Before It Starts
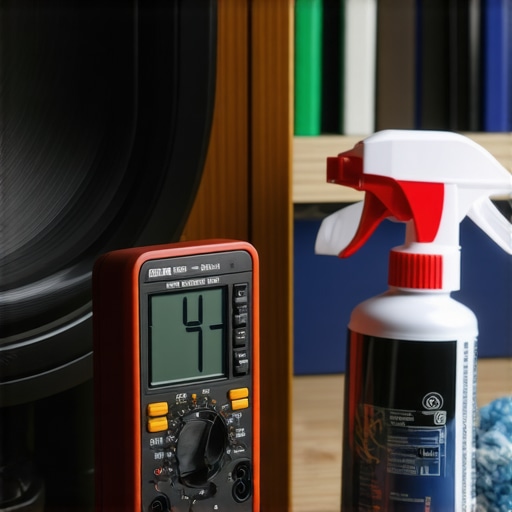
For me, the most essential tool in my kit isn’t a fancy cable—it’s a basic digital multimeter. I use it to verify that my cables haven’t developed internal shorts and to check the health of my drivers. If you suspect a speaker is failing, knowing how to spot a blown tweeter before it ruins your crossover can save you hundreds in repair costs. A quick resistance check across the terminals can tell you if the voice coil is within spec or if it is starting to cook itself. As noted in technical documentation from Vishay Intertechnology, high operating temperatures significantly accelerate the degradation of electrolytic capacitors, often cutting their lifespan in half for every 10-degree Celsius rise in ambient heat.
Protect Your Circuits from the Summer Heat
This is why ventilation is your best friend. I’ve seen people stack their gaming consoles directly on top of their receivers, which is a recipe for disaster. If you notice your gear is running warm, you need to investigate the real reason your amp is getting hot to the touch. Usually, it’s a lack of airflow or an impedance mismatch that is forcing the output transistors to work overtime. If you’re pushing hard-to-drive speakers, you might find why your amplifier gets hot enough to burn your hand is actually due to poor placement in a cramped media console. Giving your gear three inches of ‘breathing room’ on all sides can extend its life by years.
How do I keep my vintage gear sounding fresh for the next decade?
Maintenance for older gear is a marathon, not a sprint. Every few months, I do a ‘connection audit’ where I tighten every binding post and swap out any cables that feel loose. If you are dealing with older tech, you might need to learn how to revive a vintage turntable with a slipping belt or use a specialized rubber conditioner. For modern setups, it’s more about software and stability. Looking ahead, I expect we will see more ‘self-healing’ polymers in ear pads and AI-monitored power supplies that automatically adjust bias to prevent thermal runaway. The future of audio is smart, but it still relies on the same physics of clean contact and stable power.
My challenge for you today: Don’t just listen to your music—listen to your equipment. If you hear a faint pop or a slight hum, don’t ignore it. Grab a battery and try how to use a 9v battery to check your speaker polarity right now. You might be surprised to find that a simple five-minute fix restores the soundstage you thought you’d lost forever.
The Expensive Truth About ‘End-Game’ Audio Gear
After years of cycling through countless amplifiers and high-end headphones, I’ve realized that the most expensive gear is often the most fragile. We chase the ‘end-game’ setup, but we forget that high-performance machines require high-performance maintenance. One of the biggest myths is that price equals permanence. It doesn’t. In fact, some of the best home audio deals I’ve ever found were “broken” units that simply needed a bit of contact cleaner and a new fuse. I learned the hard way that why gold-plated connectors aren’t always better comes down to the simple fact that physical wear is the ultimate equalizer. Whether you are rocking speakers from the 70s or a modern soundbar, the enemy is always the same: neglect and friction.
- Price is a poor predictor of lifespan: I’ve had budget monitors outlast flagship planar magnetics. Build quality is about the choice of materials, not just the brand name.
- The environment is a slow killer: If you are constantly finding legitimate high-end gear at local thrift stores, notice how many “dead” units lived in damp basements. Humidity is the silent assassin of voice coils and crossover capacitors.
- Open-back vulnerability: Remember that why your open-back headphones leak sound more than you think also means they let dust and pet hair into the driver chamber more than you’d like. Keep them in a case when not in use.
Tools That Saved My Wallet and My Sanity
You don’t need a degree in electrical engineering to keep your gear alive. My daily-carry kit is simple but effective. First, a high-quality digital multimeter is non-negotiable for checking continuity in cables and resistance in drivers. Second, I always suggest DIY enthusiasts try how to build your own speaker stands for under twenty dollars to save money for things that actually affect sound, like better room treatment. I also swear by Kimberly-Clark delicate task wipes; they are much safer for fragile tweeter domes than standard paper towels which can be surprisingly abrasive. #IMAGE_PLACE_HOLDER_E#
Your Music Deserves Better Than Dusty Circuits
At the end of the day, we don’t buy this gear just to look at it on a shelf. We buy it for the way it makes us feel when that first bass note hits. Taking ten minutes a month to check your connections and wipe down your pads ensures that your home audio deals stay “deals” rather than becoming expensive paperweights. Don’t let a little bit of oxidation or a peeling ear pad stand between you and the perfect listening session. Treat your gear with respect, and it will return the favor with a decade of pristine audio. Have you ever had a piece of gear literally fall apart while you were using it? Let me know about your biggest audio gear “disaster” in the comments below!