
I remember the day I finally unboxed my first high-performance 12-inch subwoofer. I spent weeks researching home audio deals, and when I finally fired it up, I expected a cinematic experience that would make my chest thump. Instead, I got a living room that sounded like a bag of loose change. My coffee table was rattling, the picture frames were dancing on the walls, and the sliding glass door was buzzing in a key that definitely wasn’t on the soundtrack. It was a disaster. I tried the amateur move of just turning the gain down until the rattling stopped, but that’s like buying a Ferrari and never taking it out of second gear. You lose all the impact. Then I realized something crucial: I wasn’t hearing the sub; I was hearing my house.
Stop Your Coffee Table from Joining the Band
A vibrating subwoofer is more than just an annoyance. It’s a sign that your room is stealing energy that should be going into your ears. When a sub sits directly on a hard floor, it couples with the structure of your home. This mechanical energy travels through the floor joists and into your furniture. I made the classic mistake of thinking I needed a more expensive sub, when in reality, I just needed to stop it from shaking the floor. You see, vibrations behave differently depending on what they sit on, and glass or thin wood are the absolute worst offenders. According to the Audio Engineering Society, controlling cabinet resonance is one of the most overlooked aspects of home theater calibration. If your sub is vibrating your furniture, you’re experiencing a smearing of the lower frequencies, which ruins the clarity of the bass.
Is a specialized isolation pad actually worth the money?
I used to be a total skeptic about this. I thought these foam pads or rubber feet were just snake oil designed to overcharge audiophiles. Why not just use a piece of carpet? I asked myself. But after testing everything from yoga mats to folded towels, I found out that density matters. Cheap fixes often don’t have the compliance needed to absorb low-frequency energy. Much like how filling speaker stands with sand adds necessary mass to stabilize high-end bookshelf speakers, decoupling your subwoofer creates a physical barrier that keeps the sound in the air and out of your end tables.
Why Your Furniture Is Stealing Your Best Bass
When your couch vibrates, that’s energy being wasted. Instead of your ears feeling the pressure wave, your floor is absorbing it. Have you ever walked into another room and realized the bass sounds better or cleaner there? That’s often because you’re not sitting in the middle of a vibrating furniture set. I spent years thinking my sub was boomy or muddy, but once I isolated it, the bass became punchy and tight. It’s a similar logic to why performing a paper test for cabinet leaks is so important; you want the energy to go exactly where it is supposed to. Today, we’re going to walk through the exact steps to decouple your sub and quiet those annoying rattles for good. Have you noticed your furniture vibrating more during action movies, or does it happen even at low volumes? Let me know in the comments, because the fix might be easier than you think.
Kill Floor Vibrations with Decoupling
Think of your subwoofer like a high-performance car engine. If the engine is bolted directly to the chassis without rubber mounts, the whole car shakes until your teeth rattle. In your living room, the floor is the chassis. To fix this, you need to decouple the sub. This isn’t just about putting a rug down; you need a material that can turn mechanical energy into heat before it reaches the floor joists. I once tried to solve this by stacking three thick architecture textbooks under my 15-inch Klipsch. It was a disaster. During the opening scene of Interstellar, the vibration was so intense the books slid apart, and the sub tipped over, nearly crushing my favorite amp. It was a messy, loud lesson in why stability matters as much as isolation.
Use Dense Isolation Platforms Instead of Makeshift Pads
The most effective fix is a dedicated isolation platform. These usually consist of a hard top plate and a thick, high-density foam bottom. The foam acts as a shock absorber for the low-frequency waves. If you are on a budget, 3 budget upgrades that make cheap speakers sound expensive often include using Sorbothane hemispheres. These little rubber domes are incredible at absorbing energy. I’ve seen people use everything from hockey pucks to tennis balls, but if the material is too hard, it just passes the vibration through. You want something with ‘compliance’—it needs to give slightly under the weight of the sub without bottoming out. 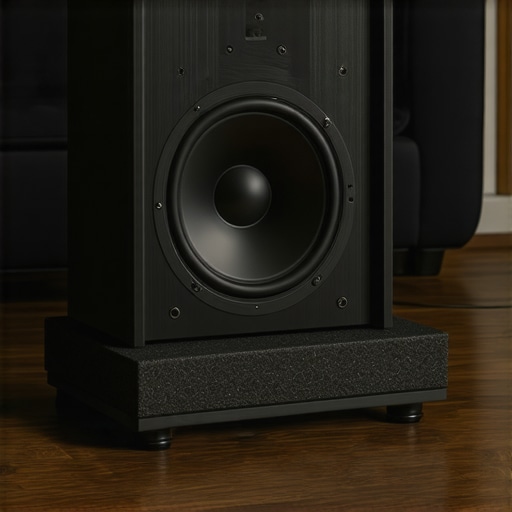
Find the Sweet Spot with the Subwoofer Crawl
Sometimes the rattling isn’t just about physical contact; it’s about the air pressure in the room hitting a resonance frequency. If your sub is tucked into a corner, it might be exciting a ‘room mode’ that makes your windows flex. To fix this without complex software, do the ‘subwoofer crawl.’ Place your sub exactly where you normally sit (yes, on the couch) and play a bass-heavy track. Then, crawl around the room on your hands and knees and listen for where the bass sounds tightest and the walls rattle the least. That spot is where the sub should live. This is very similar to how to find the sweet spot for your speakers in a rectangular room.
Why Squeezing the Screws Actually Works
You would be surprised how often a ‘furniture rattle’ is actually the subwoofer cabinet itself falling apart. Over years of heavy use, the vibration can loosen the screws holding the driver to the baffle or the amplifier plate to the back. When I had a persistent buzzing sound in my speaker at high volumes, I realized two screws on the port tube had backed out just a millimeter. Use a screwdriver to check every single fastener on the sub’s body. If the rattle persists in your walls, look at your home’s ‘soft spots.’ Just as car door vibration ruins mid-bass performance by cancelling out sound waves, a rattling picture frame in your hallway is actually creating ‘anti-noise’ that muddies your home theater experience. Blue-tack behind picture frames and felt pads on cabinet doors are your best friends here.One of the biggest myths I constantly hear in the audio community is that if your bass feels weak or ‘thin,’ you simply need a bigger amplifier or a more powerful subwoofer. This is a massive trap. Throwing more wattage at a room with poor acoustics is like trying to fill a bucket with a hole in the bottom; you’re just wasting energy. In fact, renowned acoustics expert Dr. Floyd Toole has famously noted that the interaction between your subwoofer and the room’s boundaries is the single most significant factor in the quality of low-frequency sound. If you are sitting in a room ‘null’ where sound waves cancel each other out, cranking the volume will only make your windows rattle louder without actually improving the bass you hear.
Stop Chasing Watts to Fix Room Problems
I’ve seen enthusiasts spend thousands on high-end gear only to find their amplifier getting hot to the touch because they are pushing it too hard to compensate for a bad room layout. Before you look for another ‘deal,’ understand the difference between peak and RMS power and how they relate to your sub’s actual performance. If you don’t have enough headroom for your speakers, the peaks in an action movie will clip, sending a distorted signal that causes the cabinet to vibrate even more violently. This distortion is often what you are hearing when your furniture starts ‘joining the band.’
Is corner loading actually ruining your bass clarity?
Almost every manual tells you to put the sub in a corner for ‘extra gain.’ While it’s true that boundaries increase output, it’s often ‘dirty’ gain. Corners excite every room mode simultaneously, which is why your monitors might sound boxy or bloated. By moving the sub even eighteen inches away from the corner, you can often smooth out the response and stop the wall-shaking resonance that drives your neighbors crazy. 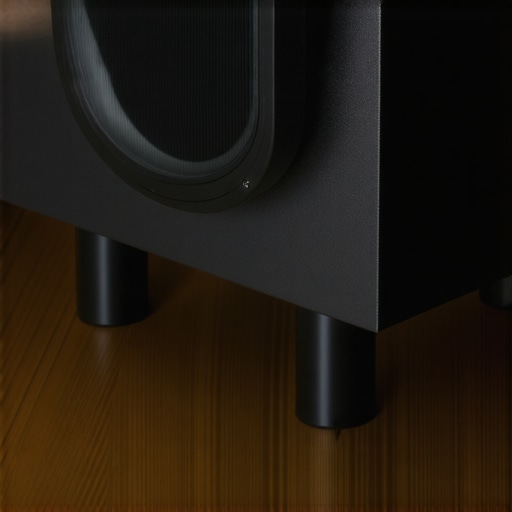
The Danger of Over-Tightening and ‘Fake’ Isolation
Here is a nuance most people miss: while I mentioned tightening screws earlier, there is a limit. I once stripped the MDF threads on a custom cabinet because I thought ‘tighter is better.’ Once those threads are gone, the driver will never sit flush again, creating a permanent air leak and a rattling sound that is nearly impossible to fix without wood filler and a prayer. Similarly, don’t trust every ‘isolation’ product you see. If a pad is too stiff, it doesn’t decouple; it just becomes a harder extension of the floor. Have you ever fallen into the trap of buying a bigger sub to fix a ‘quiet’ room, only to find the rattles got worse? Let me know in the comments, and let’s figure out your room modes together.Once you’ve got the rattles under control and the sub decoupled, the real work begins—keeping it that way. I’ve seen too many enthusiasts spend a fortune on home audio deals only to let their systems degrade because they didn’t have a simple maintenance routine.
Why a 9V Battery belongs in your tool drawer
One of the weirdest but most effective tools I use isn’t a high-end calibration mic; it’s a standard 9V battery. I use it to verify the physical movement of the drivers. If you’ve just rewired your system and the bass feels ‘thin,’ you might have a phase issue where one driver is pushing while the other pulls. You can use a 9V battery to check your speaker polarity in seconds. It is a trick I learned from old-school installers that saves hours of headache. For the more data-driven side of things, I swear by Room EQ Wizard (REW). According to technical documentation from Harman International, using multiple subwoofers and measuring their combined response at the listening position is the only way to truly eliminate ‘dead spots’ in a room.
Stop dust and corrosion from stealing your signal
We often forget that audio equipment is essentially a collection of sensitive electrical junctions. Over time, humidity and dust are your worst enemies. I recently cracked open a vintage cabinet and found the wiring looked like it had been pulled from a shipwreck. Learning how to clean green oxidization off your copper speaker terminals can actually restore the high-frequency detail you didn’t even know you were missing. While you’re at it, check your grilles. If they’ve seen too much sun, you should know how to restore a sun-faded speaker grille to look new again to keep the aesthetic as sharp as the sound. 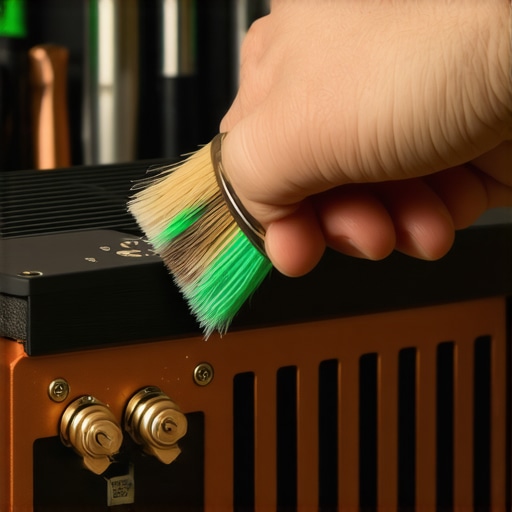
How do I keep my home theater system performing at its peak?
Maintenance isn’t just about cleaning; it’s about constant monitoring. Listen for the ‘health’ of your components every time you power them up. If you hear the reason your expensive receiver makes a clicking sound when it starts, it might be a relay performing its normal protection circuit duty—or it could be a warning sign of a power surge. I also suggest a monthly ‘sweep’ test. Play a frequency sweep from 20Hz to 20kHz. This is the fastest way to how to spot a blown tweeter before it ruins your crossover. If you catch a scratchy sound early, you can often save the rest of the speaker from cascading failure.
The next big shift in how we hear bass
Looking ahead, I predict we are moving away from massive, single-point subwoofers toward ‘distributed bass’ systems. AI-driven Digital Signal Processing is becoming so smart that it can soon coordinate four or five small drivers hidden throughout your furniture to create a unified soundstage that was previously impossible. If you’re running high-power setups, especially in custom builds, you might even need to consider how to add a second battery for your high power car audio or home backup to handle the transient peaks. My challenge to you this week: grab a screwdriver and a can of compressed air, and give your amp a literal ‘health check.’ You might be surprised what a little cleaning can do for your noise floor.
Hard Truths from a Decade of Chasing the Perfect Drop
After years of tweaking my own setup, I realized that the biggest enemy of high-quality audio isn’t cheap equipment; it is a lack of patience. I used to think that if I couldn’t feel the floorboards shaking, I wasn’t getting my money’s worth. I was wrong. True bass performance is about what you don’t hear—the absence of buzzing, the lack of cabinet resonance, and the disappearance of that ‘boxy’ sound. One major lightbulb moment for me was discovering that why your car door panels buzz with every bass hit is the exact same physics that ruins your home theater. Resonance is resonance, no matter the room. Another lesson? Don’t be afraid to experiment with ‘incorrect’ placements. Sometimes the corner isn’t the enemy if you have the right isolation. Finally, remember that your ears are the ultimate judge. If a setting looks perfect on a graph but sounds ‘thin’ to you, trust your gut. Your listening room is a living environment, not a laboratory.
The Few Things I Carry in My Calibration Bag
You don’t need a thousand-dollar toolkit to make a massive difference in your sound. When I’m helping a friend set up their system, I bring three things: a flashlight, a roll of blue-tack, and a set of Sorbothane feet. If you are looking for 3 budget upgrades that make cheap speakers sound expensive, high-density isolation is always at the top of my list. I also highly recommend keeping a dedicated test track list. Use songs you know by heart so you can immediately tell if a change made the bass ‘tighter’ or just ‘quieter.’ If you are hunting for new gear to add to your setup, always look for the best way to test a used receiver before you buy it to ensure you aren’t inheriting someone else’s hardware headaches. And for those working with older gear, the trick to making vintage speakers sound modern again often involves simple internal dampening that mirrors the subwoofer decoupling we discussed today. #IMAGE_PLACEHOLDER_E#
Go Enjoy the Movies the Way They Were Meant to Be Heard
The ultimate goal of all this tweaking is to reach a point where the technology disappears. When you can sit down, hit play, and feel the weight of a cinematic explosion without the distraction of a rattling window, you’ve won. Taking the time to properly decouple your subwoofer and hunt down those room resonances is a rite of passage for any true audio enthusiast. It transforms a ‘system’ into an ‘experience.’ Don’t get discouraged if the first spot you try doesn’t work perfectly; audio is a journey of fine-tuning. Have you found a specific piece of furniture in your room that just refuses to stop rattling no matter what you do? Let me know in the comments, and let’s troubleshoot that vibration together.