
I’ll never forget the smell of melting plastic in the cabin of my old sedan. I had just finished bolting in a 500-watt monoblock amp and a brand new 12-inch sub. Being a broke enthusiast, I decided to save twenty bucks by using some 12-gauge home theater wire I found in my junk drawer. Within twenty minutes of ‘testing’ the system, the bass started to sag, the lights flickered with every kick drum, and the smell of ozone filled the car. I was lucky I didn’t start a literal fire. That day, I learned the hard way that power isn’t just about the amplifier—it’s about the size of the ‘pipe’ you use to get electricity from the battery to the trunk. If you have ever noticed that your amp is running too hot or your bass feels ‘soggy,’ you are likely strangling your system with the wrong wire. Today, I’m going to make sure you don’t repeat my mistakes so you can get every ounce of performance out of that 500-watt setup. Have you ever felt your power cables after a long drive and noticed they were warm to the touch? Let me know in the comments, because that’s the first sign of trouble.
Don’t Let Your Wiring Throttle Your Performance
Picking the right gauge for a 500-watt system is about more than just ‘making it fit.’ It is about voltage drop. When your amp asks for power to hit a deep note, thin wire acts like a bottleneck. This resistance creates heat, and as we know, heat is the enemy of electronics. In fact, a common reason why your car amp is overheating during long summer drives is simply because it’s fighting to pull current through a wire that’s too small. For a 500-watt RMS system, you are right on the edge of two worlds: 8-gauge and 4-gauge. If your run is short—say, less than 10 feet—you can usually get away with 8-gauge. But if you’re running that wire from the front battery to the far back of an SUV, you’re looking at a 15 to 20-foot run where 4-gauge becomes the safer, smarter bet.
Is Buying Thick Copper Actually a Marketing Gimmick?
I get the skepticism. Copper is expensive, and it’s tempting to buy the cheapest ‘500-watt kit’ you find online. However, the American Wire Gauge (AWG) standards are based on physics, not marketing. According to the Engineering Toolbox, the resistance of a wire increases as the gauge number goes up (meaning the wire gets thinner), and when you’re dealing with the DC current in a car, even a small drop in voltage can lead to massive distortion. Also, be wary of ‘Copper Clad Aluminum’ (CCA). It’s cheaper, but it doesn’t carry current nearly as well as Oxygen-Free Copper (OFC). If you choose CCA, you actually need to go one size larger just to match the performance. If you aren’t careful, you might even find why your car audio system drains the battery while the engine is off because of poor grounding or inefficient draws. Stick with OFC whenever your budget allows; your alternator and your ears will thank you.
Think of Your Power Cable Like a Garden Hose
Imagine trying to fill a swimming pool through a tiny drinking straw. You can have the most powerful pump in the world at the source, but that straw limits exactly how much water reaches the pool. Your power wire works the same way. At 500 watts, your amp is hungry. If you use thin wire, the electricity struggles to flow, creating friction and heat. I once spent an entire Saturday morning neatly tucking 8-gauge wire under the door sills of a long-bed Chevy Silverado. Because the run was nearly 20 feet long, the voltage at the back was so low the amp would cut out every time the bass dropped. I had to rip it all out and switch to 4-gauge. It was a miserable lesson in ‘voltage drop.’ 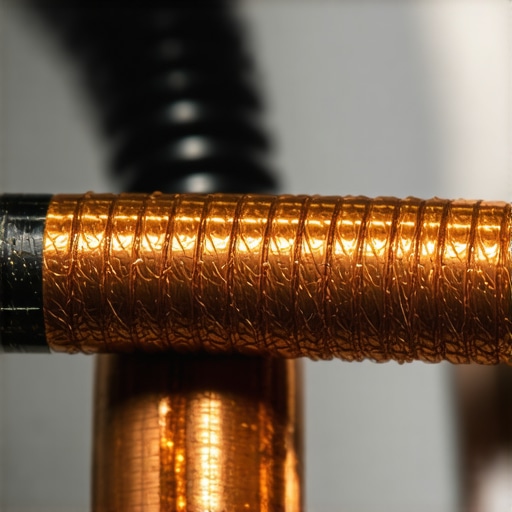
Stop Making Your Ground Wire an Afterthought
A circuit is a loop. If your power wire is a massive 4-gauge ‘pipe’ but your ground wire is a thin 10-gauge scrap you found, your amp is still strangled. Your ground wire must be the same gauge as your power wire and kept as short as possible—usually under 18 inches. I always scrape the paint down to bare, shiny metal where the ground terminal meets the car chassis. If you don’t, you’ll experience resistance that makes you wonder why your car audio system drains the battery while the engine is off or why your amp feels like a space heater.
Verify Your Voltage Before You Crank the Volume
Once the wires are ran, don’t just turn it up to eleven. You need to verify that the power is actually getting there. Knowing how to use a multimeter to find a short in your speaker wires or to check your DC voltage at the amp terminals is essential. With the car running, you should see at least 13.8V at the battery. If you see significantly less at the amp while the music is playing, your wire is too thin.
The Hidden Danger of Copper Clad Aluminum
If you see a ‘4-gauge’ kit for twenty bucks, it’s almost certainly Copper Clad Aluminum (CCA). CCA is essentially an aluminum core with a thin coating of copper. Aluminum only has about 60% of the conductivity of pure copper. This means a 4-gauge CCA wire actually performs like an 8-gauge Oxygen-Free Copper (OFC) wire. If you live in a humid climate, CCA can also corrode much faster. I’ve seen CCA wires turn into a pile of white powder inside their jackets after just one salty winter. If you’re serious about your 500-watt build, spend the extra money on OFC. It carries more current, runs cooler, and lasts the life of the vehicle.
Upgrade Your Wire Before You Buy a Second Battery
Many people see their headlights flickering and immediately assume they need to add a second battery for your high power car amp. While a second battery helps with reserve capacity, it won’t fix a bad connection. If you plan to wire two subwoofers to a single mono amp, you are pulling even more current through that single power line. While you are back there in the trunk securing everything, take five minutes to apply the simple fix for a rattling rear deck in your car. There is nothing worse than high-quality power being ruined by the sound of a vibrating license plate or a loose rear deck.
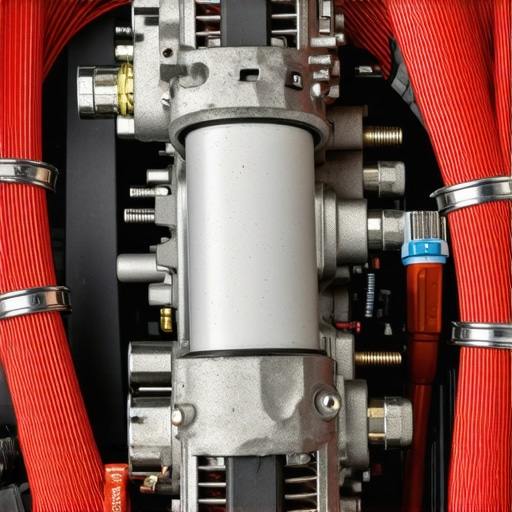
Beyond the simple choice of wire thickness, there is a technical trap that even seasoned hobbyists fall into. Everyone tells you to buy the thickest wire possible, but they rarely mention the ‘Big 3’ bottleneck. You can run 0-gauge to the trunk, but if your alternator-to-battery wire is a measly factory 8-gauge, you haven’t actually increased your system’s capacity. I call this the ‘Big Pipe, Tiny Valve’ fallacy. According to the Mobile Electronics Certified Professional (MECP) study guides, factory electrical systems are designed with very little overhead—usually just enough for the lights and AC. When you add a 500-watt load, you are literally starving the vehicle’s primary electronics. This instability is often why your car speakers pop when you turn the engine on or why your dash lights dim during a heavy bass drop.
The Grounding Trap You Are Probably Walking Into
I’ve seen enthusiasts spend $200 on Oxygen-Free Copper (OFC) and then ruin the whole install by using a self-tapping screw into a thin piece of sheet metal for the ground. That’s a disaster waiting to happen. A proper ground needs to be bolted to the main frame or a reinforced part of the chassis. If the connection is loose or corroded, you’ll start wondering how to tell if your amps capacitors are failing when, in reality, the amp is just struggling for a solid return path. I always use a wire brush to clear away every speck of paint until I see shiny metal. If you’re trying to hide a car amp under the passenger seat safely, make sure you aren’t grounding it to a seat bolt that has a plastic washer or heavy paint—it’s the fastest way to cook your internals.
Does Your 500-Watt Amp Actually Need a Stiffening Capacitor?
This is the ultimate debate among advanced installers. Marketing will tell you that a capacitor is the ‘magic pill’ for flickering lights. In reality, a capacitor is often just a band-aid. If your wire gauge is correct and your ‘Big 3’ is upgraded, you shouldn’t need one. If you find the reason your passive speakers sound quiet with a digital amp is actually low voltage, adding a capacitor just adds another load for your struggling alternator to charge. Have you ever fallen into the trap of buying a capacitor instead of just upgrading your wires? Let me know in the comments, because I’ve definitely been there, chasing my tail for weeks before realizing my ground was the culprit.
Don’t Ignore the Small Connections
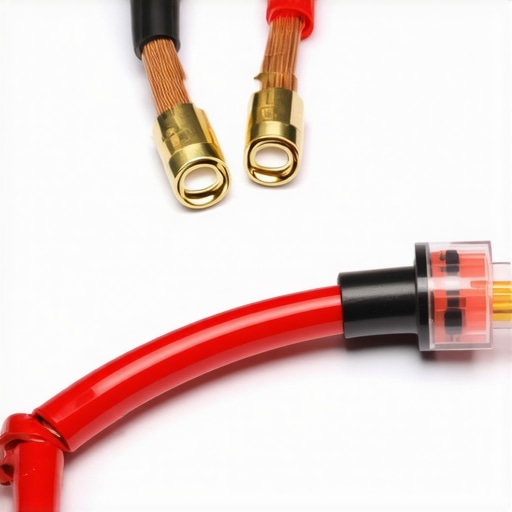
Finally, let’s talk about the terminals. Cheap crimp connectors from the local hardware store are not made for the constant vibration and heat of a car environment. Over time, heat cycles cause the metal to expand and contract, loosening the grip on the wire. This creates ‘micro-arcing,’ which is a fancy way of saying your wire is slowly melting the terminal block from the inside out. Always use high-quality tinned copper lugs and seal them with heat shrink. It’s the difference between a system that lasts ten years and one that leaves you wondering why your car audio system drains the battery while the engine is off due to a parasitic draw from a partially shorted, oxidized connection.
Don’t Let Corrosion Kill Your Connection
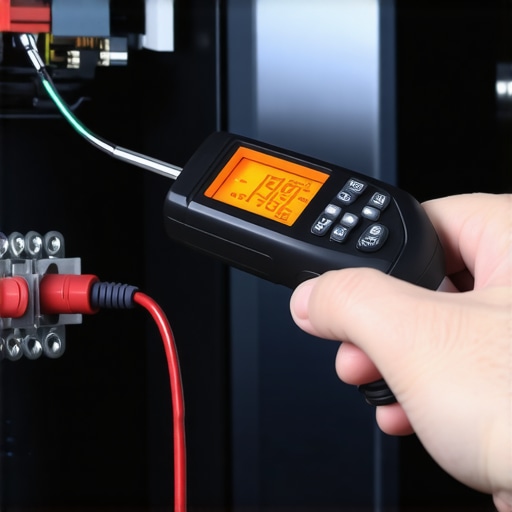
Once you’ve got that 500-watt beast humming, the real challenge begins: keeping it that way. I’ve seen beautiful installs turn into static-filled nightmares within six months because of moisture and heat. One tool I never go without is an infrared thermometer. I use it to scan my amp and the power terminals after an hour of heavy use. If the terminal is significantly hotter than the surrounding wire, I know I’ve got a high-resistance point that needs tightening or cleaning. This is the best way to learn how to stop your car subwoofer from overheating in the trunk before the thermal protection circuit kicks in. I also swear by DeoxIT D5. It’s not just for vintage gear; a tiny spritz on your terminal blocks prevents the oxidation that leads to voltage drops. If you are running high-end gear, you should also know how to clean gold-plated connectors without ruining the finish, as abrasive cleaners will actually increase resistance over time.
How can I keep my audio system performing like day one?
Maintenance isn’t just about cleaning; it is about mechanical stability. Every three months, I physically pull on my power and ground wires. The vibrations of the road are relentless, and a loose power wire can arc, creating enough heat to melt your fuse holder. If you hear a sudden change in tone, you might need to check if your speakers have shifted; for example, knowing the easy way to test if your speakers are out-of-phase is a quick diagnostic that saves hours of frustration. For home setups, the enemies are dust and ‘component creep.’ I make sure to check my ventilation regularly, especially if I’ve hidden my gear. If you are running a home theater, you should definitely know how to stop your cars rear deck from rattling when the sub hits or applying similar foam-dampening logic to your home subwoofer to keep the neighbors happy and the sound tight.
The Future of High-Efficiency Power Management
Looking ahead, I predict we are moving away from the ‘brute force’ electrical upgrades of the past. As car manufacturers switch to 48-volt architectures and EVs, the traditional 12-volt high-current draw is becoming obsolete. We are seeing a massive shift toward ultra-efficient Class D amplifiers that produce less heat and pull less current while maintaining incredible fidelity. In fact, many modern systems are designed to monitor their own internal resistance in real-time. This is why it’s more important than ever to follow technical guidelines like the ANSI/CTA-2006-C standard, which helps ensure the power ratings you see on the box are actually what reaches your ears. If you’re still using old-school tech, you might start noticing how to tell if your amps capacitors are failing as they age out, which is a common issue with older Class AB designs. My advice? Grab a multimeter today and measure your resting battery voltage vs. your voltage at the amp while a heavy track is playing. If you see more than a 0.5V drop, it’s time to go back and check those connections we talked about. Your system will thank you with years of crystal-clear sound.
Three Hard-Won Lessons from the Trunk of My First Car
Over the years, I’ve realized that the most expensive amp in the world won’t save you from a five-dollar wiring mistake. First, always assume the ‘free’ wire in a kit is Copper Clad Aluminum unless it explicitly states Oxygen-Free Copper. Second, your system is only as strong as its weakest link, which is usually the ground connection. I learned that even a tiny bit of paint under a terminal can cause enough resistance to make you wonder why your car audio system drains the battery while the engine is off because the amp is working overtime. Finally, don’t fear the 4-gauge. It might be harder to tuck under the carpet than 8-gauge, but the peace of mind knowing you have zero voltage drop is worth every extra minute of labor.
The Essential Gear for a Bulletproof Installation
You don’t need a professional shop to get professional results, but you do need the right data. I never start a project without my trusty digital multimeter. It’s the only way to accurately measure voltage at the amp terminals or to learn how to use a multimeter to find a short in your speaker wires before you fry a voice coil. I also recommend a dedicated ratcheting crimp tool for those heavy-duty lugs; pliers just won’t cut it for 4-gauge wire. Lastly, keep a handful of extra ANL or MIDI fuses nearby. If you are experimenting with how to wire two subwoofers to a single mono amp, you’ll want to ensure your circuit protection is rated correctly for the total current draw.
Fire Up Your System with Absolute Confidence
Building a car audio system is about more than just loud music; it’s about the satisfaction of doing the job right. When you take the time to choose the correct wire gauge for your 500-watt setup, you aren’t just protecting your car—you are ensuring that every drum hit and bass line sounds exactly as the artist intended. Once you’ve secured those connections, don’t forget to perform a final check. Use the easy way to test if your speakers are out-of-phase to make sure your polarity is perfect. There’s no better feeling than turning that key for the first time and hearing crisp, powerful audio without a single flicker of the dash lights. Have you ever had to rip out a whole installation because the wire was too thin? Let me know in the comments below!