
I was sitting on my back patio last summer, holding a cold drink in one hand and my favorite little Bluetooth speaker in the other. I queued up a track with a heavy, driving bassline, expecting that familiar warm punch. Instead, it sounded like a tiny tin can buzzing inside an empty cardboard box. Frustrated, I set the speaker down on our old cedar picnic table to grab some ice. Instantly, the music changed. The kick drum gained a deep, satisfying thump, and the vocals suddenly felt like they were floating right in front of me. I stood there, dumbfounded, staring at a piece of outdoor furniture that had just outperformed my expensive audio settings.
The Day I Realized My Table Was Actually an Amplifier
For years, I made the classic rookie mistake of thinking a speaker only relies on its internal drivers to project sound. I used to toss my portable gear onto glass patio tables, metal cooler lids, or even directly onto the concrete poolside. Each time, I wondered why the low-end disappeared, often blaming the speaker brand or thinking my battery was just running low. If you have ever experienced this frustration, you might even think your speaker is damaged, similar to how people worry if their speaker is blown or just loose when the playback quality takes a sudden dive.
But the truth is much simpler, and it comes down to physics. When you place a compact speaker on a dense, organic material like wood, the cabinet’s vibrations transfer directly into the wooden surface. Wood acts as a natural resonator, effectively turning the entire tabletop into an extension of the speaker’s own body. According to acoustic engineering principles, wood has a unique cellular structure that absorbs harsh high frequencies while naturally reinforcing lower-midrange resonance, preventing that dreaded hollow sound.
Is This Wood Trick Actually Worth the Hype?
You might be skeptical. Can a simple wooden surface really rival a dedicated subwoofer or high-end audio engineering? Absolutely. While it won’t turn a cheap ten-dollar gas station speaker into an audiophile masterpiece, placing a decent speaker on wood solves the exact same problem that plagues larger systems, such as why your desktop speakers need isolation pads to control unwanted desk rattle. Instead of letting the bass energy escape into thin air or cause ugly vibrations on glass, wood absorbs the unwanted peak resonance and radiates a warmer tone. Have you ever noticed your music sounding completely lifeless when you change where your speaker sits? Let me know if you have struggled to get decent bass out of your portable setup, and let’s dive into exactly how to position your gear for the ultimate free acoustic upgrade.
How to Match Your Speaker to the Perfect Surface
Getting that rich, deep bass isn’t about luck; it is about matching the physical material of your furniture to the size of your speaker cabinet. Think of your wooden table as a secondary passive radiator. Just as a heavy bass drum needs a larger shell to resonate, a larger portable speaker requires a thick, solid surface to anchor its vibrations. If you place a powerful speaker on a flimsy, thin nightstand, you won’t get a warm boost; instead, you will hear a harsh, hollow rattling sound. To prevent this, always pair compact, pocket-sized speakers with smaller, dense wooden blocks or thick cutting boards, while reserving heavy dining tables and cedar decks for larger, high-output outdoor units.
During a backyard barbecue last autumn, I tried to boost the volume on a mid-sized portable speaker by tossing it onto a hollow wooden decorative crate. The result was a disastrous, boxy drone that drowned out the vocals entirely. I quickly realized my mistake, grabbed a solid oak serving tray, placed it flat on the grass, and set the speaker on top. The transformation was instant: the muddy frequencies cleaned up, and the kick drum suddenly had a tight, punchy kick that carried across the entire yard. This physical coupling is why materials matter so much in audio, similar to why your portable speaker sounds thin when used outdoors when it lacks any reflective boundaries to reinforce the soundwaves.
Find the Sweet Spot with Corner Loading
Once you have selected the right wooden surface, the next crucial step is placement. Do not just shove the speaker directly in the center of a massive table. Instead, utilize walls and corners to your advantage. Placing your wooden table and speaker near a wall creates an acoustic megaphone effect known as corner loading. The sound waves radiating from the back of the speaker bounce off the wall and the wooden tabletop simultaneously, reinforcing the low-end frequencies before they reach your ears.
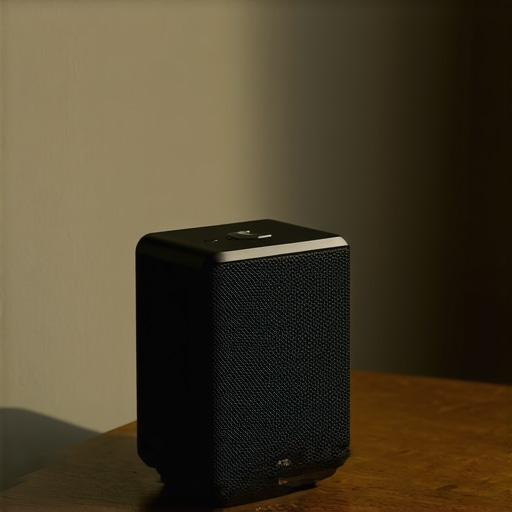
However, you must watch out for the surface texture itself. If you place your speaker on a highly reflective, polished surface without proper contact, you might experience high-frequency harshness or physical drifting. If your speaker starts sliding around due to its own bass energy, you can lose all that precious low-end resonance. This is the exact same physical principle that explains why your portable speaker sounds muddy on a glass table, as glass reflects harsh high-mid frequencies while failing to absorb or couple with the lower vibrations.
Control the Vibration with Temporary Coupling
To get the absolute most out of this free acoustic upgrade, you need to ensure the speaker cabinet physically couples with the wood without scratching either surface. If the speaker has hard plastic feet, it will vibrate against the wood and create an annoying buzz. To solve this, use a tiny piece of Blu-Tack, a thin silicone coaster, or even a damp microfiber cloth directly under the speaker’s contact points. This temporary dampening material acts as a bridge, absorbing the tiny, high-frequency rattles while allowing the heavy, low-frequency cabinet thumps to pass directly into the wood structure below. Doing this ensures you get pure, warm bass extension rather than cheap, distracting plastic vibration.
We love finding a good bargain. In my journey to squeeze every drop of performance out of my audio gear, I have realized that the industry is filled with widely accepted myths. Most enthusiasts assume that upgrading their sound means spending thousands on high-end cables or buying massive subwoofers. In reality, the physical placement tricks we just discussed outperform half the expensive hardware on the market. However, when people do decide to spend money, they often look in the wrong places entirely, falling prey to marketing traps that promise premium sound but deliver mediocre results.
The Great Power Strip Trap and Other Costly Misconceptions
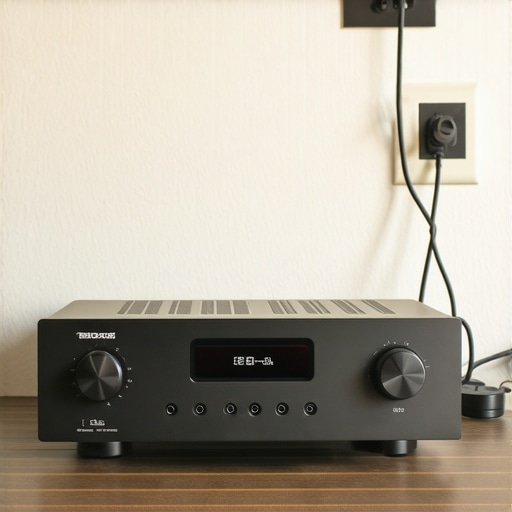
Everyone in the audiophile community tells you to invest in expensive power conditioners or complex filtering strips to protect your gear and clean up your signal. But in my experience, plugging a high-current amplifier into a standard consumer surge protector actually chokes the life out of your dynamics. If you want your system to breathe, why you should never use a power strip for your your high-end amplifier is one of the most critical lessons in power delivery. Standard strips restrict peak current draw, leaving your amplifier starved for power right when a heavy bass hit demands a sudden surge of electricity.
Another common mistake is assuming that a digital signal cannot be improved without spending a fortune. People spend hundreds of dollars upgrading their speaker wires while ignoring the actual digital-to-analog conversion process. Understanding the difference between cheap and expensive DACs that actually matters can save you a fortune. A high-quality digital-to-analog converter ensures that your source files retain their timing and spatial details before the signal even reaches your amplifier, rendering expensive exotic cables completely useless.
Why Do Audiophiles Still Insist on Overpriced Tweaks?
The answer comes down to confirmation bias and clever marketing. According to a landmark study on acoustic perception published by the Audio Engineering Society, listeners consistently rate the sound quality of equipment higher simply if they are told it is more expensive or if it has a gold-plated connector. This is why people will swear their system sounds cleaner after buying a hundred-dollar power cable, even though the internal copper wiring inside their walls remains standard household grade. Real audio performance is built on physics, resonance control, and clean power paths, not shiny accessories. If your setup feels like it is lacking life, you might even be dealing with simple mechanical issues, such as the reason your home theater receiver keeps shutting off randomly, which is usually a speaker wire short circuit rather than a faulty amplifier.
Have you ever fallen into this trap of buying an expensive accessory only to realize it made absolutely no difference to your sound? Let me know in the comments. Let’s stop wasting money on empty promises and start focusing on real, tangible physical upgrades that actually transform how we experience music.
How to Keep Your Audio Gear Performing Like New for Years
Getting your physical speaker placement dialed in is a fantastic feeling, but the real challenge is keeping that pristine acoustic performance alive over the long haul. Audio equipment is inherently mechanical and electrical, meaning it degrades slowly if left ignored. I used to think my amplifiers and speakers were indestructible black boxes until my favorite vintage receiver started dropping its left channel during dry winter months. Now, I keep a dedicated audio maintenance kit nearby, featuring contact cleaner, microfiber cloths, and a specialized digital multimeter to check signal paths when things don’t sound quite right.
For portable setups, the most common point of failure isn’t the driver itself—it is the physical connection points. I cannot tell you how many friends have asked me to look at their dead gear, only for me to find out they just needed to know how to fix a loose charging port on your favorite bluetooth speaker. Dirt, pocket lint, and physical stress wear down these USB ports, mimicking a dead battery or a fried circuit board. Keeping these ports clean with a wooden toothpick and compressed air can save you hundreds of dollars in unnecessary replacements.
How Do I Maintain My Core Audio Gear Over Time?
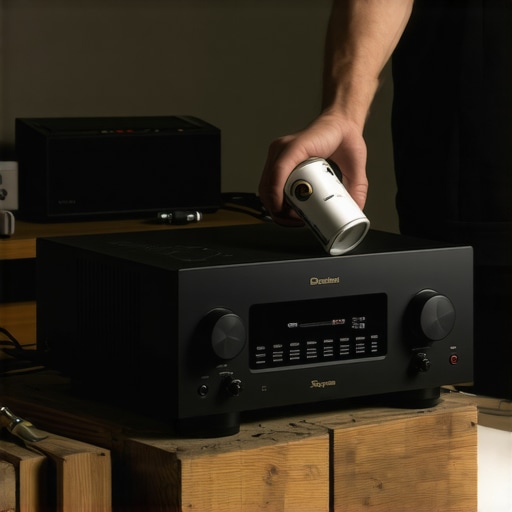
The secret to keeping your system in peak condition is establishing a simple, proactive cleaning routine. For home amplifiers, dust is the ultimate enemy because it traps heat inside the chassis. According to the official service manuals from McIntosh Laboratory, excess heat buildup alters the internal resistance of critical electronic components, which accelerates wear and can cause premature distortion. Every six months, unplug your amplifier and use a can of compressed air to blow out any dust settling on the heat sinks. While you are at it, pay attention to how your components feel; learning how to tell if your amp is running too hot will prevent catastrophic transistor failures down the road.
For speakers, maintenance is mostly about protecting physical integrity. Check the outer edges of your speaker cones for dry rot or cracking. If you catch a tear early, you can learn how to repair a tear in your speaker surround with rubber glue instead of throwing away a perfectly good driver. Similarly, if you are a headphone enthusiast, sweat and skin oils will degrade your earpads over time, muddying the soundstage. You should regularly check how to tell if your headphone pads need replacing to ensure you are still getting the seal and acoustic signature your headphones were designed to deliver.
The Future of Smart Acoustics and Where We Are Heading
As I look at where consumer audio is heading, the line between physical acoustic tricks and digital processing is blurring rapidly. We are starting to see portable speakers equipped with built-in gyroscopes and spatial sensors that automatically detect the surface they are sitting on. In the near future, instead of you manually placing a speaker on a wooden cutting board to boost the bass, your speaker’s internal DSP will analyze the surface’s resonant signature and real-time calibrate its EQ to match. But until those smart systems are perfected, the physical laws of wood coupling and clean power delivery remain undefeated. If you want to hear an immediate, jaw-dropping difference in your current setup tonight, I challenge you to try the temporary coupling trick: grab some Blu-Tack, find a thick wooden surface, and decouple your speaker from its vibrations right now.
We have all spent time tweaking software equalizers, but the physical environment around your speaker always holds the real key to unlocking hidden performance. By treating your furniture as an extension of your speaker cabinet, you bypass the limitations of small drivers and tap into natural, rich acoustics without spending a dime.
The Hardest Lessons I Learned About Vibration and Acoustics
Over the years, I have wasted hours and hundreds of dollars trying to solve audio issues with software updates or premium cables. Here are the core truths that completely changed how I set up my playback equipment:
- Vibration is either your best friend or your worst enemy. If you do not couple your speaker to a dense, resonant surface, you lose valuable low-end. But if you let it rattle loose, you get distracting plastic distortion. Control the vibration, and you control the sound.
- Great sound is highly contextual. A speaker that sounds incredibly warm inside a cozy wooden study will sound completely thin and lifeless when you step onto a concrete patio. Understanding why your portable speaker loses all its bass when you move outdoors helps you prepare for physical environments that lack natural reflective boundaries.
- The surface texture is just as important as the material. Slick, polished surfaces can cause physical drifting, which bleeds away acoustic energy and ruins your stereo imaging.
My Essential Acoustic Toolkit for Pristine Sound
You do not need to buy overpriced accessories to maintain or optimize your setup. Here are the simple, highly effective tools I keep in my personal gear drawer:
- Blu-Tack or Silicone Coasters: These are the ultimate cheap decoupling tools. Placing small pieces under your portable speakers or desktop monitors instantly stops cabinet rattling while cleanly transferring low-frequency energy into your wooden desk. This is the simplest way to prevent the desk vibrations that plague desktop setups.
- A High-Quality Rubber Glue: Don’t throw away a speaker just because of a minor physical tear in the cone surround. Knowing how to repair a tear in your speaker surround with rubber glue has saved several of my favorite vintage cabinets from the landfill.
- An Old Smartphone as a Dedicated Streamer: Instead of draining your main phone’s battery or dealing with annoying notification interruptions during a party, you can learn how to use an old smartphone as a dedicated music streamer to keep your audio system running smoothly and independently.
Bring Your Music Back to Life Tonight
Now that you know how much your physical environment, surface coupling, and basic maintenance affect your playback quality, it is time to take action. Walk over to your current speaker setup, find a solid wooden surface, grab some temporary dampening material, and experiment with speaker placement. You will be amazed at how much deeper, warmer, and more engaging your favorite tracks sound when you let physics do the heavy lifting. Have you ever struggled with getting decent bass from your speaker when using it outside? Let me know your experiences in the comments below!