
I was on my hands and knees, flashlight clamped between my teeth, sweat dripping onto the hardwood, and my wife was yelling from the other room that the internet was down. I had reached into the dark abyss behind our oak media console to swap out a failing HDMI cable, but in the tangled mess of black rubber and copper, I yanked the wrong power brick. Suddenly, the whole house was dark and silent. It was a visceral moment of defeat. We invest thousands into high-end speakers and 4K receivers, yet we treat the back of our racks like a junk drawer. If you have ever felt that surge of panic when you realize you do not know which wire leads to the subwoofer and which one goes to the lamp, you are in the right place. Today, I am going to show you how to organize that chaos so you never have to play ‘cable roulette’ ever again.
Stop the Guesswork Before You Pull a Muscle
In my early days of being an audio enthusiast, I made the classic rookie mistake of thinking I would just remember where everything went. I figured the thickest wire was the sub and the skinny ones were the surrounds. That worked fine until I added a second zone and a dedicated amp. I actually ended up causing a situation where my receiver kept shutting off because I had inadvertently frayed a connection while tugging on a mystery line. I even had to learn how to use a multimeter to find a short just because I could not see which cable was which in the dark. According to the National Fire Protection Association (NFPA), cluttered and poorly managed electrical cords can contribute to overheating and fire hazards in home entertainment centers, so this is about safety just as much as it is about sanity. We are going to fix this by using a system that stays put, stays legible, and stays organized even when you are shuffling gear around.
Is a fancy label maker really worth the extra cash?
You might be tempted to just grab a roll of masking tape and a Sharpie, but let me tell you from experience: don’t do it. Five years ago, I labeled everything with masking tape. Within six months, the heat from the back of the amplifier turned the adhesive into a gooey, sticky mess that slid right off the wires, leaving behind a residue that was a nightmare to clean. You need something that can handle the heat and the tight bends of a crowded cabinet. If you are struggling with other setup issues, like identifying a nasty ground loop hum, having clear labels makes the troubleshooting process ten times faster. Trust me, spending twenty bucks on a dedicated cable labeling tool is the best investment you will make this year. Have you ever accidentally unplugged your entire home network while just trying to move a speaker? Tell me your most frustrating ‘cable fail’ in the comments below. [image placeholder]
Start With a Clean Connection
Before you even touch a label, you have to deal with the grime. Dust and oxidation are the silent killers of audio fidelity. I remember pulling apart my vintage setup and realizing the copper was turning a dull, sickly green. While you have everything unplugged, take five minutes to learn how to clean gold-plated connectors without ruining the finish. Think of this like prepping a wall before painting; if the surface is dirty, nothing else you do matters. I once spent three hours labeling a system only to realize the scratchy sound I was hearing was just a bit of household oils built up on the RCA jacks. Clean them first, let them dry, and then we get to the organization.
The Map is Your Best Friend
You cannot just label wires as you find them. You need a bird’s-eye view. I use a simple legal pad to draw a ‘road map’ of my receiver’s back panel. If you are running a complex configuration—maybe you are trying to figure out how to bridge a two-channel amp without blowing a fuse—you need to know exactly which terminals are being used before the labels go on. One time, I got cocky and skipped the map. I ended up wiring my left-rear surround to the ‘B’ channel of my front stage. The result? A confusing mess of sound that took me an entire Sunday to untangle. If you are feeling ambitious and adding more low-end, knowing how to wire two subwoofers to a single mono amp requires precise labeling at both ends to ensure phase consistency. 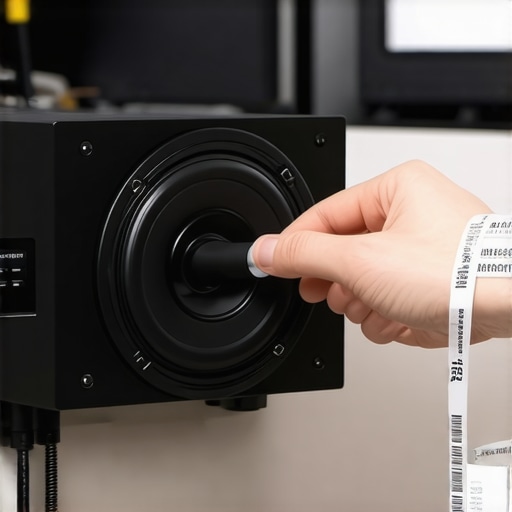
The Right Way to Wrap Your Labels
The biggest mistake people make is the ‘flag’ method—where the label sticks out like a little wing. These flags get caught on other wires and eventually rip off. Instead, use a ‘wrap’ technique. Print your label so the text repeats, then wrap it tightly around the cable like a band-aid. This keeps the profile slim and prevents the adhesive from catching on the edges of your media console. This is especially important for long runs. If you have ever wondered why your headphone cord is always tangled, it is usually because of friction and lack of structure. The same logic applies behind your TV. Neat, wrapped labels allow cables to slide past each other without creating a ‘rat’s nest’ of knots.
Route Your Cables Like a Pro
Once labeled, you have to hide the evidence. Bundling power cables separately from signal cables (like HDMI or speaker wire) is crucial to avoid electromagnetic interference. If you are dealing with a difficult layout, such as a living room with wall-to-wall carpeting, you should look into how to hide wires for rear surround speakers in a carpeted room. I once tried to just tuck the wires under the baseboard without any securing clips. Two weeks later, the vacuum cleaner caught a loose loop and nearly pulled my bookshelf speakers off their stands. Use Velcro ties—not plastic zip ties—because you will inevitably add a new piece of gear next month, and you do not want to be cutting plastic near your expensive copper leads.Now that you have got the basics down, I want to talk about a trap I see even the most seasoned audiophiles fall into: the obsession with hyper-neatness. We have all seen those pictures on social media where every cable is zip-tied into a perfectly straight line. It looks beautiful, but it is often an acoustic nightmare. The common belief is that the tighter the bundle, the better the system. I am here to tell you that over-tightening is actually your enemy.
Forget the zip ties and embrace the loop
If you pull those plastic ties too tight, you risk a phenomenon called cold flow, where the pressure eventually thins out the insulation around your copper conductors. Plus, if you bundle your power cords directly against your signal lines, you are basically building an antenna for hum. I learned this the hard way when I could not figure out why your receiver clicks when you change the volume—it turned out to be electromagnetic interference from a high-voltage power brick pressed right against my unshielded phono stage cable. Use Velcro and leave a little slack. Your equipment will thank you for the reduced physical stress on the ports. 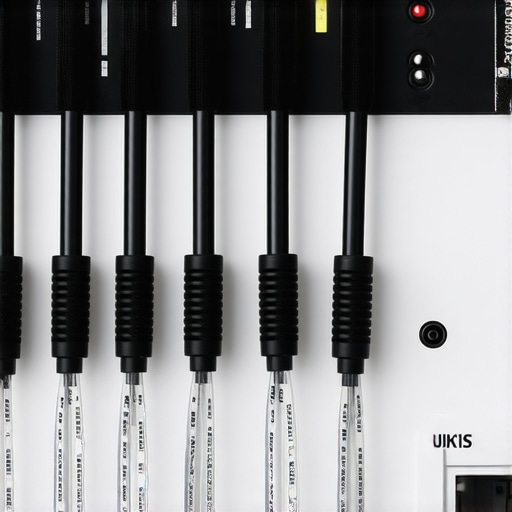
Does silver plating actually change the sound signature?
Many enthusiasts assume gold is always the superior choice because it is more expensive, but there is a sophisticated nuance to the real difference between gold and silver plated connectors. Gold is primarily used for its incredible corrosion resistance, making it perfect for humid environments. Silver, however, has higher conductivity but tarnishes quickly. An Audio Engineering Society (AES) technical paper suggests that while silver is a better conductor on paper, the physical integrity of the connection matters far more than the plating material in blind listening tests. Do not get caught up in the marketing hype; focus on a secure, clean fit instead.
Avoid the phase reversal trap
One of the most common mistakes happens during the labeling process itself. You get so focused on the cable jacket that you accidentally swap the positive and negative leads at the terminal. I once spent a fortune on cable management only to realize the soundstage had completely collapsed because I had wired my left channel out of phase. You should always use the easy way to test if your speakers are out of phase before you finalize those cable ties. Also, as you are tucking those newly labeled wires away, remember that why your floorstanding speakers need more breathing room from the wall is about more than just aesthetics—it is about preventing the muddy bass that occurs when rear-ported speakers are crowded. Have you ever spent hours making your wires look perfect only to have to tear it all apart for a new amp two weeks later? Have you ever fallen into this trap? Let me know in the comments below.Once the labels are on and the cables are routed, you cannot just set it and forget it. I treat my audio rack like a classic car—it needs a ‘tune-up’ once a year. My secret weapon is a bottle of DeoxIT D5. I do not just spray it everywhere; I apply a tiny amount to a lint-free swab to prevent buildup on the terminals. If you have never done this, you really need to learn how to clean gold-plated connectors without ruining the finish because even a micro-layer of oxidation can increase resistance. According to technical documentation from Caig Laboratories, the manufacturers of industry-standard contact cleaners, even a 0.5-ohm increase in contact resistance can measurably degrade signal-to-noise ratios in low-voltage circuits, leading to audible hiss.
How do I maintain my home audio gear over time?
Regular maintenance is mostly about consistent observation. Every six months, I pull my speakers a few inches forward to check the terminals for ‘creep’—where the wires slowly wiggle loose due to vibration. I am also looking for ‘leaking’ components. If you are running vintage gear, you need to know how to tell if your speaker capacitors are starting to leak. Those little canisters on the crossover board have a finite lifespan, and catching a bulge early saves your tweeters from a catastrophic DC surge. While you are back there, resist the urge to use a vacuum or a blower near the drivers. I have seen people ruin expensive setups because they did not realize why you should never use compressed air to clean a silk dome tweeter. The sudden pressure can literally deform the delicate voice coil alignment.Instead, use a soft makeup brush for the dust. If the rubber surrounds on your woofers are looking dry or ashy, I have had great luck learning how to revive a vintage speaker cone with simple rubber treatment to keep them from cracking. For those of you with vintage receivers, do not ignore that ‘crackle’ when you turn the volume knob. It is usually just dust in the potentiometer, and knowing how to fix a scratchy fader on a vintage audio mixer can save you a hundred-dollar trip to the repair shop. 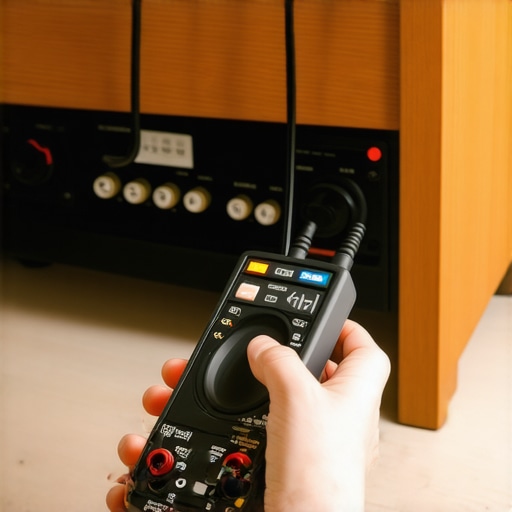
Keep an eye on the future of calibration
Looking ahead, I suspect we are moving away from manual labeling and toward ‘intelligent’ cables and self-healing systems. We are already seeing HDMI standards that can self-report errors to the TV. In the next few years, I predict our receivers will use AI to tell us exactly which cable is failing or which terminal is loose before we even hear a pop. But until that tech is affordable, your best tool is still your own eyes and a solid multimeter. If you have a weekend free, I challenge you to go behind your rack and tighten every single binding post by hand. You would be shocked how much they loosen over time due to simple thermal expansion. It is a free upgrade that makes a world of difference.
Hard Lessons from a Decade Behind the Rack
Over the years, I have learned that a pretty rack is only half the battle; it is the logic behind it that saves your sanity. First, never rely on color-coded dots alone. You think you will remember that ‘red’ means the right surround and ‘blue’ means the height channel, but two years from now, you will be guessing. Always use text-based labels. Second, always leave a service loop. When you are learning the easiest way to daisy chain two amplifiers safely, having that extra six inches of slack is the difference between a five-minute job and having to unbind the entire cable run. Finally, label both ends of every cable—not just the receiver end. If you are troubleshooting a dead channel, you do not want to be tracing a wire through a wall or behind a heavy cabinet just to see where it leads.
The Three Tools I Use for Every Install
You do not need a massive budget to get pro results, but you do need the right specific tools. I swear by the Brother P-Touch series because they offer ‘Flexible ID’ tape that specifically wraps around curved wires without peeling. For bundling, ditch the plastic and grab a roll of Velcro One-Wrap. It is reusable, gentle on insulation, and allows for quick changes. While you are back there with the labels, it is the perfect time to learn how to fix a loose speaker terminal on your cabinet before it causes a signal drop. If you have done the hard work of organizing the hardware, you should also look into the best way to organize a massive digital music library to ensure your software is as tidy as your hardware. [image placeholder]
Take Control of Your Cable Chaos Today
Taming the wires behind your media console is about more than just aesthetics; it is about taking control of your listening experience. When your system is organized, you spend less time troubleshooting and more time enjoying the music. Don’t feel like you have to do the whole room in one afternoon. Start with the main receiver connections and work your way out. Once you have mastered home audio cable management, you will find a strange sense of peace every time you look behind your rack and see everything perfectly in its place. Have you ever spent hours labeling everything only to realize you still managed to mix up the channels? Let me know your biggest cable management horror story in the comments below!