
I was sitting in my favorite leather chair, eyes closed, letting the warm tones of a Miles Davis trumpet solo wash over me, when I smelled it. Not the smell of a cozy fireplace, but a sharp, chemical stinking that reminded me of a fish market in the middle of a heatwave. I opened my eyes to see a faint wisp of gray smoke curling out from the back of my left speaker. I’d ignored the signs for weeks—the slightly muffled high frequencies and that annoying hum with no music playing—thinking it was just ‘vintage character.’ I was wrong. I was witnessing the slow, gooey death of an electrolytic capacitor. Early in my hobbyist days, I made the mistake of thinking I could just ‘drive through’ the distortion, only to end up with a ruined crossover board that cost three times more to fix than if I’d just checked the caps. Today, I’m going to help you avoid that heartbreak by showing you exactly how to diagnose failing components before they take your entire system down with them.
Your Speakers Are Trying to Tell You Something
Years ago, I thought a ‘blown’ speaker was the only thing that could ruin a Saturday night listening session. But capacitors are the silent keepers of your speaker’s voice, and when they start to fail, the change is often subtle. You might think your ears are just tired, or perhaps you’ve wondered if your speakers are out of phase because the stereo image feels shifted to one side. In reality, a leaking capacitor is changing the electrical values of the crossover circuit, effectively ‘re-tuning’ your speaker into something that sounds flat and lifeless. We are going to look for the physical and auditory red flags that prove it is time for a refresh.
Is this just some audiophile paranoia?
It’s easy to dismiss this as ‘snake oil’ or obsessive tweaking, but the physics is undeniable. According to technical data from Illinois Capacitor, electrolytic components rely on a wet chemical electrolyte that naturally dries out or escapes over 20 to 30 years. It’s not a matter of ‘if,’ but ‘when.’ If your gear is from the 70s, 80s, or even the early 90s, those little canisters are ticking time bombs. Have you noticed a sudden loss of detail in your music lately?
The Visual Telltale Signs of Component Failure
When you finally decide to peek inside the cabinet, you aren’t looking for a burnt-out shell—at least, hopefully not yet. You are looking for ‘the crust.’ Often, a leaking capacitor will have a bulging top, like a soda can left in a freezer. Other times, you’ll see a brownish, tea-colored stain around the base where it meets the circuit board. This isn’t just glue; it’s the lifeblood of the capacitor leaking out. If left alone, this fluid is corrosive and will eat through the copper traces on your board, leading to a situation where your receivers protection mode keeps triggering because of a short circuit. Learning how to tell if your speakers capacitor is starting to fail visually is the most reliable way to save your vintage treasures. In the next section, I’ll walk you through the ‘sniff test’ and the specific tools you need to confirm your suspicions without being an electrical engineer.
Use Your Senses to Track Down the Culprit
Before you even pick up a screwdriver, start with your nose. Old electrolytic fluid has a very distinct, pungent odor—almost like ammonia mixed with rotten seafood. If you pop the back off your cabinet and get a whiff of that, you’ve found your smoking gun. But visual and olfactory cues are just the starting point. I remember working on an old pair of Advent Loudspeakers where everything looked pristine, but the high end was completely gone. I spent two hours wondering if I had blown the tweeter, only to find the capacitor had dried out internally without leaking a drop.
Verify the Damage with an ESR Meter
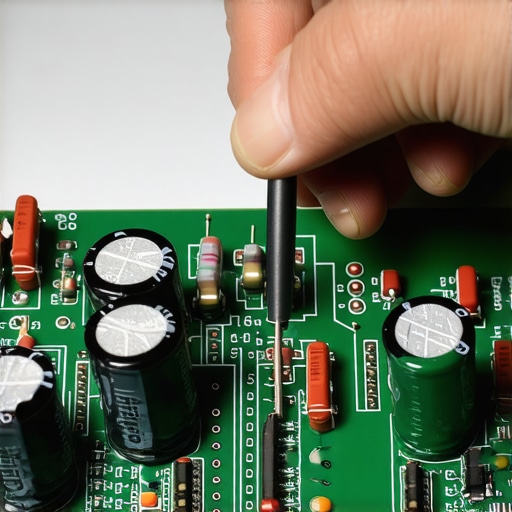
A standard multimeter is great for checking if a fuse is blown, but it’s mostly useless for diagnosing a dying capacitor. You need an ESR (Equivalent Series Resistance) meter. Think of ESR like cholesterol for your speaker’s arteries. As a capacitor ages, its internal resistance goes up, making it harder for the signal to pass through. I once ignored a high ESR reading on a vintage Marantz receiver, thinking ‘close enough is good enough.’ Within a week, the added heat from that resistance caused a resistor to fail, and suddenly my receivers lights started flickering before the whole thing went dark. Don’t trust the capacitance value alone; if the ESR is high, the part is trash.
Clean the Board Before You Solder
If you do find a leaker, you can’t just swap the part and call it a day. That ‘tea-colored’ goo is conductive and acidic. If you don’t remove it, it will continue to eat your circuit board from the inside out. I use 99% isopropyl alcohol and a stiff toothbrush. It’s the same logic as when you clean gold-plated connectors—you want a perfectly clean surface to ensure a low-resistance connection. While you’re in there, it’s the perfect time to fix a scratchy volume knob with some contact cleaner, as these issues often go hand-in-hand in vintage gear.
Match Your Replacements the Right Way
When buying new caps, the voltage rating must be equal to or higher than the original, but the capacitance (uF) must match exactly. If you use a different uF value, you are literally changing the crossover frequency of your speaker. It’s like trying to get better bass from a sealed box by drilling holes in it—you might change the sound, but you’re probably making it worse. I once swapped a 4.7uF for a 10uF because it was all I had in the bin. The result? A midrange that sounded like a honking goose. Lesson learned: always wait for the right parts to arrive to maintain the designer’s original intent.
Many enthusiasts believe that swapping every factory capacitor for a massive, ’boutique’ film-and-foil component is an instant ticket to sonic nirvana. I have seen hobbyists spend hundreds of dollars on exotic silver-foil caps for a pair of mid-range bookshelf speakers, expecting a miracle. But here is the contrarian truth: unless you understand the original circuit’s design intent, you might actually make the speaker sound worse. Most vintage crossovers were designed with the internal resistance of electrolytic capacitors in mind. When you replace an old, ‘slow’ electrolytic with a ultra-low ESR boutique film cap, you can inadvertently shift the crossover frequency or create a harsh ringing effect in the tweeter that the designer worked hard to suppress.
Can You Really Trust Your Ears More Than a Meter?
I often hear people claim they can ‘hear’ a capacitor breaking in over 100 hours. While mechanical components like surrounds do change, the truth about speaker break-in periods regarding electronics is often more about your brain’s psychoacoustic adaptation than the physical parts. However, a failing component isn’t psychological. If you suspect a driver is failing instead of a cap, you should learn how to test for a blown driver at home before gutting the crossover. Research by renowned engineer Douglas Self in his ‘Audio Power Amplifier Design Handbook’ demonstrates that at standard signal levels, the measurable non-linearity of a high-quality electrolytic is actually incredibly low—often far below what the human ear can detect. The ‘magic’ isn’t in the brand name on the capacitor, but in how closely it matches the original circuit’s intended specs.
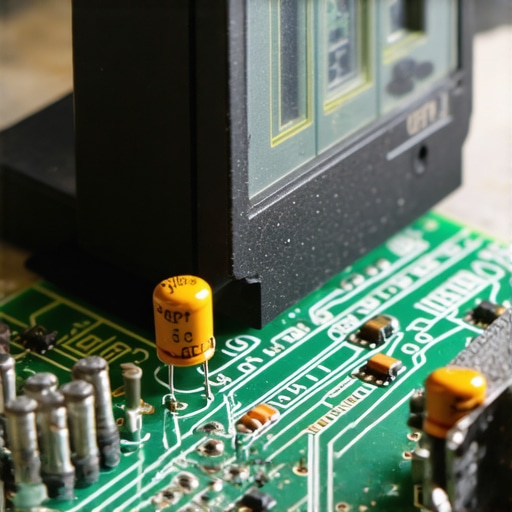
The biggest ‘oops’ factor I see with DIY repairs is the temptation to clean everything with brute force. Just as why you should never use compressed air to clean a silk dome tweeter applies to delicate diaphragms, you must be surgical when working on an old board. I once saw a guy lift three copper traces right off a vintage PCB because he used a soldering iron that was way too hot, thinking he needed maximum power for the large capacitor leads. He ended up with a dead channel and a very expensive paperweight. This kind of heat mismanagement is also why your vintage amp gets hot even when you arent playing music, as failing bias components or poorly soldered joints create parasitic resistance.
Should You Upgrade the Resistors While You Are at It?
If you are already in there, you might be tempted to swap the old sand-cast resistors for shiny metal-film versions. While this is generally safer than messing with capacitor types, remember that the secret to choosing the right ohm rating for your amp and speakers depends on maintaining the total impedance the designer planned for. Changing a resistor value by even one ohm can fundamentally alter the balance between the woofer and the tweeter. Advanced restoration is about preservation, not just ‘more.’ Have you ever fallen into this trap of over-modding your gear? Let me know in the comments.
Moving past the ‘rookie mistakes’ phase requires a specialized toolkit and a bit of discipline. If you are serious about this hobby, you need more than a generic hardware store soldering iron. I personally swear by the Hakko FX-888D; its thermal recovery is fast enough that you won’t lift traces on those delicate vintage boards we discussed. For cleaning, generic contact cleaners are a gamble. I only use DeoxIT D5 because it doesn’t just wash away the grime—it actually deoxidizes the metal and leaves a protective layer. I’ve used it to how to fix a scratchy volume dial with electrical contact cleaner on dozens of silver-face receivers, and it’s the only thing that keeps the static from coming back six months later. If you are working on digital gear, you should also learn how to clean a laser lens on a skipping vintage cd player using a high-purity isopropyl alcohol and a lint-free swab to avoid micro-scratches.
How do I keep my vintage setup sounding fresh for years?
Consistency is the secret sauce to longevity. Every six months, I do a ‘systems check.’ I start by tightening terminal connections—vibrations can loosen these over time, which is often why your car speakers cut out when you hit a bump or why a home tower might start crackling. I also take a moment to how to clean gold-plated connectors without ruining the finish using a microfiber cloth and a tiny drop of stabilizer. For speakers specifically, check the elasticity of the surrounds. If they feel stiff or brittle, it might be time to learn how to revive old speakers with new foam surrounds before the cone loses its centering and causes a voice coil rub. According to technical documentation from Nichicon, the ‘shelf life’ of an unused electrolytic capacitor can actually be shorter than one in constant use, as the oxide layer needs voltage to stay ‘formed.’ This means the best thing you can do for your gear is actually to play it regularly.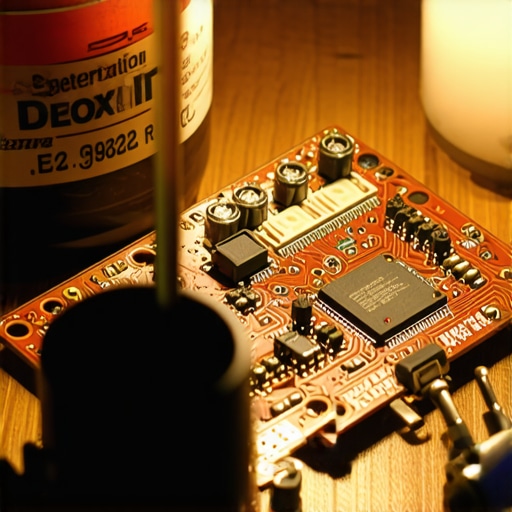 The future of this hobby is moving toward a marriage of vintage hardware and modern digital diagnostics. While we used to rely entirely on our ears and a crude multimeter, I now use my smartphone for initial room and component analysis. Learning how to use your phone to measure your rooms frequency response can help you identify if a speaker’s capacitor drift is actually affecting your listening position or if you just need to why you should use a rug to fix a bright sounding room. We are seeing more ‘intelligent’ replacement components entering the market, including solid-state ‘can’ replacements for old vacuum tube rectifiers and high-precision film capacitors that fit into the footprint of old electrolytics. If you want to take your system to the next level, I highly recommend downloading a signal generator app today and running a slow 20Hz to 20kHz sweep; it’s the fastest way to how to tell if your speaker is actually blown or just rattling before you spend a dime on parts.
The Hard Truth About My Early Restoration Fails
When I first started cracking open cabinets, I made every mistake in the book. I once swapped out perfectly good capacitors for expensive boutique ones, only to realize the real issue was a mechanical rattle. If you aren’t sure about the noise, learn how to tell if your speaker is actually blown or just rattling before you start desoldering components. Another lesson? Never trust your memory. Always take a high-resolution photo of the crossover board before you pull a single part. Polarity matters, and putting an electrolytic in backward is a recipe for a small explosion and a lot of regret. Also, do not ignore the rest of the signal path; if your setup includes a mixing desk, you should know how to fix a scratchy fader on a vintage audio mixer to keep the whole chain clean.
The Gear That Lives on My Workbench
To do this right, you need tools that won’t fight you. I have gone through cheap irons that could not hold a temperature, and they are why I eventually invested in a Hakko soldering station for consistent heat. For the chemicals, skip the generic hardware store stuff. I rely on DeoxIT because I have seen it fix a scratchy volume dial with electrical contact cleaner when nothing else worked. For the replacement parts themselves, I trust suppliers like Mouser or Digikey over random marketplaces to avoid the epidemic of counterfeits. Finally, if you find the speaker cones themselves are looking tired while you have the grilles off, you can often revive a vintage speaker cone with simple rubber treatment to keep the paper supple and the frequency response snappy.
Bring Your Music Back to Life
There is a profound sense of accomplishment in hearing that first clear, crisp note after a successful recapping project. It is more than just maintenance; it is about preserving a piece of history and ensuring your favorite albums sound exactly as the artists intended. You do not need to be an electrical engineer to start—just have patience and a steady hand. Even if you run into physical damage, you might be surprised to find you can fix a speaker cone with a simple coffee filter in a pinch. Don’t let a failing capacitor silence your system forever. Have you ever opened up a vintage piece of gear only to be shocked by what you found inside? Let me know about your most surprising audio discovery in the comments below!