
I spent three hours last Saturday hovered over my sink, scrubbing a vintage copy of ‘Kind of Blue’ like I was preparing it for surgery. I used the fancy solution, the distilled water, and a micro-fiber cloth that cost more than my first turntable. I was convinced that once the needle hit the groove, I’d hear nothing but pure, unadulterated jazz. Instead? It sounded like someone was frying bacon right next to the speakers. It’s a gut-punching realization when a ‘deep clean’ doesn’t deliver that silent background we crave. We’ve all been there, staring at a sparkling disc that still sounds like a gravel road. If you’re tired of wasting your weekends on cleaning rituals that don’t work, I’m here to tell you that the dirt isn’t always the villain in this story. Today, we’re going to look past the surface grime and figure out why your setup is lying to you about the condition of your wax. Have you ever felt like no matter how much you scrub, the noise just won’t go away?
Cleaning Isn’t Always the Cure-All You Think It Is
I made a massive mistake early on by assuming every pop and click was just a bit of stubborn dust. I’d scrub and scrub until I was likely doing more harm than good. The truth is, sometimes learning how to fix a scratching noise in your turntable has nothing to do with the record itself. I once spent a month trying to ‘clean’ a record that actually had a chipped stylus tip—I was basically dragging a jagged rock through the grooves! According to research published by the Audio Engineering Society, the contact pressure between a stylus and a record can reach incredibly high levels, causing localized heat that can permanently fuse dust into the vinyl if played while dirty. If the damage is already done, no amount of fluid will reverse it.
Is your turntable setup actually the culprit here?
It’s easy to blame the vinyl, but your hardware might be the one throwing a tantrum. For example, the reason your vinyl records sound distorted at the end of the side is often down to alignment, not dirt. If your cartridge is even a fraction of a millimeter off, it’ll track poorly and create that ‘scratchy’ distortion that no amount of soap will fix. Also, don’t overlook the electronics; sometimes the benefits of why you should use a phono preamp instead of the built-in one become clear when you realize your internal stage is just magnifying line noise. We need to stop treating every noise as a hygiene issue and start looking at the mechanical reality of playback.Once you accept that your cleaning fluid isn’t magic juice, you have to get your hands dirty with the hardware. I learned this the hard way when I bought a pristine copy of ‘A Love Supreme’. I cleaned it three times, but it still hissed and popped in the quiet passages. I was about to return it to the shop when I realized my tracking force was set way too light; the needle was literally bouncing off the walls of the groove like a pinball. It’s like trying to drive a car with no tires—you aren’t going to get any traction no matter how much you wax the hood.
Stop Playing Guessing Games with Your Groove
Start with the most obvious point of contact: the stylus. Think of the stylus as the shock absorber on a mountain bike. If it’s gunked up or worn out, the ride is going to be brutal. Even if your record is hospital-clean, a tiny ball of ‘groove fuzz’ on the needle will act like a mute button, muddling the highs and introducing a fuzzy distortion that sounds like a radio station drifting out of range.
Clean the Needle Without Killing It
You don’t need a $100 ultrasonic bath for your stylus. Use a specialized stylus brush or a piece of magic eraser, but be incredibly careful. Always brush from back to front, never side to side. I once tried to ‘wipe’ a needle with a tissue like I was cleaning a pair of glasses. I snapped the cantilever clean off in two seconds. It was a $200 mistake that taught me that finesse beats force every time. If you can handle a delicate task like this, you can definitely learn how to clean your speaker cones without ruining the paper later; it’s all about that light touch and patience. 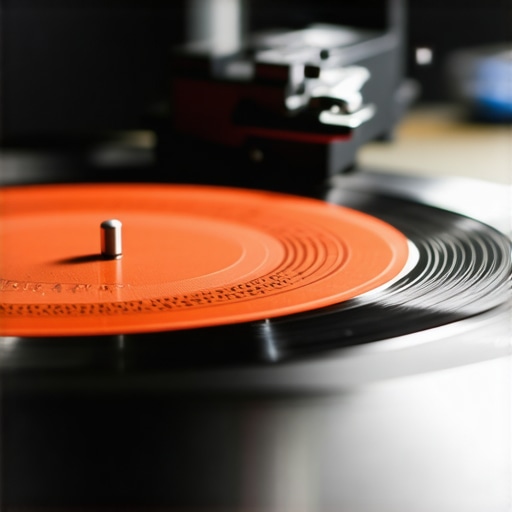
Nail the Tracking Force and Alignment
If the needle is clean but the sound is still off, your geometry is probably wrong. Every cartridge has a recommended weight, usually between 1.5 and 2.5 grams. If you’re too light, the needle ‘skates’ and causes damage; too heavy, and you’re grinding the vinyl like a lathe. Grab a digital tracking force scale—they’re cheap and absolute lifesavers for your ears. While you’re at it, download a free protractor and check your alignment. If that cartridge isn’t perfectly parallel to the groove walls, you’ll run into that dreaded inner-groove distortion, which is exactly the reason your vinyl records sound distorted at the end of the side. It’s the difference between a key fitting perfectly in a lock and trying to force one that’s bent.
Kill the Vibrations Killing Your Music
Sometimes the noise isn’t in the record or the turntable—it’s in the furniture. I once had my turntable sitting on the same shelf as my speakers. Every time the bass hit, the needle picked up the vibration from the wood, creating a feedback loop that sounded like a low-frequency hum. It’s the same principle as why why your desktop speakers need isolation pads to stop desk vibration. I solved it by moving the deck to a wall-mounted shelf that didn’t share any DNA with my speakers. If your floorboards are bouncy, even walking past the setup can cause a pop. You might need to look into how to use a rug to stop your speakers from sounding harsh because soft surfaces don’t just help with echoes; they absorb the micro-vibrations that mess with your sensitive analog equipment.
Eliminate the Electrical Gremlins
Finally, check your cables. If you hear a constant buzz that doesn’t change when the record stops spinning, you’ve likely got a ground loop. Make sure your turntable’s ground wire is securely fastened to the ground terminal on your preamp. Often, people assume their gear is failing when it’s just a loose connection that takes ten seconds to tighten. This is as common as how to find the source of a ground loop in home theater systems. Ensure your RCA cables aren’t running parallel to power cords, which can leak electromagnetic interference into your signal. Keeping your signal path clean from electricity is just as important as keeping the dust out of the wax.Wait, before you run out and buy a 500-watt monoblock because your system sounds ‘weak,’ let me stop you. One of the biggest myths in this hobby is that raw power equals quality. I’ve seen enthusiasts dump thousands into high-current amps when they really just needed to move their speakers three inches away from the wall. If you feel like your sound is muddy, check your placement because why your floorstanding speakers sound boomy in the corner has more to do with acoustic physics than your amp’s output.
Forget the Wattage Wars and Look at Sensitivity
Most people assume a 200-watt amp will always sound ‘bigger’ than a 50-watt one. That’s a trap. If you have high-sensitivity speakers, a massive amp is just a waste of electricity and heat. In fact, the hidden cost of buying a cheap tube amplifier often includes dealing with high-wattage claims that don’t translate to actual headroom. I’ve heard 10-watt SET amps drive high-efficiency horns with more authority than a budget ‘home theater’ receiver ever could. The ‘oops’ factor here is clipping; an underpowered amp pushed to its limit is far more likely to destroy your tweeters than a high-powered amp running at a comfortable cruise.
Give Your Ears and Your Gear Time to Settle
Have you ever unboxed a new pair of towers and felt immediate regret because they sounded ‘stiff’? This is where the ‘break-in’ debate gets heated. While some claim it’s purely psychological, there is a mechanical reality to how the suspension of a driver relaxes. It’s a common observation that why your new speakers sound better after 20 hours of use is a mix of mechanical loosening and your own brain adjusting to a new frequency response. Dr. Floyd Toole, a renowned expert in acoustics, has noted in his research on Psychoacoustics that listeners often ‘normalize’ to a speaker’s signature over time. So, before you return them, give them—and yourself—a week to acclimate. #IMAGE_PLACE_HOLDER_C#
Are you overpaying for the shine on your connectors?
Everyone wants to talk about the ‘jewelry’ of the system. You’ll see people obsessing over the real difference between gold and silver plated connectors like it’s the secret sauce for transparency. Here’s the truth: unless your current connectors are corroded or loose, you likely won’t hear a lick of difference. The real mistake is buying $200 cables for a $500 system. That money is always better spent on room treatment or better source material.
Watch Your Temperature to Save Your Gear
If you’re pushing your system hard, you need to be an active monitor. I once nearly melted the casing of a vintage receiver because I shoved it into a tight cabinet with zero airflow. Learning how to tell if your amp is running too hot isn’t just about touching the top; it’s about understanding duty cycles. This is especially true for vintage enthusiasts who need to know how to tell if your amps capacitors are failing, as heat is the number one killer of those old components. Have you ever fallen into the trap of buying more gear to fix a problem that was actually just a setup issue? Let me know in the comments.Once you stop chasing the ‘next big upgrade’ and focus on optimizing what you already own, the hobby gets a lot cheaper and sounds a lot better. I used to think a scratchy volume knob meant my receiver was headed for the landfill. In reality, it just needed a five-second blast of DeoxIT. If you’ve ever noticed why your old receiver pops when you switch inputs, you’re likely dealing with minor oxidation on the contact points, not a catastrophic failure. I keep a dedicated ‘maintenance kit’ in my listening room: a can of contact cleaner, a small LED flashlight, and a set of non-conductive tweezers. These tools have saved me more money than any Black Friday sale ever could.
Don’t Let Oxidized Connectors Muffle Your Highs
Corrosion is the silent killer of transparency. Even if you aren’t in a humid climate, the micro-layers of grime that build up on RCA jacks can act like a low-pass filter. I make it a point to unplug and re-seat every connection in my rack once every six months. While I’m back there, I take the time to organize the chaos. Knowing the best way to label your messy home theater cables is a godsend when you’re trying to troubleshoot a dead channel at 10 PM. It turns a nightmare of ‘which black wire is this?’ into a five-minute fix.
How can I keep my vintage audio gear running forever?
Maintenance on older equipment is a different beast entirely. As F. Langford-Smith notes in the technical classic Radiotron Designer’s Handbook, the chemical stability of electrolytic capacitors is the primary bottleneck for the lifespan of any high-voltage audio circuit. If you hear a low-frequency hum that doesn’t go away, you need to learn how to tell if your amps capacitors are failing before they leak and take out the transformer. For those of us who love the warmth of old gear, keeping the dust out is the first line of defense. A simple soft-bristle paintbrush is perfect for getting between the fins of a heat sink without causing damage. 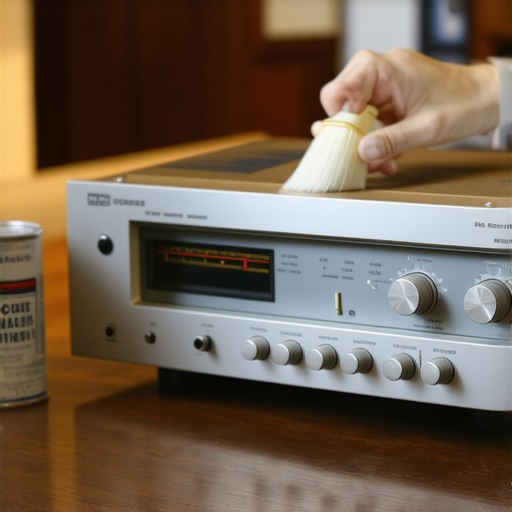
Invest in Measurement Rather Than Just More Gear
The future of this hobby isn’t in bigger speakers; it’s in smarter rooms. I predict that within five years, automated DSP (Digital Signal Processing) will be standard in even entry-level integrated amps. But you don’t have to wait for the future. I started using a UMIK-1 calibrated microphone and Room EQ Wizard (REW) to see what my room was actually doing to the sound. I discovered a massive 10dB spike at 60Hz that was masking all my detail. No amount of money spent on silver cables would have fixed that, but knowing how to use a rug to fix the echo in your home theater room or adding a few bass traps did the trick.
Protect Your Most Expensive Components From Heat
If you are running high-power Class A or A/B amplifiers, heat is your absolute enemy. I’ve seen beautiful components cooked to death because they lacked ventilation. Understanding how to tell if your amp is running too hot is vital; if you can’t keep your hand on the top plate for more than five seconds, you need to add an active cooling fan or move the unit. This applies to mobile audio too, so make sure you know why your car amp is overheating during long summer drives before you blow a fuse or melt a lead. My advanced tip for you this week: Download a free SPL meter app on your phone and check the noise floor of your room with everything turned off. If it’s above 40dB, look for the ‘electrical gremlins’ or humming appliances before you spend another cent on speakers.
Lessons Bought with Blown Tweeters and Broken Needles
After years of obsessing over every pop and crackle, I realized that the path to better sound isn’t paved with expensive cleaning fluids, but with better habits. One of the most frustrating moments in this hobby is when you finally find the source of a ground loop in home theater or stereo setups after blaming your records for weeks. I once spent an entire Saturday morning thinking my phono stage was dying, only to find a loose ground wire. Another hard-earned tip? Don’t toss a used find just because it smells like an old basement; learning how to get the smell of smoke out of a vintage receiver can save a classic piece of gear from the scrap heap. And finally, remember that while the real difference between gold and silver plated connectors is negligible for most ears, keeping those connections clean is non-negotiable for transparency.
The Gear That Actually Lives in My Toolkit
You don’t need a professional workshop to maintain a high-end experience, but you do need the right essentials. I never go into a setup session without my ‘Big Three’ tools: a high-quality contact cleaner (crucial for when your old receiver pops when you switch inputs), a digital tracking force gauge for my turntable, and a roll of electrical tape for cable management. Speaking of wires, utilizing the best way to label your messy home theater cables is the single best favor you can do for your future self. Even if you aren’t an audiophile with deep pockets, the trick to making 50-dollar headphones feel like 300-dollar monitors often comes down to simple pad maintenance and EQ, not just the hardware itself.
#IMAGE_PLACEHOLDER_E#
Go Trust Your Ears Again
At the end of the day, your gear exists to serve the music, not the other way around. It’s easy to get lost in the technical weeds and forget why we started collecting vinyl records in the first place—to feel the music. Once you’ve checked your alignment, cleared the ground loops, and ventilated your amp, step away from the adjustments and just listen. Perfection is a myth, but a well-maintained system will give you years of joy. Have you ever spent hours troubleshooting only to find a ‘fix’ that cost zero dollars? Let me know your best low-cost audio hacks in the comments below!