
I will never forget the smell of burning electronics in my living room on a Tuesday night. It was the scent of a $120 ‘hi-fi’ dream dying a smoky death. I thought I had found the ultimate loophole in the audio world: a tube amplifier that looked like a million bucks but cost less than a tank of gas. I was so excited to hear that legendary warmth, but instead, I got a loud hum and a blown fuse that took my favorite speakers down with it. That is the thing about the entry-level tube market—it is designed to look like a bargain while hiding costs that can ruin your entire setup. Have you ever bought a piece of gear that looked amazing online but turned out to be a complete dud once you plugged it in? Today, we are peeling back the curtain on why these cheap units are often a liability rather than a deal.
The hidden dangers lurking beneath that pretty chrome finish
Most of us are drawn to tubes because of that vintage aesthetic and the promise of a smoother sound. However, many ultra-low-budget manufacturers take shortcuts that are downright scary. One major mistake I made early on was assuming that if it turned on and played music, it was safe. I did not realize that cheap transformers—the heart of any tube amp—are often under-spec’d and prone to overheating. If you notice your gear getting unusually hot, it might be similar to why your car amp is overheating during long summer drives, though home gear should not have that excuse. Even worse, some budget amps use LEDs to fake the glow of the tubes, which is a huge red flag. You might even find that your tube amp glows blue, which can be normal, but in cheap units, it often signals a gas leak in the vacuum or poor plate dissipation. According to the engineering standards outlined by the Audio Engineering Society (AES), inadequate power supply filtering in budget tube circuits frequently leads to high noise floors and catastrophic component failure. This is a far cry from the trick to making cheap bookshelf speakers sound expensive, where you are working with physics rather than fighting bad engineering. I have seen cases where the reason your passive speakers sound quiet with a digital amp is actually a failing output transformer in a cheap tube hybrid. It is a mess you do not want to deal with.
Is that budget warm sound actually worth the hype?
It is tempting to think you are getting 90% of the performance for 10% of the price. But the reality is that high-voltage components require quality materials that simply do not fit into a bottom-shelf price point. You often end up spending more on replacement tubes and repairs than you would have on a solid, mid-range solid-state unit or a properly refurbished vintage piece. Let us break down exactly what to look for so you can enjoy the music without the fire hazard.
Don’t let the chrome fool you
To avoid a literal meltdown, you need a systematic way to vet these units before they enter your rack. Think of a tube amp like an old-school muscle car; if the engine is the size of a lawnmower’s, it doesn’t matter how much wax is on the hood. You are looking for physical substance over visual flair, as the components required to handle 400 volts of electricity cannot be miniaturized without extreme risk.
Test the weight against the wattage
Quality tube amplification requires heavy-duty iron transformers to handle high voltage. Iron is heavy, period. If a “50-watt” amp weighs less than a gallon of milk, put it back. I once spent a weekend hunting for deals and found a unit that looked incredible but was suspiciously light. When I eventually opened it up, the transformers were just hollow plastic shells filled with epoxy to add a tiny bit of fake weight. It was as disappointing as discovering why your wireless earbuds won’t stay in during heavy lifting—the design just wasn’t meant for the physical stress it claimed to handle. Real transformers use layers of steel and copper; without them, your power supply will sag, leaving you with muddy sound and a high risk of a thermal runaway event.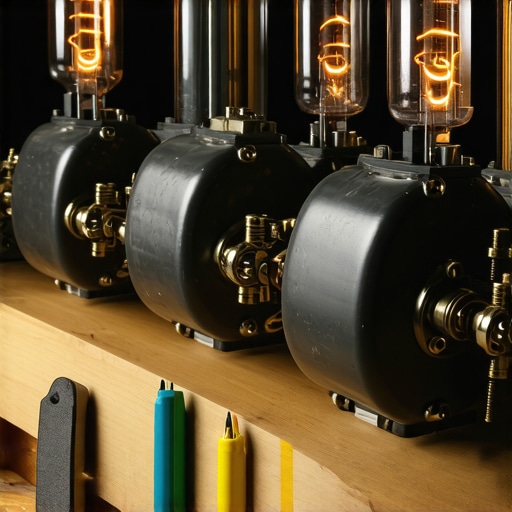
Spot the glowing decoys
Many “budget” brands use orange LEDs behind the tubes to simulate a warm glow. This is more than just a cheesy aesthetic choice; it is often a mask for a hybrid circuit that barely uses the tubes for audio processing. A real vacuum tube takes 30 to 60 seconds to reach operating temperature. If you flip the switch and hear music instantly, you aren’t listening to a true tube stage. You might notice why your receiver clicks when you change the volume, which is normal for some relay-based volume controls, but in a cheap hybrid, a loud pop or click at startup often signals a lack of a proper protection circuit, sending a dangerous DC spike straight to your voice coils.
Hunt for the hum of bad filtering
Once the unit is warmed up, turn the volume up without any music playing. You should hear a very faint hiss, but a loud, 60Hz hum is a sign of a poorly designed power supply. This hum is the sound of electricity struggling to be converted from AC to DC. If you are adventurous, you can learn how to use a multimeter to find a short in your speaker wires or to check the internal rails for voltage stability. Unstable voltage eats expensive vacuum tubes for breakfast and can eventually lead to a transformer melt-down.
Check the guts for signs of stress
If the seller allows it, or if you already own the unit, look through the cooling vents for bulging or leaking components. Knowing how to tell if your speaker capacitors are starting to leak is a vital skill here. Look for a crusty residue around the base of the larger electrolytic capacitors or any discoloration on the circuit board near the tube sockets. Excessive heat is the enemy, and cheap amps are notoriously bad at dissipating it. If you ignore these signs, you’ll eventually experience audio degradation that sounds similar to the reason your vinyl records sound distorted at the end of the side, but it will happen across every track you play.Beyond the weight and the fake LED glow, there is a technical reality most marketing departments will never tell you: more power rarely equals better sound in the vacuum tube world. Everyone thinks they need 100 watts to drive their speakers, but a high-quality 5-watt Single-Ended Triode (SET) amp will often sound more transparent and alive than a budget 50-watt ‘bargain’ beast. In my early days, I was obsessed with chasing high output figures, only to realize that high-wattage budget amps usually sacrifice signal purity and component longevity to reach those advertised specs. According to a study published by the Institute of Electrical and Electronics Engineers (IEEE), high-voltage power supplies in consumer-grade audio often suffer from significant ripple voltage, which translates directly into audible distortion and premature tube wear. This is why you should focus on circuit topology over raw power every single time. If you are struggling with a persistent buzz, you need to learn how to find the source of a ground loop in home theater setups before assuming your tubes are to blame. 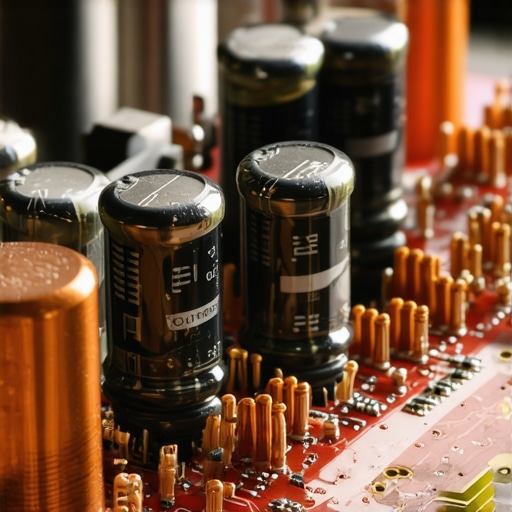
Why does your system sound better late at night?
It is not just your imagination or the quiet of the house. Sophisticated listeners often notice their systems sound much cleaner after midnight. This is usually due to less electromagnetic interference (EMI) and less ‘dirty’ power from heavy household appliances running on the local grid. If your amp sounds grainy or harsh during the day, it might be reacting to this line noise rather than actually failing. However, if the issue is constant and one side is quieter than the other, you might need to investigate how to fix channel imbalance on a vintage stereo amplifier, as drifting resistors or oxidized potentiometers are common culprits in older or poorly made budget units.
Stop wasting cash on overpriced digital interconnects
One of the biggest ‘oops’ factors I see in this hobby is people spending $150 on a budget tube amp and then another $80 on a ‘premium’ optical cable. Please, stop wasting money on expensive optical cables; they carry binary signals, and a budget-friendly cable performs identically to a boutique one. Instead, take that money and look for better hardware elsewhere. For example, the trick to buying high end audio at estate sales is often the best way to get quality iron and real transformers for the price of a cheap modern hybrid. Even if you are just starting out and learning how to use your phone as a high end audio source, the digital-to-analog converter (DAC) and the quality of the amp’s internal power supply matter far more than the brand name on the box. Have you ever fallen into the trap of buying gear based on a ‘warm glow’ or a spec sheet that felt too good to be true? Let me know in the comments below, because sharing these horror stories is the only way we stop the next enthusiast from suffering a smoky Tuesday night meltdown.Once you move past the rookie mistakes of buying based on a pretty faceplate, the real work begins: keeping that gear from degrading. I have a specialized ritual for every piece of gear that enters my rack because I never want to smell that burning ozone again. My first step is always addressing the physical connections. It is shocking how much grime builds up on old hardware, so learning how to clean gold-plated connectors without ruining the finish is step one. I use a specific contact cleaner—DeoxIT D5—which is the industry standard for a reason. Unlike cheap hardware store sprays, it doesn’t leave a conductive residue that can cause shorts later. If you have picked up a used unit, you might also need to know how to get the smell of smoke out of a vintage receiver, especially if it spent twenty years in a basement or a smoky bar.
How do I maintain my tube amplifier for the long haul?
Maintenance in the tube world is mostly about vigilance and thermal management. I keep a digital multimeter nearby at all times. If you are serious about this hobby, you must learn how to use a multimeter to find a short in your speaker wires or to verify the bias of your tubes. I personally check my bias every few hundred hours of listening. According to the technical service manuals from McIntosh Laboratory, specifically the maintenance protocols for the legendary MC275, drifting bias is the primary cause of transformer saturation and eventual failure. This isn’t just about sound quality; it is about fire prevention. While you are at it, keep an eye on your capacitors. I’ve written before about how to tell if your speaker capacitors are starting to leak, and that same advice applies to the high-voltage caps inside your amp. If they look bulged or ‘crusty’ at the base, pull the plug immediately. 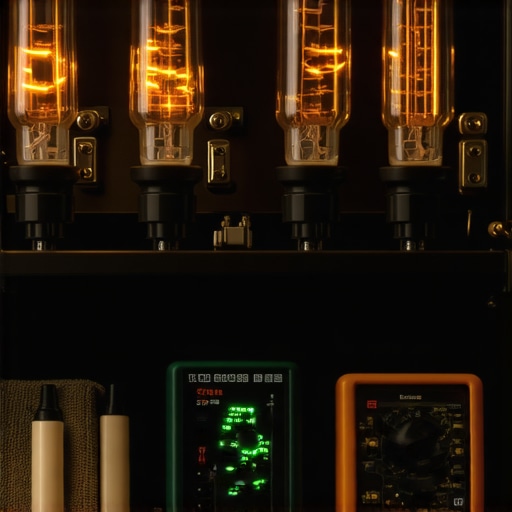 For the mechanical parts, if you are dealing with a pre-amp or an integrated unit, you will likely encounter how to fix a scratchy fader on a vintage audio mixer or a scratchy volume pot. A tiny drop of FaderLube can save you from replacing an expensive component. Looking forward, I predict the ‘fake tube’ market is going to collapse as class-D technology becomes even more transparent. We are already seeing high-end ‘tube-like’ warmth coming from Gallium Nitride (GaN) transistors, which offer the soul of a tube without the 400-volt danger. If you want to scale your system safely today, consider the easiest way to daisy chain two amplifiers safely to distribute the load, rather than overworking a single budget unit. Here is my challenge to you: Instead of browsing for your next gear purchase tonight, go grab some isopropyl alcohol and a microfiber cloth and clean every input on your current receiver. You will be amazed at the clarity you find just by removing a decade of oxidation.
Hard Truths from a Former Budget Gear Junkie
Looking back at my smoky living room on that fateful Tuesday, I realized that the entry-level tube amplifier market is often more about selling an aesthetic than actual audio fidelity. Here is what years of trial and error taught me. First, never ignore the ‘weight-to-wattage’ ratio; if a powerful amp feels like a toy, its transformers are likely undersized and dangerous. Second, those glowing orange LEDs are almost always masking a mediocre solid-state circuit that is just using the tubes for show. Real tube warmth comes from high-voltage plate dissipation, not a decorative light bulb hidden in the socket. Finally, always budget for protection. A cheap amp without a proper delay relay is a ticking time bomb for your speakers, as it can send a massive DC spike through your system the moment you flip the switch.
Building Your Audio Survival Kit
I never walk into a gear swap or start a new setup without a few essential tools that have saved me thousands in potential repairs. I trust a high-quality digital multimeter above all else; you need to know how to use a multimeter to find a short in your speaker wires before you ever apply power to a budget unit. For maintenance, I swear by DeoxIT D5 for cleaning. I have previously explained how to clean gold-plated connectors without ruining the finish, and it is the single most effective way to eliminate crackles and pops. If you are rescuing older gear, mastering how to fix a scratchy fader on a vintage audio mixer will keep your signal path clean without requiring a professional shop. Lastly, if the sound is too aggressive, remember that you can how to use a rug to stop your speakers from sounding harsh before you go chasing expensive component upgrades.
Protect Your Ears and Your Wallet
The journey to high-fidelity sound should be a rewarding experience, not a source of electrical anxiety. It is far better to save your money for a few extra months and hunt for a used, reputable brand using the trick to buying high end audio at estate sales rather than gambling on a generic tube amplifier that lacks safety certifications. High-end audio is about the music, and your gear should be the reliable vessel that carries it to your ears. Take care of your equipment, vet your power supplies, and always prioritize engineering over shiny faceplates. Have you ever had a piece of ‘bargain’ gear literally go up in smoke, or did you catch the warning signs just in time? Let me know your horror stories in the comments below!