
I’ll never forget the first time I felt like a complete idiot in this hobby. I had just unboxed a pair of high-impedance Beyerdynamics, the kind everyone in the forums raves about. I plugged them straight into my smartphone, expecting to be transported to a front-row seat at a concert. Instead, it sounded like I was listening to a tinny AM radio through a screen door. I actually sent them back, thinking they were defective! It took me years—and a lot of wasted shipping fees—to realize the problem wasn’t the headphones; it was the weak, anemic output of my device. If you’ve ever felt that ‘is this it?’ disappointment after spending a few hundred bucks on gear, you aren’t alone. Today, I’m going to help you figure out if your headphones are truly hungry for more power or if they’re just poorly matched for your current setup.
Why Your Volume Knob Is Probably Lying to You
Most people think that if the music is loud enough, the headphones are ‘powered.’ That’s a trap I fell into for a long time. You see, getting volume is the easy part; getting control over the physical drivers is where the magic happens. When I was starting out, I searched for the trick to making 50 dollar headphones feel like 300 dollar monitors, but I didn’t realize that even expensive gear needs the ‘headroom’ that only a dedicated amp provides. Without enough juice, your bass hits sound like wet cardboard and your highs lose that crisp sparkle. Even if you understand why your open-back headphones leak sound even at low volumes, that leak shouldn’t sound distorted or thin. If you have to crank your volume to 90% just to hear a whisper, you’re clipping your signal and losing all the detail you paid for.
Does an external amp actually make a difference you can hear?
You might be skeptical. I was too. I figured my laptop’s headphone jack was ‘fine’ because it was a premium model. However, technical benchmarks from experts at SoundGuys show that most standard consumer devices output significantly less voltage than what is required to maintain the full dynamic range of high-impedance gear. It’s like trying to tow a boat with a golf cart; you might get moving, but you aren’t going to have any power when you hit a hill. Later on, we can talk about the difference between balanced and unbalanced cables for home studios, but that only matters once your base power is sorted. Have you ever felt like your expensive headphones sounded ‘flatter’ than your cheap earbuds? I’d love to hear which model you’re currently using—I’ve probably struggled to power them myself!
Stop Guessing and Start Calculating Your Power Needs
To get the best out of your gear, you have to look past the marketing and focus on two numbers: impedance (ohms) and sensitivity (dB/mW). Think of impedance like a heavy door you’re trying to push open. High-impedance headphones—usually anything over 100 ohms—are like a massive oak door. You need a lot of physical force (voltage) to get it moving. If you try to push that door with a pinky finger (your smartphone’s internal chip), it barely budges, and the sound stays thin. This is fundamentally the reason your passive speakers sound quiet with a digital amp; you’re simply not providing the electrical pressure required to overcome the physical resistance of the voice coils.
The Anatomy of a Perfect Signal Chain
Once you know your headphones are power-hungry, the next step is ensuring the signal reaches them without picking up ‘garbage’ along the way. I used to think the wire was just a wire until I set up my first home studio. I had a persistent hum that drove me crazy for weeks. I eventually learned the difference between balanced and unbalanced cables for home studios and realized my unshielded cables were acting like antennas for my PC’s power supply. 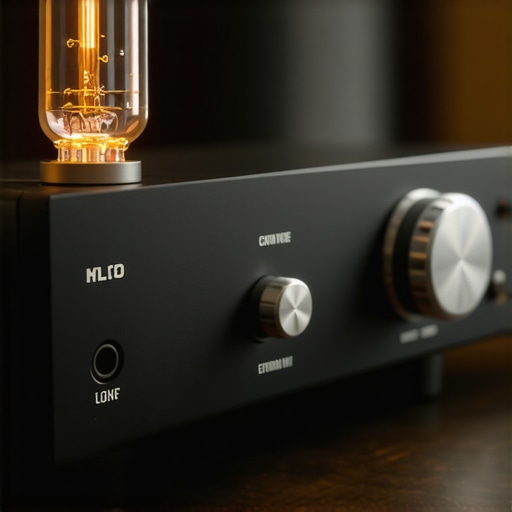
Why Your Signal Chain Is Only as Strong as the Weakest Link
If you are plugging a high-end amp into a low-quality DAC (Digital-to-Analog Converter), you are just amplifying a bad signal. You want a clean, ‘transparent’ source. When I first upgraded to a dedicated desktop stack, I was frustrated because the left channel felt slightly weaker. Before throwing the unit away, I had to learn how to fix channel imbalance on a vintage stereo amplifier, which often just comes down to cleaning the internal contacts. Always check your physical connections first. You can even how to use a multimeter to find a short in your speaker wires if you suspect a cable has internal damage. A single frayed copper strand can be the difference between sonic bliss and a blown fuse.
Give Your Drivers Time to Breathe
It is a common mistake to judge a new pair of headphones or speakers the second they come out of the box. I remember buying a pair of planar magnetics that sounded incredibly harsh for the first three hours. I was convinced I’d wasted my money. However, why your new speakers sound better after 20 hours of use is a real phenomenon; the physical surrounds and diaphragms need a ‘break-in’ period to reach their intended flexibility. If your gear sounds ‘stiff’ or lacks bass initially, don’t start cranking the EQ just yet. Give the hardware a few days of moderate use. If you push the volume too high too early to ‘force’ the break-in, you risk why your receiver shuts-off when you turn the volume up because the sudden current demand on cold components can trigger a protection circuit. Focus on a steady, clean signal at 60% volume for the first dozen sessions.Let’s dig deeper into the common obsession with wattage. Most marketing teams want you to believe that a 200W amp is inherently better than a 50W amp. In reality, unless you are trying to fill a literal concert hall, you are likely using less than 10 watts for 90% of your listening. The obsession with ‘raw power’ often leads people to buy cheap, noisy high-wattage receivers that lack ‘clean’ current. I learned this the hard way when I realized my vintage 20-watt Marantz sounded leagues better than a modern ‘1000-watt’ home-theater-in-a-box. The ‘Oops’ factor I see most often involves the subwoofer. It’s the most misunderstood component in the room. You’ve probably seen the ‘subwoofer crawl’ mentioned online, but the real nuance is in the crossover and phase. The mistake you’re making when positioning your subwoofer is often thinking that ‘corner loading’ is always a good thing. While it adds volume, it usually destroys accuracy. This is exactly why your floorstanding speakers sound boomy in the corner; the room is amplifying specific frequencies while cancelling others out. If your bass feels like it’s lagging behind the music, you need to learn how to match your subwoofer phase with your main speakers. 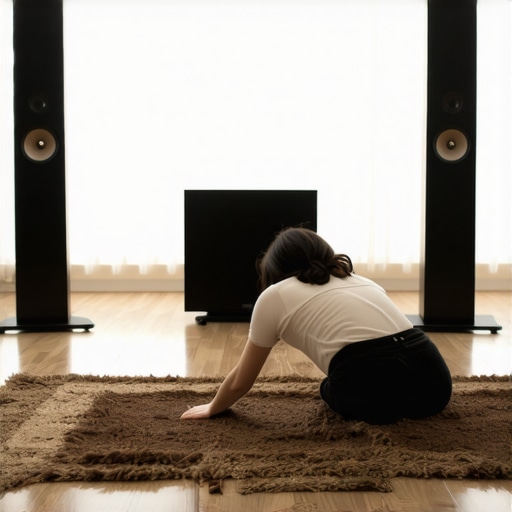
Why does your high-end gear hiss even when nothing is playing?
This is a question I get from people who just bought their first pair of active monitors or ANC cans. It feels like a defect, doesn’t it? However, as noted in studies by the Audio Engineering Society (AES) regarding signal-to-noise ratios, every electronic component has a ‘noise floor.’ If you have high-sensitivity gear, you are essentially hearing the electrical ‘breath’ of the amplifier itself. This is why your noise-canceling headphones hiss in quiet rooms; the microphones are working overtime to cancel out silence that isn’t perfectly silent. Another trap is the ‘digital cable’ myth. Please, stop wasting money on expensive optical cables. Since it’s a digital signal (ones and zeros), a $5 cable performs identically to a $500 one unless the cheaper one is physically broken. If you want a real upgrade, look at your floors. Hard surfaces are the enemy of clarity. Knowing how to use a rug to stop your speakers from sounding harsh is a pro tip that costs almost nothing but fixes the high-frequency reflections that make your music sound ‘piercing.’ I see this in setup photos all the time: a beautiful turntable sitting directly on top of a warm receiver. This is a recipe for disaster. Why you should never place your turntable on top of your receiver comes down to heat and electromagnetic interference. Receivers need to vent heat through the top; if you block those vents, you’re shortening the life of your capacitors. Plus, the transformer in the receiver can bleed a ‘hum’ directly into your turntable’s sensitive needle. Have you ever fallen into the trap of buying a piece of gear because the ‘specs’ looked good on paper, only to be disappointed at home? Let me know in the comments.I’ve learned that the secret to a long-lasting relationship with your gear isn’t just buying the right stuff—it’s knowing how to keep it from dying a slow, dusty death. After years of refurbishing thrift store finds, I’ve whittled my maintenance kit down to three essentials: a can of DeoxIT D5, a set of microfiber cloths, and a high-quality multimeter. If you’ve ever noticed a crackling sound when you turn a volume knob, don’t panic. Most people think they need a new amp, but you really just need to learn how to fix a scratchy fader on a vintage audio mixer or receiver. A quick spray of contact cleaner can save you $500 in a single afternoon. However, be careful with the fancy stuff; you need to know how to clean gold-plated connectors without ruining the finish, as using abrasive materials will strip away the very conductivity you paid for. 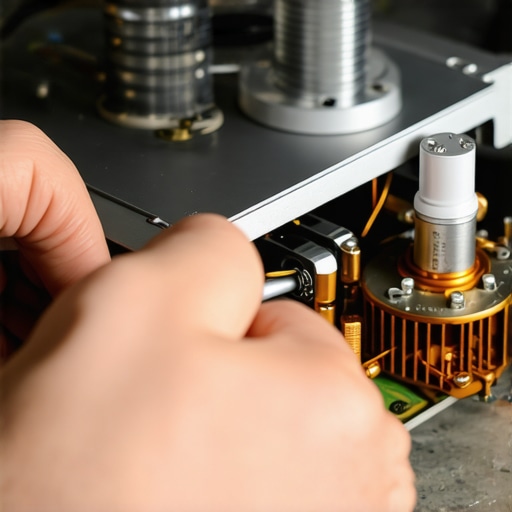
How do I maintain my high-end audio gear for the long haul?
Maintenance is a game of prevention. For headphones, the biggest killer isn’t the driver; it’s the sweat and skin oils that eat away at the upholstery. I check for the 7 signs your headphone pads need replacing today because once that seal is gone, your bass response vanishes with it. For speakers, I make a habit of inspecting the surrounds every six months. You should learn how to clean your speaker cones without ruining the paper because dust buildup adds mass to the driver, which technically slows down the transient response. I’m also a big believer in checking the ‘vitals’ of older electronics. In his definitive book Audio Power Amplifier Design, engineer Douglas Self discusses how heat is the primary enemy of component longevity. This is why I always check for signs of heat stress. If you’re buying used, knowing how to tell if your speaker capacitors are starting to leak can prevent a catastrophic failure that might take your tweeters down with it.
Scaling Your Sound Without Buying New Gear
Once your current gear is humming along perfectly, the itch to ‘go bigger’ always starts. But before you go out and buy a 7.1 system, look at what you can do with your current hardware. If you’re in a car, you’d be shocked at why your door speakers sound better after adding sound deadening; you’re basically turning your car door into a proper speaker cabinet. If you’re at home and feeling brave, you can experiment with power delivery. Learning how to bridge a two-channel amp without blowing a fuse can give your speakers the massive headroom they crave, provided you understand the impedance load you’re creating. I predict that the future of this hobby isn’t going to be about ‘bigger’ speakers, but about smarter software. We are moving toward a world where AI-driven room correction will be built into even the cheapest soundbars, fixing the acoustic flaws of our living rooms in real-time. For now, though, the best upgrade you can give yourself is a clean signal and a well-maintained set of drivers. My challenge to you? Go grab a microfiber cloth and some contact cleaner, and give your primary setup a deep clean this weekend—you’ll swear it sounds 10% clearer just from the peace of mind.
Three Hard-Earned Lessons That Saved My Ears and My Wallet
Looking back on my journey from that first tinny pair of Beyerdynamics to the balanced studio setup I use today, I’ve realized that the most expensive mistakes usually stem from impatience. First, never assume a ‘dead’ component is actually broken. Many times, what looks like a failed amp is actually just oxidized contacts; mastering how to fix a scratchy fader on a vintage audio mixer or cleaning your jacks can revive gear you thought was trash. Second, the room matters more than the DAC. You can spend thousands on a signal chain, but if your speakers are out of alignment, you’re hearing echoes, not music. I always use the easy way to test if your speakers are out of phase whenever I move my desk even an inch. Finally, remember that specs are just a starting point. High sensitivity is great, but it often leads to audible floor noise, which explains why your noise-canceling headphones hiss in quiet rooms despite being premium products. Trust your ears over the datasheet every single time.
The Maintenance Toolkit I Trust for Every Project
If you want your setup to last a decade instead of a season, you need a few non-negotiable items in your drawer. I personally swear by a digital multimeter; it is the only way to verify power delivery without risking your speakers. It helped me learn how to use a multimeter to find a short in your speaker wires before I accidentally fried a delicate output stage. I also keep a stash of coffee filters—not for caffeine, but because they are lint-free and perfect for when you need to know how to fix a speaker cone with a simple coffee filter and some wood glue. For hunting down deals, I constantly refer to my own notes on the trick to buying high-end audio at estate sales, which has saved me thousands on vintage McIntosh and Marantz units that only needed a bit of love and a microfiber cloth. #IMAGE_PLACEHOLDER_E#
Your Journey to the Ultimate Soundstage Starts Today
Building the perfect audio environment isn’t a race to the most expensive checkout cart; it’s a slow, rewarding process of refinement. Whether you are troubleshooting why your passive speakers sound quiet with a digital amp or you’re finally upgrading your headphone pads to bring back that lost bass, every small tweak gets you closer to that ‘goosebumps’ moment. Don’t be afraid to experiment with your current gear before replacing it. Often, a simple change in positioning or a cleaner power source is the only thing standing between you and the best sound you’ve ever heard. Have you ever found a piece of ‘junk’ audio gear at a thrift store that actually sounded amazing after a bit of cleaning? Let me know in the comments below.