
I was hosting a small backyard gathering a few summers ago when I realized my music sounded absolutely thin. It was embarrassing. My brand-new portable speaker, which promised ‘room-filling sound,’ was struggling to compete with the sound of a few people talking and a gentle breeze. Out of pure frustration, I picked it up and shoved it into the corner of the deck railing, mostly just to get it out of the way. Suddenly, the kick drum had a thud I could feel in my chest. The vocals didn’t sound like they were coming through a tin can anymore. It was a total lightbulb moment for me. I realized that I didn’t need a bigger amp or a more expensive device; I just needed to stop fighting the physics of the room.
The Secret Physics Hack Your Speaker Isn’t Telling You
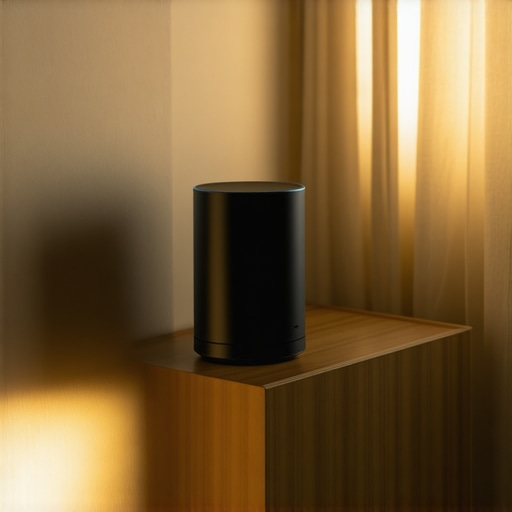
Most of us treat our portable speakers like a piece of fruit on a table—we just plop them down wherever there is space. But if you want that deep, rich low-end without spending another dime, you have to understand ‘boundary loading.’ When you place a speaker in a corner, you are essentially using the walls as a giant megaphone for your bass frequencies. Instead of the sound waves traveling out in every direction and getting lost in the open air, the walls reflect those waves back toward you. This can result in a massive 6dB boost in bass output, which is the acoustic equivalent of doubling your amplifier power. I used to think I needed to buy a whole new setup, but often, the issue is just that your bluetooth speaker sounds muffled when placed on the floor or out in the middle of a wide-open space.
Can a simple corner really replace a bigger subwoofer?
It sounds like a ‘too good to be true’ cheat code, right? You might be skeptical that a piece of drywall can do the work of a dedicated sub. But according to acoustic experts at the Audio Engineering Society, placing a sound source at the junction of three boundaries (like a corner on a floor) provides the maximum possible acoustic radiation. It’s a legitimate trick used by pro installers to squeeze every drop of performance out of a system. Early in my audio journey, I made the classic mistake of thinking more watts was the only answer to a weak sound. I’d try to crank the volume to compensate, which is a fast track to learning how to stop your portable bluetooth speaker from distorting. I wasted so much time blaming the hardware when the ‘room’ was actually the tool I should have been using. Have you ever moved your speaker just a few inches and felt like you suddenly upgraded to a more expensive model? Let me know in the comments, because I genuinely thought I was going crazy the first time I heard the difference.
Today, we are going to dive into why this happens and how you can find the ‘sweet spot’ in any room without making the audio sound muddy or boomy. We’ll also look at why you should stop placing your speakers directly on the floor for better bass, even if you are using the corner trick. It’s all about balance, and I’ve got a few more tricks up my sleeve to help you master your environment.
Find the Acoustic Sweet Spot in Your Own Living Room
Finding the perfect spot isn’t just about sticking the speaker in a corner and hoping for the best. You have to treat the room like a partner, not an obstacle. Start by playing a track with a consistent, heavy bassline—something you know well. Move the speaker slowly toward the corner. You’ll hit a point where the bass suddenly feels ‘full’ without sounding like a muffled mess. This is similar to the best way to position your subwoofer for clearer lows, as the same principles of air movement apply. If you get too close to the wall, the reflections become too fast and muddy the mid-range. I usually keep about two to four inches of breathing room between the back of the device and the wall to let the air actually move.
The Quickest Way to Test Your Corners
I learned this the hard way at a buddy’s housewarming party. I’d brought my favorite portable unit, but the open-plan kitchen was swallowing all the sound. I did a mini version of the ‘sub crawl.’ I put the speaker on the floor in the center of the room (where the listeners would be) and then I walked around the edges of the room with my head near the wall. Wherever the bass sounded the punchiest to my ears, that’s where I eventually placed the speaker. It sounds ridiculous, crawling around on your hands and knees while holding a drink, but it works every time. It’s the same logic you’d use when you’re trying to figure out how to get better stereo separation in a very narrow room—you have to listen to what the walls are telling you.
Height is Just as Important as the Corner
Don’t just drop it on the carpet. As I’ve mentioned before, you really need to stop placing your speakers directly on the floor for better bass. When a speaker sits on a soft surface like a rug or even directly on a hardwood floor, the vibrations can bleed into the floorboards, causing a distracting rattle or a ‘thud’ that lacks any musicality. I once used a stack of heavy coffee table books to lift my speaker about six inches off a deck, and the clarity jump was insane. If you find that the sound is still lacking detail, it might be because your bluetooth speaker sounds muffled when placed on the floor due to the way high-frequency waves are being absorbed by your furniture or legs. Aim to get the speaker at least at waist height, preferably aiming toward your ears.
Stop the Vibration Before it Starts
If your speaker is powerful enough, it’s going to vibrate whatever surface it’s on. This is where the ‘pro’ feel disappears and the ‘cheap plastic’ feel takes over. If you don’t have dedicated isolation pads, use a thick rubber coaster or even a folded-up mousepad. This decouples the speaker from the furniture. Without this, you might think you’re hearing distortion from the driver, and you’ll start looking for guides on how to stop your portable bluetooth speaker from distorting, when in reality, it’s just your end table vibrating against a lamp. I spent three hours once trying to ‘fix’ a rattling speaker only to realize it was a loose picture frame on the wall three feet away responding to the bass hits. Always check your surroundings before you blame your gear.
One of the biggest lies in the audio industry is the ‘Big Wattage’ sticker on the box. Most people walk into a shop looking for the highest number, thinking it translates to better sound. In my early days, I bought a receiver purely because it boasted 1000W of ‘Peak Power.’ It sounded atrocious at high volumes because I didn’t understand the difference between peak and rms power explained simply. Peak power is basically a marketing fantasy; it’s the maximum burst a system can handle for a millisecond before it literally melts. If you really want to know if your gear has the ‘oomph’ for a party, you have to look at the continuous power it can actually sustain.
Don’t Fall for the Peak Power Marketing Trap
The contrarian truth is that a high-quality 50-watt amplifier will often outperform a cheap 500-watt unit every single time. It comes down to ‘headroom’—the capacity of your system to handle sudden peaks in music (like a drum hit) without distorting. If you’re constantly pushing a weak amp to its limits, you’ll notice the real reason your amp is getting hot to the touch is that it’s struggling to provide clean current. Dr. Floyd Toole, a pioneer in psychoacoustics at the National Research Council, famously demonstrated that human ears are far more sensitive to the distortion caused by an overworked amplifier than to the actual volume level itself. Have you ever fallen into the ‘more watts is better’ trap? Let me know in the comments.
Does Your System Have Enough Room to Breathe?
When we talk about sophisticated setups, we have to discuss the relationship between speaker sensitivity and amp output. If you have high-sensitivity speakers, you don’t need a monster amp; you need a clean one. On the flip side, power-hungry bookshelf speakers can sound thin if they aren’t fed properly. Learning how to tell if your amplifier has enough headroom for your speakers is the difference between a system that sounds ‘strained’ and one that sounds ‘effortless.’ It’s not just about being loud; it’s about having enough power in reserve so the music can ‘breathe’ during complex orchestral or electronic passages.
Clean Your Terminals Before You Replace Your Gear
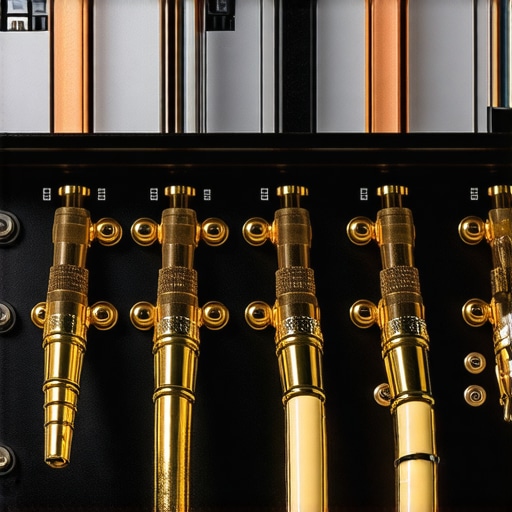
Here is an ‘oops’ factor I see even with seasoned audiophiles: ignoring the physical connections. Over time, copper wire reacts with oxygen, creating a layer of resistance that eats your signal. People often think their speakers are ‘dying’ when they hear a slight crackle, similar to the 5-minute fix for crackling bluetooth signals on your laptop, but the solution is much simpler. Before you go out and buy expensive new cables, check for that tell-tale green gunk. Knowing how to clean green oxidization off your copper speaker terminals can restore the high-end sparkle you thought you lost years ago.
The Myth of Universal Gold Plating
While we are on the subject of connections, let’s talk about the gold-plated obsession. Everyone says you need gold for ‘better conductivity,’ but that is actually a myth. Silver and copper are both better conductors than gold. The only reason we use gold is that it doesn’t corrode. If you are constantly plugging and unplugging gear, gold is great. But for a permanent home setup? You might be overpaying. In fact, why gold-plated connectors aren’t always better is a conversation worth having if you’re trying to build a high-end system on a budget. Don’t let the shiny finish fool you into thinking the internal components are actually higher quality.
Stop Killing Your Battery with Random Cables
I learned this the hard way after frying a perfectly good portable speaker: not all USB bricks are created equal. We live in an age of convenience, but grabbing the nearest high-wattage phone charger can actually degrade your device’s longevity. I did a deep dive into the truth about using a fast charger for your portable speaker and found that forcing too much current into a small battery management system is a recipe for a dead unit in under a year. Now, I stick to the manufacturer-provided cable or a low-amperage brick to preserve the battery’s chemical health. It’s also why I’m obsessed with checking my ports; knowing how to fix a loose usb charging port on a bluetooth speaker before it snaps off the motherboard is a skill that has saved me hundreds of dollars.
How do I maintain my home audio system over time?
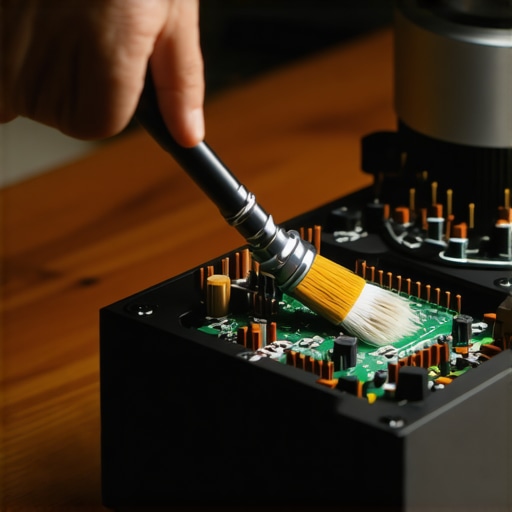
Maintenance isn’t a once-a-year chore; it’s a series of small habits that prevent the ‘gradual fade’ of sound quality. Every three months, I do a physical audit of my setup. This includes checking for physical damage to the drivers. If I see a tiny tear starting to form on a woofer, I don’t panic. I’ve found that how to fix a small rip in a speaker surround with glue is a perfectly valid permanent solution if you use the right flexible adhesive. I also keep a can of compressed air and a specialized brush handy. For those of us with pets, the trick to removing dog hair from speaker grilles safely—using a lint roller or a masking tape loop—is a weekly ritual to prevent hair from working its way into the voice coil. Tech experts at Caig Laboratories, the makers of DeoxIT, emphasize that chemical deoxidizers are essential for maintaining low-resistance connections in high-end audio, especially in humid environments where ‘green gunk’ thrives.
Tiny Fixes That Prevent Massive Repair Bills
The most neglected part of any audio setup is the input jack. Whether it’s your phone or a vintage receiver, pocket lint and household dust act as an insulator that causes crackling. I make it a point to learn how to clean dust out of your headphone jack without damaging pins using a non-conductive toothpick. Similarly, if you’re an IEM or earbud user, the wax buildup is the silent killer of soundstage. I’ve discovered the best way to clean your ear tips for better noise isolation involves a simple warm soapy water soak, which keeps the silicone supple and the seal tight. Looking ahead, I predict we will see more ‘self-diagnostic’ audio gear that uses internal microphones to tell you when a driver is failing or if your room acoustics have shifted due to new furniture.
My best advice for scaling your hobby is to stop looking for new gear and start mastering the gear you have. Try this today: go to your main listening spot, close your eyes, and listen for any ‘buzz’ or ‘hiss’ during silent passages. If you hear it, don’t buy a new amp. Instead, try the advanced tip of decoupling your power cables from your signal cables. If you can cross them at 90-degree angles rather than running them parallel, you’ll eliminate the electromagnetic interference that creates that annoying background hum. It’s a pro-tier move that costs zero dollars but makes your system sound like it belongs in a studio.
The Hard Truth About Audio Marketing vs. Reality
After years of tweaking my own systems, I’ve realized that the ‘perfect’ setup is often just 90% physics and 10% hardware. I spent so much money on fancy wires before I realized that the truth about gold-plated audio connectors for home stereos is more about durability than actual sonic fidelity. The real magic happens when you stop fighting your room and start working with it. Don’t let a sales rep convince you that a higher price tag fixes a bad corner. Also, remember that your ears are the final judge—if it sounds good to you, it is good, regardless of the brand name on the box.
How I Keep My Gear Sounding Brand New
If you want to maintain that ‘out of the box’ clarity, you need a small maintenance kit. I swear by three simple things: a can of compressed air for dust, a high-quality flexible adhesive for those inevitable wear-and-tear moments, and a pack of rubber isolation pads. These small additions are among the 3 budget upgrades that make cheap speakers sound expensive. I also keep my portable gear in dedicated cases when not in use, because the best way to store your iems to prevent driver damage applies just as much to your larger portable drivers. Keeping the moisture and dust out is half the battle won.
Go Rediscover Your Favorite Album
Now that you have the tools to stop the distortion, fix the muffled floor-sound, and clean up your terminals, there’s only one thing left to do. Put on that one album you know by heart—the one that usually sounds a bit thin in the car. Sit in the sweet spot you just found and listen to the difference. Mastering your environment is the ultimate upgrade to your home audio deals and personal listening experience. Have you ever tried the ‘sub crawl’ or moved your speakers to a corner and been shocked by the results? Let me know in the comments below!