
I spent three hours yesterday digging through dusty crates at a local record shop, and it reminded me of the first time I brought home a vintage deck. It was a gorgeous, wood-paneled Pioneer. I plugged it in, dropped the needle, and braced myself for that legendary analog magic. Instead? It sounded like the music was being filtered through a thick, wet wool blanket. I was devastated. I actually went out and bought expensive shielded RCA cables, thinking the wiring was the culprit. Talk about a rookie mistake. I was trying to fix a complex problem when the solution was staring me right in the face—or rather, it was sitting right on the end of the tonearm. Most of us assume that if an old record player sounds thin or distorted, the motor is dying or the internal preamp is shot. But more often than not, you just need to spend twenty bucks on a fresh stylus. It’s the single most impactful way to breathe life back into your setup without breaking the bank. Today, I’m going to show you why this tiny piece of hardware is the key to clarity and how you can swap it out in under five minutes. If you are also dealing with physical playback issues, you might want to look into why your record player skips when you walk across the room before you start buying new parts.
Stop Blaming Your Amp for Muddy Audio
It is easy to point fingers at your speakers or your receiver when the sound isn’t right. I’ve seen people replace perfectly good vintage units because they thought the capacitors were drying out. While it’s true that you sometimes need to know how to tell if your speakers’ capacitor is starting to fail, the ‘blanket over the speakers’ effect on a turntable is almost always a worn-down needle. A stylus is a diamond or sapphire tip that physically wears out after about 500 to 1,000 hours of play. According to the experts at Audio-Technica, a worn stylus doesn’t just sound bad; it actually acts like a chisel, carving away the delicate grooves of your vinyl records forever. Replacing a generic, mystery-age needle with a reputable $20 entry-level stylus can instantly restore the high-frequency sparkle you’ve been missing. Have you ever been convinced your old gear was broken, only to find out it was a five-minute fix?
Is a Cheap Stylus Really Better Than the Original?
Many beginners fear that if they don’t spend $200 on a moving-coil cartridge, they aren’t getting the ‘real’ experience. That is simply not true for most casual listeners. A fresh $20 conical or elliptical stylus will outperform a ‘high-end’ needle that has been sitting in a humid basement for a decade every single time. If you’re trying to modernize your whole vibe, you should also check out how to connect an old turntable to a modern digital soundbar to bridge the gap between vintage charm and modern convenience. Trust me, your ears—and your wallet—will thank you once you realize how much potential is hidden in that old plastic headshell.
Find Your Cartridge Model First
The biggest mistake you can make is ordering a random needle online and hoping it fits. Think of a stylus like a key for a very specific lock; if the teeth don’t match the tumblers, you aren’t getting in. Most vintage turntables have the cartridge model number printed on the side or bottom of the plastic housing. If it is too faded to read, take a high-resolution photo with your phone and use a reverse image search. While you have the headshell off, it is the perfect time to check the metal contact pins. If they look dull or oxidized, you can learn how to fix a scratchy volume dial with electrical contact cleaner and apply that same logic to cleaning those tiny pins for a better signal. A clean connection ensures the ‘sparkle’ actually reaches your speakers. 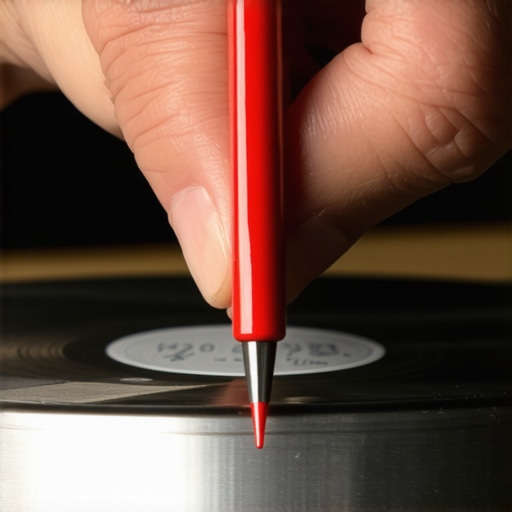
How to Pull the Needle Without Breaking It
I remember trying to force a new stylus onto an old Technics SL-D2 I found at a garage sale. I was sweating, worried I’d break the whole tonearm because the piece wouldn’t budge. I eventually realized I was pulling straight out when the clip design actually required a gentle downward pivot. Most styli are held in by a small plastic friction fit or a tiny hook. Use your thumbnail to grip the plastic ‘wings’ of the stylus—never touch the thin metal tube called the cantilever—and pull firmly but slowly. If you feel too much resistance, stop. You might have a fixed-mount cartridge where the whole unit needs to be replaced instead. Once the old one is off, check your speaker wiring too; sometimes we blame the needle when we should be checking how to tell if your speakers are out of phase in 30 seconds to ensure the stereo image is centered.
Snap the New Stylus Home and Listen for the Click
When you slide the new needle into place, it should feel like a Lego brick snapping together. There is usually a distinct mechanical ‘click’ or a snug seating that tells you the magnets are aligned. If it feels loose, the audio will thin out or drop in one channel. After installation, if you notice a low-frequency buzz that wasn’t there before, you might need to know how to get rid of ground loop hum in your audio setup, as moving the turntable around often loosens the fragile ground wire.
Stop the Hum and The Shake
Once the new needle is tracking correctly, the clarity will be night and day. However, a high-quality new stylus is much more sensitive than a worn-out one. This means it will pick up every footstep in the room. If your music starts skipping when you walk by, you should look into how to stop your turntable from picking up vibrations from your floor. Also, keep an ear out for any constant background noise; why your vintage receiver makes a loud hum with no music playing is often related to the internal transformer or grounding, rather than the needle itself. Taking these extra steps ensures that your $20 investment isn’t overshadowed by avoidable hardware hums.The biggest trap I see seasoned hobbyists fall into is ignoring the relationship between ‘effective mass’ and cartridge compliance. Many assume that a high-end needle will fix everything, but if you pair a high-compliance stylus with a heavy vintage tonearm, you are going to get unwanted resonance that muddies the bass. Everyone says you need a more powerful amp for better dynamics, but why your vintage speakers are losing their punch over time usually comes down to the mechanical mismatch between the needle and the arm, rather than the electronics failing. If your audio feels lifeless even after a swap, you might also be overlooking the truth about speaker break-in periods; those new mechanical parts in your stylus and speakers need a few dozen hours to reach their optimal flexibility.
Don’t Crush Your Records to Save a Dollar
A common mistake is cranking the tracking force to the maximum to stop skipping. While it might keep the needle in the groove, you are effectively turning your stylus into a lathe. In my experience, if a needle won’t stay put at the manufacturer’s recommended weight, the issue is environmental. Before you add weight, make sure your speakers aren’t too close to the deck; why your speakers’ bass port should never be pushed against a wall is a lesson in how low-frequency energy can travel through furniture and vibrate your tonearm.
Can You Actually Hear the Difference Between an Elliptical and a Conical Tip?
To the untrained ear, a basic conical tip is fine, but as the needle moves toward the center of the record, ‘inner groove distortion’ becomes a major hurdle. A technical paper from the Audio Engineering Society (AES) demonstrates that because the physical speed of the record surface slows down toward the spindle, larger conical tips struggle to track the tightly packed high-frequency waves. This is why the last song on a side often sounds like a fuzzy mess compared to the first. If your setup still feels brittle or ‘digital’ after an upgrade, it might be why your speakers sound harsh when you play high-res files or poor room acoustics. I always suggest you learn how to use your phone to measure your rooms frequency response before spending hundreds on a fancy moving-coil cartridge. 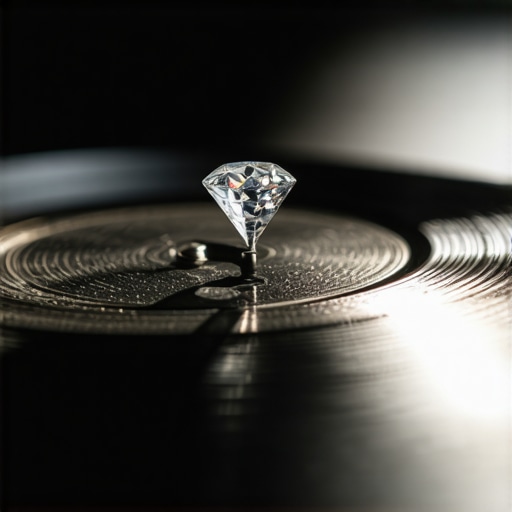 Have you ever fallen into the trap of buying new gear to fix a problem that was actually just a bad room setup? Let me know in the comments.
Don’t Let Corrosion Kill Your Connection
If you’ve already swapped the stylus and the sound is still ‘off,’ it is time to look at the signal path itself. I keep a can of DeoxIT D5 on my workbench at all times, and honestly, it’s saved me more money than any Black Friday deal ever could. Most people assume a crackling sound means a component is dying, but it is usually just oxidation. I’ve seen enthusiasts throw away incredible gear just because they didn’t know how to fix a scratchy volume knob on an old amp with a quick blast of contact cleaner. When you spray those internal potentiometers, you aren’t just cleaning them; you are restoring the metal-to-metal contact that allows those micro-volts of music to pass through unimpeded. I personally make it a habit to clean the RCA jacks and speaker terminals every six months. If you ignore this, you’ll eventually find yourself hunting for the 5 fix for humming speakers and ground loops because a tiny layer of grime is acting like a resistor in your signal chain. 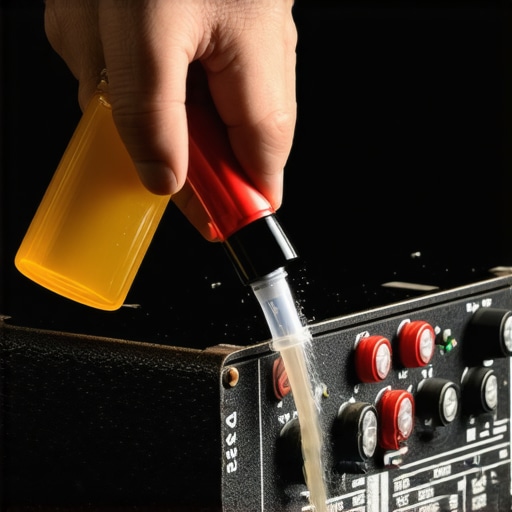
Keep Your Amp From Becoming a Space Heater
One of the most overlooked aspects of maintenance is heat management, especially with vintage Class AB receivers. I once owned a Marantz that ran so hot you could practically toast bread on the vented wooden case. I later learned that ‘idling’ heat is often a sign that the internal bias needs adjustment. If you notice why your vintage amp gets hot even when you aren’t playing music, you are likely shortening the lifespan of your electrolytic capacitors. According to technical documentation from the Journal of the Audio Engineering Society (JAES), for every 10-degree Celsius increase in operating temperature, the life expectancy of an electrolytic capacitor is roughly halved. This is why keeping your gear in an open-air rack instead of a cramped cabinet is vital. If things still feel sluggish, you should learn how to tell if your speakers’ capacitor is starting to fail, as heat damage in the crossover can be just as devastating as heat in the amp.
How do I keep my audio gear running for another thirty years?
The secret isn’t just cleaning; it’s preventative monitoring. I use a simple infrared thermometer to check for ‘hot spots’ on the chassis, and if I see why your vintage receiver’s lights are flickering with the music, I know the power supply is struggling and needs a professional recap. For speakers, I inspect the rubber or foam surrounds annually. If they feel brittle, you can learn how to revive old speakers with new foam surrounds before the cone loses its centering and rubs against the voice coil. Looking forward, I predict we are entering a ‘hybrid’ era where vintage shells will be outfitted with internal DSP (Digital Signal Processing) modules. We are already seeing purists use hidden room-correction software to fix the inherent phase issues of 1970s cabinet designs. It’s the ultimate way to keep the aesthetic you love while gaining the precision of modern engineering. If you really want to level up your system tonight, go grab a microfiber cloth and some contact cleaner—clean every single connection point in your chain and tell me you don’t hear a difference in the noise floor.
The Hard Lessons My Ears Had to Learn
Looking back at my years of tinkering, I realize that the biggest enemy of great sound isn’t budget—it’s impatience. I’ve spent countless nights chasing ghosts in the circuitry when the issue was a simple mechanical vibration. I learned the hard way that you should always check the easiest solution first. If your music feels off, don’t immediately assume your amp is dying; check the stylus and the connections first. Also, don’t get discouraged if you encounter a few hiccups along the way. For instance, if you move things around and suddenly hear noise, you might need to find the 5 fix for humming speakers and ground loops to quiet the system down. Sound is a journey, and every ‘broken’ component is just a lesson in disguise.
Tools I Use to Keep the Needle Moving
I don’t believe in magic pebbles or thousand-dollar cables, but I do believe in the right tools for maintenance. My current toolkit includes a carbon fiber record brush to keep dust out of the grooves, a digital stylus force gauge for precision, and a magnifying loupe to inspect the diamond tip for debris. I also recommend being patient with new gear; similar to how to properly break in new headphones without using white noise, your new stylus suspension needs about 20 to 30 hours of play to reach its full potential. If you find your equipment acting up after a long session, it’s worth investigating why your receiver’s protection mode keeps triggering at high volume before you pay for a professional repair.
#IMAGE_PLACEHOLDER_E#
Bring the Warmth Back to Your Living Room
At the end of the day, all this technical talk about tracking force and oxidation serves one purpose: the music. There is a specific kind of magic in a vintage turntable setup that digital files simply can’t replicate—a physical connection to the artist’s work. Once you’ve snapped that new needle into place and cleaned your jacks, stop worrying about the specs. Put on your favorite record, sit back, and let that analog warmth wash over you. You’ve done the hard work, now enjoy the reward of a clear and crisp soundstage. Have you ever spent hours troubleshooting a piece of gear only to find a ‘five-dollar fix’ solved everything? Let me know your biggest audio rookie mistake in the comments below!