
I was sitting at a red light last Thursday, finally enjoying that new 12-inch sub I’d spent all weekend wiring up. The kick drum hit, and instead of a clean thump, I heard a sound like a jar of loose change vibrating against a chainsaw. It was humiliating. The guy in the lane next to me actually rolled up his window. That was the moment I realized that no matter how much you spend on the best audio deals or high-end gear, a rattling trunk makes even the most expensive setup sound like a broken toy. I’ve been there, and I know exactly how frustrating it is when your music is overshadowed by a chorus of buzzing plastic and clanging metal. Today, we are going to fix that once and for all.
The Hidden Noise That Kills Your Bass Performance
I’ll be the first to admit I messed this up early on. When I first started messing with car audio, I thought the answer was always more power. I’d buy bigger amps, but the more power I added, the more my car’s plastic trim and metal panels protested. I even made the mistake of thinking my subwoofer was toast—I actually wasted an hour trying to tell if my speaker was actually blown or just rattling before I even looked at the trunk lid. The truth is, your trunk is basically a giant resonance chamber. When those low-frequency waves hit the metal skin or the plastic liners, they start a physical dance that creates parasitic noise. This doesn’t just sound bad; it actually cancels out some of the bass you’re paying for. I’m going to show you how a specific, dirt-cheap foam trick can silence that buzz for good, focusing on the spots people usually miss, like stopping your car’s rear deck from rattling when the bass really starts to move.
Is a Cheap DIY Hack Really Better Than Professional Sound Mats?
You might be thinking, “Come on, if it’s that easy, why do people spend hundreds on high-end damping sheets?” Look, those heavy butyl sheets are great for adding mass to panels, but they often fail to address the gap-slap—where two surfaces, like your license plate or a plastic clip, vibrate against each other. According to basic mechanical engineering principles, even a tiny air gap can allow for significant mechanical vibration between two materials. A simple piece of closed-cell foam acts as a decoupler, physically separating those noisy neighbors. I remember spending a fortune on pro dampening for my first hatchback, only to realize the rattle was coming from the emergency jack vibrating in its cradle. A five-dollar scrap of foam fixed what the hundred-dollar mat couldn’t. If you’ve ever felt like your door speakers sound better after adding sound deadening, you already know the power of vibration control. Have you ever had a rattle that drove you so crazy you considered selling the whole car? Drop a comment and tell me what the culprit ended up being!
Stop the License Plate Buzz Without Spending a Fortune
Start with the license plate. It is the loudest, most annoying part of the whole problem. I once spent two hours tuning my EQ only to realize my plate was flapping like a bird’s wing against the trunk lid. It sounded like a chainsaw cutting through a metal trash can. To fix this, you don’t need expensive mats. Take a thin sheet of closed-cell foam or even some heavy-duty weatherstripping and apply it to the back of the plate. You want to create a sandwich of tension so that the plate is physically pushed against the foam when you tighten the screws. While you are back there, look for the easiest way to hide power wires in your trunk because loose cables are the second biggest culprits. If a wire can move, it will vibrate, and if it vibrates against metal, it is going to buzz. I remember my first setup had wires rattling against the spare tire well, and it drove me absolutely insane until I zip-tied them down and tucked them away.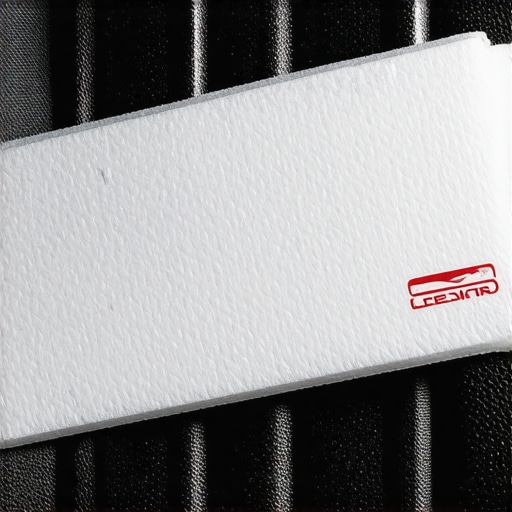
Apply Pressure Where Plastic Meets Metal
Next, tackle the plastic trim. These panels are held on by cheap plastic clips that lose their grip over time. Think of these panels like a loose tooth; the more pressure you apply, the more it wiggles and clicks. I remember my old hatchback sounded like it was falling apart until I realized the rear deck panel was just loose. You do not need a pro shop; just pop the panels and line the edges with felt tape or foam. It is the same logic as why your floorstanding speakers need spikes when used on carpet—you are decoupling the vibrating surface from the structure. If you are still hearing a weird hissing or whistling air sound, you might have a different issue entirely. Use the simple paper towel trick for finding speaker air leaks to see if air is escaping the box or the trunk seals themselves, which can often be mistaken for a mechanical rattle.
Silence Your Trunk Latches and Cable Runs
If you have pushed your system to the limit by learning how to bridge your car amp for more bass power, the pressure inside the trunk is immense. This air pressure is like an angry ghost trying to punch its way out of your car. This pressure will find every weakness in your vehicle’s construction. Check the trunk latch mechanism itself. A tiny bit of lithium grease inside the mechanism can stop the metal-on-metal clink that happens when the trunk lid shifts under the weight of the bass waves. I once thought my subwoofer was failing, worrying about how to tell if your speaker is actually blown or just rattling, only to find out it was the emergency release handle vibrating inside the lid. A single piece of electrical tape silenced it forever. Finally, do not ignore the rear deck. If you have speakers back there, they are likely being pounded by the pressure from the trunk sub. This is often why your cars rear deck speakers are ruining the stereo image. They act like passive radiators, moving when they should not. You need to seal the gaps between the speaker and the deck with foam rings to keep the sound in the cabin.Once you have tackled the physical rattles in your car or home theater, the real challenge begins: distinguishing between legitimate upgrades and pure marketing fiction. Let’s dig deeper into where most enthusiasts actually lose their money.
Stop Wasting Money on Digital Snake Oil
Most people assume that if they spend a significant amount on a soundbar or a pair of towers, they need a $50 cable to ‘unlock’ the quality. This is one of the most persistent myths in the industry. As the Audio Engineering Society (AES) has demonstrated in numerous double-blind tests, a digital signal consists of discrete packets of data; it either arrives or it doesn’t. You should stop wasting money on expensive optical cables and put that cash toward a better subwoofer or room treatment instead. In my experience, a generic cable performs identically to a ‘premium’ one over short distances. Have you ever fallen into the trap of buying a ‘luxury’ HDMI or optical cable only to realize it didn’t change a thing? Let me know in the comments!
The Speaker Break-In Myth is Costing You Time
Another trap I see people fall into is the ‘break-in’ period. Manufacturers often suggest that your speakers will only sound ‘correct’ after 100 hours of high-volume use. While there is a microscopic physical change in the mechanical suspension of a woofer, the truth about speaker break-in periods is that your brain is usually what is ‘breaking in,’ not the equipment. Roger Russell, the former Director of Acoustic Research at McIntosh Laboratory, famously argued that many of these claims defy the laws of physics. If you hate the sound profile of a speaker on day one, you will likely still hate it on day thirty. Don’t let a salesperson convince you to keep a product you don’t like based on a future promise of ‘opening up.’
Why does your expensive setup still sound thin and lifeless?
The culprit is rarely the gear itself—it is usually phase cancellation or a hidden ground loop. I have seen enthusiasts spend thousands on amplifiers only to have the system sound like a tin can because their speakers were wired out of phase. You must learn how to match your subwoofer phase with your main speakers. If they are out of sync, the sound waves literally collide and delete each other in mid-air, leaving you with no mid-bass punch. 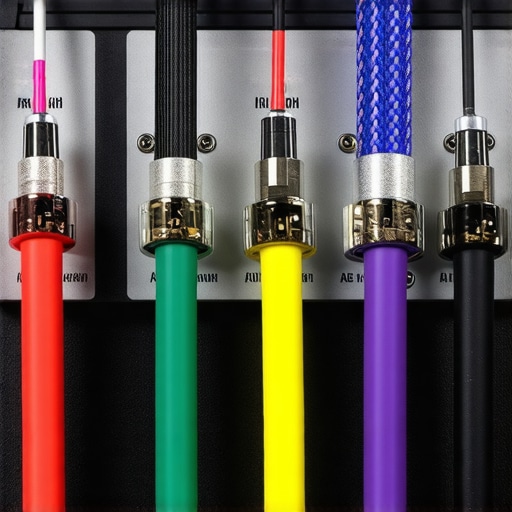
The Secret Trap of the Second-Hand Market
I love a good deal, but there is a specific ‘oops’ factor when buying vintage or used gear. Many buyers pick up a high-end unit at a thrift shop only to realize they cannot access the setup menus without the original hardware. This is why you should never buy a used receiver without the remote. Without it, you might be stuck in a default ‘stereo’ mode that sounds terrible in a multi-channel room. If you do find a great unit that hums when you plug it in, don’t panic. Often, it is just a simple electrical interference issue that can be solved with the 5 dollar fix for humming speakers and ground loops. Real expertise isn’t about how much you spend; it is about knowing which small details, like phase and ground isolation, actually move the needle on performance.The real work of an audio enthusiast isn’t just buying gear; it’s keeping that gear running at peak performance for years. If you’ve been following my journey, you know I don’t believe in ‘set it and forget it.’ Components degrade, dust settles, and heat is a silent killer. Especially in car audio, heat is your number one enemy. I’ve seen beautiful setups fried because they couldn’t breathe. Knowing how to stop your car amp from overheating in the summer is a fundamental skill, not an optional one. If you can’t keep the silicon cool, your investment is on a timer. I’ve learned the hard way that you can’t fix what you can’t measure. For years, I just poked around with a flashlight until I bought a decent digital multimeter. It changed everything. Suddenly, I wasn’t guessing if a wire was broken; I was verifying it. Learning how to use a multimeter to find a short in your speaker wires will save you more money than any coupon ever could. It’s the difference between replacing a $500 amp and replacing a $2 fuse.
Stop Letting Heat Kill Your Investment
I’ve seen too many people tuck their amplifiers into tight, carpeted corners with zero airflow. It’s the equivalent of running a marathon in a winter coat. According to Texas Instruments’ technical documentation on Class-D amplifiers (specifically application report SLVA761), thermal management and consistent power delivery are the two most critical factors in component longevity. When your amp gets too hot, it goes into thermal protection, and every time that happens, you’re shaving months off its life. If you’re pushing big power, you need to treat airflow like a priority, not an afterthought.
Why the Multimeter is Your New Best Friend
If you own more than two speakers, you need a multimeter. Period. I use mine for everything from checking battery voltage to ensuring my speaker polarity is correct. If you have a scratchy sound, don’t assume the speaker is blown. Use the meter to check the DC resistance. It’s also the only way to safely troubleshoot the real reason your car’s alternator makes your speakers whine. Often, it’s just a bad ground that you can identify in seconds with a continuity test.
How do I maintain my sound system over time?
The secret is a ‘spring cleaning’ for your signals every six months. Oxidation is real. It’s a tiny layer of non-conductive gunk that builds up on every connection point. I personally take an afternoon twice a year to pull every cable and use a specialized contact cleaner. You’ll want to learn how to clean gold-plated connectors without ruining the finish because harsh chemicals can actually strip the conductive plating right off. While you’re at it, if you have vintage gear with that annoying crackle, don’t toss it. I’ve saved dozens of classic receivers just by knowing how to fix a scratchy volume knob on an old amp. Looking forward, I predict we are entering the era of ‘Self-Healing Audio.’ Within the next decade, high-end amplifiers will likely feature integrated AI diagnostics that monitor the health of your speaker voice coils and capacitors in real-time, alerting your phone before a component actually fails. But until that tech is affordable, you have to be the brain of the operation. If your older gear is starting to look ragged, you can even learn how to revive old speakers with new foam surrounds to bring back that factory-fresh punch. My challenge to you this week: Don’t buy anything new. Instead, grab a multimeter and check the resistance on every speaker in your main setup. You might be surprised to find a loose connection that’s been robbing you of 20% of your performance for months. 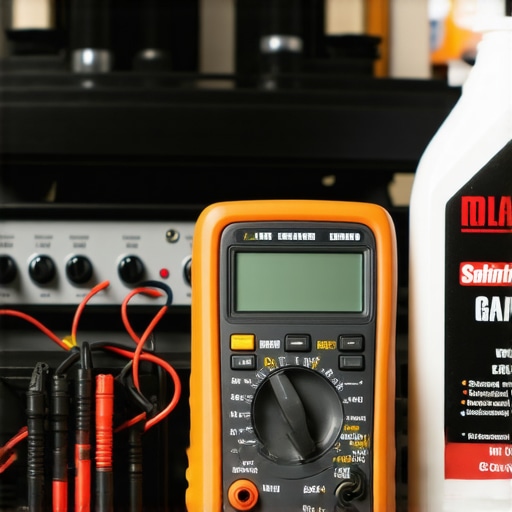
The Real Lessons I Learned Chasing the Perfect Bass
Reflecting on years of vibrating trunks and buzzing door panels, I have realized that the most expensive equipment in the world cannot save a poorly prepped environment. It is easy to get caught up in the specs of your amplifiers, but the physical space they play in is the final filter for your music. Here are the lightbulb moments that changed how I approach every build. First, air pressure is a physical force. When you push a sub, you are literally creating a pressurized cabin, and if that air has nowhere to go or hits loose plastic, it will turn into noise. Second, phase is an invisible killer. I spent months thinking my sub was weak before I realized I just needed to tell if my speakers were out of phase in 30 seconds. Finally, decoupling beats dampening. Adding heavy mats is great, but often just a tiny piece of foam between two rubbing parts does more work than five layers of heavy sheets.
The Tools That Saved My Sanity and My Wallet
If you want to stop guessing, you need a few specific items in your trunk kit. I personally swear by these three things. First, a high-quality digital multimeter is non-negotiable because it is the only way to be sure your wiring is solid. Second, I always keep a roll of Tesa tape or felt tape for every wiring harness to prevent internal clanging. Third, I always keep a few scraps of closed-cell foam because this is the simple way to fix a rattling metal speaker grill or a loose license plate without a professional shop. I also recommend following the Floyd Toole school of acoustics, which emphasizes that speaker placement and environment matter more than the price tag of the wire.
Stop Guessing and Start Listening
Your journey into high-end audio does not have to be an expensive spiral of buying more gear. Sometimes, the best trick to making cheap bookshelf speakers sound expensive or getting your car audio system to hit hard is simply removing the distractions. Silence the rattles, check your grounds, and respect the air pressure. You have put in the work to wire it up; now take the extra hour to make it sing. Which specific part of your car or home setup is giving you the biggest rattling headache right now? Let me know in the comments below!