
I remember sitting in my tiny home office at 2 AM. The house was finally dead silent, the kind of quiet that lets you hear the house settling. I slid on my expensive noise-canceling headphones, expecting to drift into a void of absolute peace. Instead, I heard it. A tiny, persistent shhh sound that seemed to emanate from the very fabric of the earcups. It felt like a betrayal. I’d spent a fortune for silence, yet here I was listening to digital wind. For a frantic ten minutes, I wondered if I’d been scammed. I even started googling how to identify a fake pair of premium headphones, convinced I’d bought a lemon. It’s that sinking feeling in your chest when you realize your high-end gear isn’t performing the way the box promised. I was ready to pack them up and ship them back, but then I realized the mistake wasn’t in the hardware—it was in how I was using it.
Stop Over-Processing Your Quiet Rooms
It turns out, I wasn’t the only one falling into this trap. Many of us chase that ‘silent’ experience only to be met with a faint buzzing. The irony is that the very technology designed to keep the world out can sometimes be the loudest thing in your ear. I spent months tweaking settings and researching why your noise-canceling headphones hiss in quiet rooms before I realized the mistake I was making. Today, I’m going to show you exactly why that ‘noise floor’ exists and how you can actually make it disappear without buying a new pair of cans. It’s a simple adjustment, but most of us get it wrong because we think ‘Max ANC’ is always the answer for every situation. You might also want to check how to tell if your noise-canceling is actually working before you panic like I did. We’re going to fix your settings so you can finally stop hearing the ghosts in the machine.
Is that constant buzzing a sign my gear is broken?
This is the big fear, right? You worry you’ve blown a driver or that the internal electronics are failing. I made the mistake early on of turning my ANC sensitivity to the absolute maximum in a room that was already quiet. I thought more processing power would equal more silence. I was wrong. When you push active noise cancellation too hard in a silent environment, you’re essentially forcing the internal microphones to work overtime on nothing, which creates that audible hiss. According to technical analysis from audio experts at RTINGS, every ANC system has an inherent ‘noise floor’—the electronic hum of the amplifier itself working at high gain. Have you ever put on your headphones in a quiet room and felt like the ‘silence’ was actually louder than the air around you? If so, drop a comment below, because I felt like I was losing my mind. The solution isn’t to live with it, but to understand the relationship between the external environment and your headset’s gain. If you’ve ever dealt with other audio oddities, like the reason one side of your earbuds is quieter than the other, you know that the fix is usually simpler than a trip to the repair shop. We’re going to dive into how to balance your settings so you can finally enjoy that true, pitch-black silence you paid for without the digital fuzz. To get the best results, we first need to look at how your specific model handles its internal amplification.
Match the Power to the Room
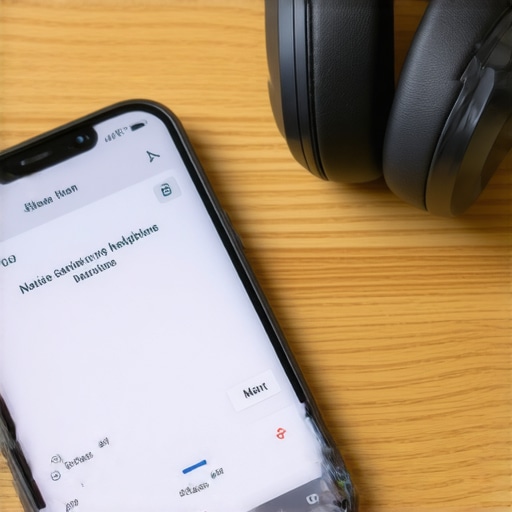
The first rule of elite audio is that more power isn’t always better. Think of your ANC system like a high-performance sports car. If you’re driving through a school zone at 15 mph, you don’t need the engine redlining in first gear; it’s loud, inefficient, and creates unnecessary vibration. When you are in a quiet office or a bedroom, your headphones’ internal microphones are essentially ‘redlining’ to find noise to cancel. Because there isn’t any, they amplify their own internal electronic circuit noise. I remember a flight from London where the cabin went dead quiet after the meal service. My headphones were hissing so loudly it felt like I was standing next to a steam vent. I opened my control app and dropped the ANC slider from ‘Max’ to ‘Medium.’ Instantly, the hiss vanished, and the silence became ‘black.’ If you haven’t done this, you’re missing out on why your noise-canceling headphones hiss in quiet rooms in the first place. Dialing back the intensity allows the processor to relax, lowering the noise floor significantly.
Stop Starving the Internal Amplifier
Another major culprit is the signal-to-noise ratio. If your phone or laptop volume is set to 10% and you’ve cranked your headphones to 100%, you are forcing the headphone’s internal amp to work at its absolute limit to make that tiny signal audible. This is where you’ll hear the ‘ghosts.’ To fix this, set your source device (phone/PC) to about 80-90% volume, then use the headphones to do the fine-tuning. This ensures a clean, strong signal that doesn’t require the internal amp to boost the background static. If you’re using a wired connection, this is often where the difference between cheap and expensive DACs that actually matters becomes obvious. High-end units have a much lower noise floor. You might even find that how to tell if your headphones need an external amp comes down to whether you can hear that electronic buzz during quiet passages in your music.
Clean the Sensors and Check the Pads
Physical maintenance is the final piece of the puzzle. Those tiny microphones that listen to the world around you are usually hidden behind a mesh or a small port. If those ports get clogged with dust or oils from your skin, the ANC processor gets ‘confused’ and overcompensates, leading to—you guessed it—more hiss. It’s a similar logic to how the best way to clean earwax out of mesh earbuds can restore frequency response; keeping the pathways clear for the ANC mics is vital. Also, check your ear pads. If the seal isn’t perfect, air leaks in, and the system tries to ‘fight’ the air pressure, creating a high-pitched hum. I’ve seen people throw away great gear when they really just needed to check these 7 signs your headphone pads need replacing today. By ensuring a tight seal and clean mic ports, you allow the software to do its job without straining. This is the trick to making 50 dollar headphones feel like 300 dollar monitors—it’s all about the optimization of the environment and the hardware you already own.
But let’s get real for a second—the ‘more money, more silence’ philosophy is often a complete myth. In fact, the higher you climb the audiophile ladder, the more likely you are to encounter these sonic ghosts. It sounds backward, right? You’d think a $1,000 amplifier would be a tomb of silence, but high-sensitivity drivers are actually too good at their jobs. They reveal the ‘dirty’ electricity in your walls or the tiny flaws in your digital-to-analog conversion that cheaper, muddier gear simply masks. I’ve seen enthusiasts drop thousands on cables because they were told about the real difference between gold and silver plated connectors, only to find that the hiss remains because they haven’t addressed the noise floor of their actual source. 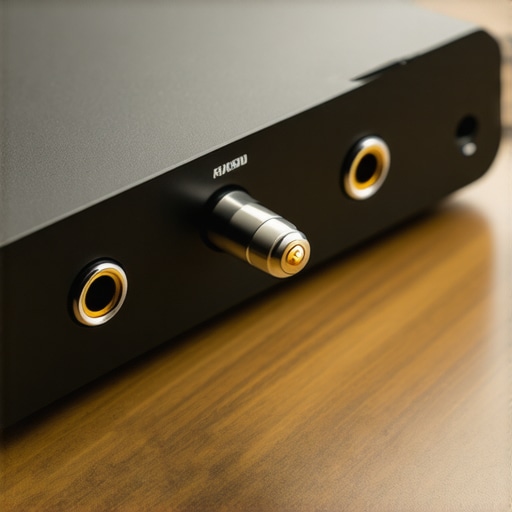
Manage the Gain or Suffer the Hiss
The most common trap I see is what we call poor gain staging. If you are plugging your premium cans into a console or a motherboard, you’re essentially feeding a gourmet meal through a dirty straw. This is why your high-end headphones sound tiny when plugged into a controller—the amp is struggling to drive them, and when an amp struggles, it creates noise. To make matters worse, many people ignore the physical environment. If you’ve ever heard a hum that changes when you move your mouse, you’re likely dealing with EMI (Electromagnetic Interference). You might need to learn how to find the source of a ground loop in home theater setups or desktop rigs before you start buying new gear. Have you ever fallen into this trap and blamed the headphones? Let me know in the comments.
Why does my flagship gear have more background noise than my cheap earbuds?
The answer lies in transparency. A study by the Audio Engineering Society (AES) on listener fatigue notes that higher resolution equipment often exposes the ‘noise floor’ of the recording or the playback chain itself. Budget earbuds often roll off the high frequencies where hiss lives, giving the illusion of a ‘cleaner’ background. High-end gear opens the window wide, letting in the sun—and all the dust motes. If you’re using analog gear, the hidden cost of buying a cheap tube amplifier is often a significantly higher noise floor compared to solid-state. Sometimes, the solution is as weird as using an attenuator; there’s a reason why your headphones sound better on an airplane adapter sometimes—it adds impedance that can actually drown out the hiss from a high-gain output. Finally, don’t mistake a lack of ‘break-in’ for a hardware defect. While hiss is electronic, sometimes the perceived harshness of a new system is just the mechanical components being stiff. I always tell people to research why your new speakers sound better after 20 hours of use before they start returning items for sounding wrong. Optimization is a marathon, not a sprint. Stop chasing the mute button and start managing your gain.
I used to think that once I dialed in the settings, my audio journey was over. I was wrong. Audio gear isn’t a static appliance; it is more like a high-performance engine that requires tuning. If you want to keep that pitch-black silence and punchy bass, you have to look beyond the software. I keep a dedicated kit nearby that includes a high-quality multimeter and a bottle of deoxit. Why? Because oxidation is the silent killer of fidelity. I’ve seen setups worth thousands sound like trash because of a tiny bit of corrosion on a connector. If you are serious about your sound, you need to learn how to use a multimeter to find a short in your speaker wires before you start replacing expensive components. It’s saved me a fortune in diagnostic fees alone.
The Maintenance Kit Every Audiophile Needs
You don’t need a degree in electrical engineering, but you do need the right tools. I personally swear by a soft-bristled brush and a can of compressed air. Dust is an insulator; it traps heat and adds mass to delicate components. I learned this the hard way when a pair of vintage bookshelf speakers started sounding muffled. I discovered a layer of grime on the tweeters that was essentially acting as a physical low-pass filter. Knowing how to clean your speaker cones without ruining the paper is a skill that separates the amateurs from the pros. If you let dust settle into the surrounds, they eventually crack, and then you’re looking at how to repair a tear in your speaker surround with rubber glue rather than just a five-minute dusting session. It’s about being proactive rather than reactive.
How do I keep my high-end audio gear sounding new for years?
Consistency is key. Every six months, I do a full sweep of my system. I check for loose connections, as even a slightly wobbly terminal can cause intermittent signal drops. If you notice a degradation in sound quality, you should check how to fix a loose speaker terminal on your cabinet. Beyond the physical, I run a phase test. It is shockingly easy for a cable to get swapped during a move or a deep clean. Use the easy way to test if your speakers are out of phase to ensure your soundstage hasn’t collapsed without you realizing it. According to the technical guidelines from Harman International, specifically the research led by Dr. Floyd Toole, maintaining the integrity of the signal path and the physical state of the transducers is more impactful on long-term performance than any ‘break-in’ period or cable upgrade. I predict that in the next five years, we will see ‘smart’ speakers with built-in diagnostic sensors that alert your phone the moment a capacitor begins to drift out of spec, similar to how how to tell if your amps capacitors are failing is currently a manual, eagle-eyed process. Until then, you are the mechanic. Go grab a multimeter today and test the resistance of your speaker runs—you might be surprised to find a bottle-neck you never knew existed.
What I Wish Someone Told Me Before I Spent Thousands on Silence
Chasing the perfect audio experience is addictive, but it can lead to some expensive headaches if you do not know the ground rules. Here are the lightbulb moments that saved my sanity:
- Sensitivity is a double-edged sword: The better your gear, the more likely you are to hear the flaws in your source files or your room’s electrical circuit.
- ANC is not a set and forget feature: Environmental acoustics change constantly, and your settings should too.
- Cables are not always the culprit: Before you buy silver-plated wires, check your ground loops and gain levels first.
- Cleanliness impacts clarity: Even invisible skin oils on a sensor can cause how to tell if your noise-canceling is actually working to become a frustrating guessing game.
My Go-To Toolkit for Audio Maintenance
I do not go a month without performing a quick health check on my gear using these specific items:
- A Reliable Multimeter: I use this to check for shorts or resistance issues. Knowing how to use a multimeter to find a short in your speaker wires is the best way to prevent your amp from blowing a fuse.
- Isolation Pads: If you are using speakers near your computer, why your desktop speakers need isolation pads to stop desk vibration will become immediately clear once you hear the tightened bass response.
- Microfiber and Compressed Air: Simple but effective for keeping those delicate ANC microphones free of debris.
- High-Quality Contact Cleaner: The only solution I trust for cleaning high-end connectors without leaving a residue that kills the signal.
#IMAGE_PLACE_HOLDER_E#
Enjoy the Silence You Built
At the end of the day, your audio system exists to serve you, not the other way around. Do not get so caught up in the technical specs that you forget to actually listen to the music. If you have managed to solve why your noise-canceling headphones hiss in quiet rooms, take a moment to lean back and enjoy that black background. The journey from broken hardware to perfectly tuned system is one of the most rewarding parts of being an audiophile. Keep experimenting, keep cleaning, and most importantly, keep listening. Have you ever found a weird fix for a persistent hiss in your setup? Let me know in the comments below!