
I will never forget the night I sat down with a giant bowl of popcorn to watch a blockbuster, expecting to be transported into the cockpit of a fighter jet, only to feel like I was listening to the movie through a slightly oversized kitchen radio. I had the five speakers. I had the massive subwoofer. I had the tangled mess of wires behind the cabinet. But instead of a lush, 360-degree soundscape, everything—the explosions, the dialogue, the score—felt like it was being squeezed through a single point right in front of me. It was frustrating, and frankly, it felt like a total waste of a Saturday afternoon. If you have ever felt like your expensive setup is just playing “loud mono” instead of true immersive audio, trust me, I have been in that exact seat, staring at a remote control like it was an alien artifact.
Stop Letting Your Receiver Lie to Your Ears
The truth is, modern home theater gear is incredibly smart, but it is also incredibly easy to trip up. We are going to look at why your system is collapsing that beautiful wide soundstage into a boring, narrow mess. Whether it is a settings mismatch, a “phantom” center channel issue, or just poor placement, we are going to find the culprit today. I remember early on spending three days troubleshooting a “flat” sound only to realize I had accidentally enabled a “Night Mode” that crushed the dynamic range into a thin pancake. Sometimes the issue is as simple as finding the sweet spot for your speakers in a rectangular room, which can make a world of difference in how those side channels actually reach your ears. If you feel like the voices are separated from the action, you might also be dealing with why your soundbar is delaying the audio behind the actors lips, which ruins the illusion of space entirely.
Does True Surround Sound Actually Make a Difference?
You might be wondering if your room is just “bad” or if the whole 5.1 or 7.1 dream is just hype. It is not. According to research from the Audio Engineering Society, spatial cues and discrete channel separation are vital for emotional immersion in film, meaning if you are not hearing those specific rear effects, you are literally missing the director’s intent. If you are struggling with a setup in a difficult space, you might need the secret to mounting surround speakers in a room with no back wall to finally get that directional audio to pop. Often, why your soundbar sounds tiny in a vaulted ceiling room comes down to the way sound bounces—or fails to bounce—off your surfaces. Have you ever sat through a whole movie only to realize your rear speakers were not even on? It is a humbling moment, but do not sweat it. Before you start ripping wires out of the wall, let us look at the most common “hidden” settings that turn a cinema experience into a mono disaster.
Force Your Receiver to Stop Downmixing
The most common reason your five-figure setup sounds like a 1940s radio is a mismatch between what your TV sends and what your receiver thinks it is getting. Think of your HDMI cable as a high-speed highway; if your TV is only sending two ‘lanes’ of audio, your receiver has to guess where the other cars should go. This is called upmixing, and it is rarely as good as the real deal. You need to ensure your source device—be it a Roku, PlayStation, or Blu-ray player—is set to ‘Bitstream’ rather than ‘PCM’ if you want the receiver to do the heavy lifting. I once spent an hour wondering why a Marvel movie sounded like a podcast, only to find my player was defaulting to stereo output. If you are using a mobile device as a source, you might notice why your expensive headphones sound thin on a basic smartphone for similar power-delivery reasons. 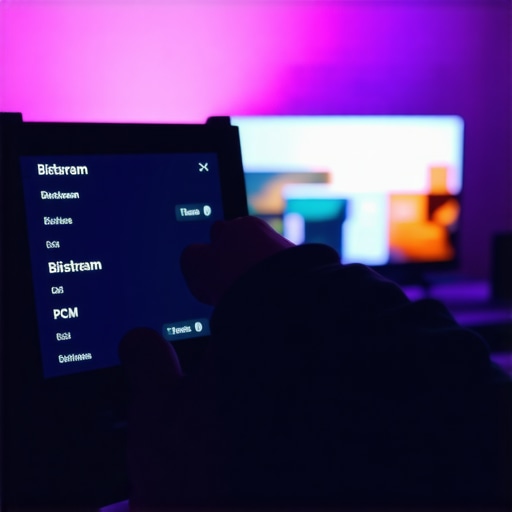
Turn Off Every Single ‘Enhancement’ Setting
Manufacturers love to bury ‘Auto-Volume’ or ‘Night Mode’ deep in the menus. These are the enemies of cinema. They act like a heavy blanket thrown over your speakers, squashing the loud peaks and boosting the quiet whispers until everything sounds exactly the same. It kills the ‘breath’ of the room. This reminds me of when I was helping a buddy with his truck audio and we had to learn how to properly ground a car amplifier to eliminate engine hum because even a tiny bit of electrical noise can mask the subtle details of a soundstage. In a home setting, those ‘dynamic compression’ settings do the same thing digitally—they hide the details you paid for.
Fix the Acoustic Ghosting in Your Room
If your settings are perfect but the sound still feels ‘stuck’ to the speakers, your room is likely fighting you. Hardwood floors and bare walls reflect sound waves like a hall of mirrors, creating an echo that confuses your brain’s ability to track movement. You can learn how to fix the annoying echo in your minimalist home theater by strategically placing rugs or acoustic panels. I remember setting up a system in a glass-walled condo once; it was a disaster. The center channel was bouncing off the side wall so fast it sounded like two people were talking. I ended up having to use the ‘Distance’ calibration in the receiver to delay the signal by just a few milliseconds. It felt like the sound finally ‘clicked’ into place, much like how to get better stereo separation in a very narrow room by pulling speakers away from the corners.
The Secret of Small vs Large Speaker Settings
Almost every receiver asks if your speakers are ‘Small’ or ‘Large.’ Here is the pro tip: even if your speakers are three feet tall, tell the receiver they are ‘Small.’ This forces the receiver to send the heavy, power-hungry bass frequencies to your subwoofer. Subwoofers are specialized tools for low-end, and by offloading that work, your main speakers can focus on the mid-range and treble clarity. When I first started, I insisted my tower speakers were ‘Large’ because I was proud of them, but the sound was muddy and strained. Switching them to ‘Small’ with an 80Hz crossover made the whole stage open up instantly. It is the same logic as why your bookshelf speakers need more power than you think—they perform better when they aren’t struggling to do everything at once.Following that ‘Small’ speaker logic leads us into a deeper technical rabbit hole: the obsession with wattage ratings. Everyone tells you that more power is the absolute key to better sound, but in my experience, that is a half-truth designed to sell heavy boxes. Most consumers fall for the ‘peak power’ trap, not realizing that the difference between peak and RMS power explained simply reveals that those 1000-watt stickers are often just marketing fiction. Real expertise means looking for high-current delivery and headroom. I have seen 40-watt high-end integrated amplifiers drive massive tower speakers with more authority and ‘slam’ than a cheap ‘2000-watt’ receiver because the premium amp has the power reserves to handle the dynamic swings of a film score without choking.
Why Does Your High-End Gear Sound Flat at Low Volumes?
If you have ever noticed that your system only sounds ‘alive’ when it is loud enough to annoy the neighbors, you are dealing with the Fletcher-Munson curves. Our human ears are naturally less sensitive to bass and treble at lower decibel levels. This is why how to tell if your amplifier has enough headroom for your speakers is so vital; you need a system that can maintain its tonal balance even when you aren’t waking the kids. However, do not assume a lack of bass is always the amp’s fault. Often, it is a room ‘null.’ Using how to use your phone to measure your rooms frequency response can show you exactly where sound waves are canceling each other out. 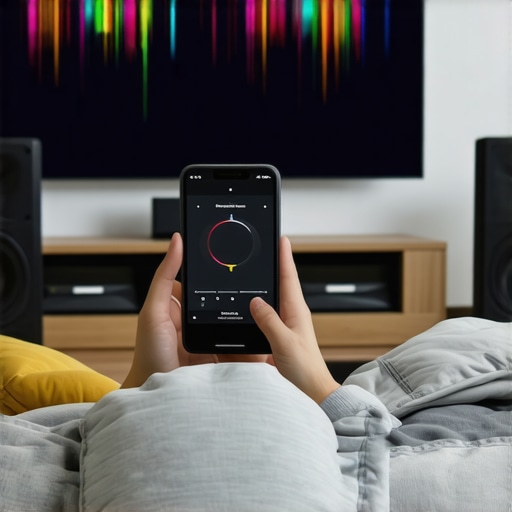 According to the seminal research of Dr. Floyd Toole in Sound Reproduction, the interaction between a speaker’s off-axis radiation and your room’s surfaces accounts for nearly 30% of your total listening experience. If you are sitting in a ‘bass suck-out’ zone, no amount of expensive cabling will fix it.
Stop Ignoring the Mechanical Failures of High-End Gear
One of the most common ‘oops’ factors I see with advanced enthusiasts involves the physical seal of their equipment. For headphone users, why your headphones sound thin when you wear glasses is a perfect example of a mechanical failure ruining an electronic investment. That tiny gap in the cushion breaks the acoustic seal, causing a massive drop in sub-bass pressure. In home setups, the aging of components is the hidden enemy. Knowing how to tell if your speakers capacitor is starting to fail can save your tweeters. A drifting capacitor shifts the crossover point, forcing your delicate high-frequency drivers to handle midrange frequencies they weren’t built for, leading to distortion and eventually, a total blowout. Have you ever fallen into this trap where a tiny physical detail or an aging internal part ruined your ‘perfect’ sound? Let me know in the comments.Maintaining high-end audio isn’t just about avoiding spills; it is about proactive care for the parts that actually move and conduct signal. For instance, I always keep a can of specialized cleaner handy because knowing how to fix a scratchy volume dial with electrical contact cleaner is often the difference between a ‘broken’ amp and a vintage masterpiece. It isn’t just the dials, though. If you have older gear, you need to learn how to clean sticky speaker surrounds without damaging the rubber before that tackiness turns into a permanent tear. As John Atkinson of Stereophile has noted in his decades of technical measurements, mechanical degradation in speaker surrounds and crossovers is the leading cause of shifting frequency response over time. You might also notice why your headphone pads are flaking and how to prevent it, which is usually a humidity issue that ruins your seal—and your sound.
How Can I Keep My High End Audio System Working Like New Over Time?
Consistency is everything. Every six months, I check my connections for oxidation. If you see that greenish tint, you need to know how to clean green oxidization off your copper speaker terminals to restore conductivity. Also, look at your physical environment. I’ve seen many setups fail because of simple physics. For example, the reason your speaker stands need to be filled with sand isn’t just for weight; it is to kill internal resonances that color the sound. If you are running wires through walls or across the yard, make sure you know how to choose the right gauge of wire for long outdoor speaker runs to prevent signal loss. When you are ready to scale up your power, you might consider how to properly bridge a car amplifier for more power, a technique that applies to many high-end home monoblocks as well. However, scaling sometimes introduces wireless headaches. I once spent a whole afternoon figuring out how to fix a wireless subwoofer that keeps losing its pairing because of 2.4GHz interference from my own router. In the future, I expect we will see more ‘smart’ amplifiers that monitor their own capacitor health and alert you via an app, but until then, your ears and a screwdriver are your best tools. Even aesthetics matter—you can learn how to restore a sun-faded speaker grille to look new again to keep the system looking as sharp as it sounds. My challenge to you: Go to your receiver tonight, unplug your speaker wires, check the tips for any gray or green gunk, and give them a quick clean. You’ll be surprised at the clarity that returns. 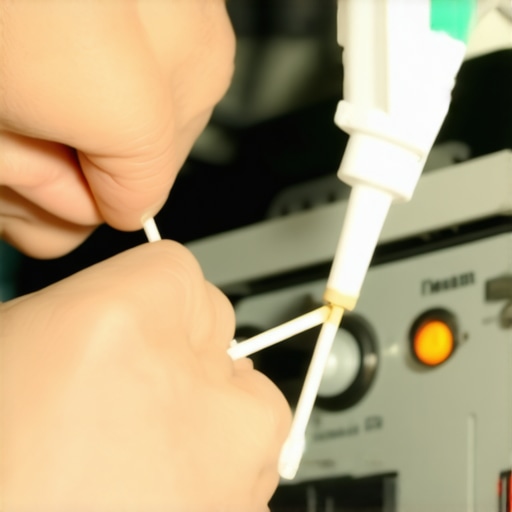
Lessons I Had to Learn the Hard Way About My Setup
After years of tinkering, I realized that audio is rarely a “set it and forget it” hobby. One major revelation was that even the most expensive gear cannot fix a bad room; the physics of sound waves will always win over a price tag. I also learned that you should always spot a blown tweeter before it ruins your crossover because a single failing component can muddy the entire soundstage without you even realizing it. Another lightbulb moment occurred when I stopped obsessing over digital specs and started looking for physical air leaks in my enclosures. Performing the simple paper test for finding air leaks in your speaker cabinet can often reveal why your bass feels flabby rather than punchy and precise.
The Small Toolkit That Keeps My Home Theater Singing
To keep my system in peak condition, I rely on a few specific resources that go beyond the user manual. First, a high-quality electrical contact cleaner is indispensable; knowing how to fix a scratchy volume dial saved me from replacing a beloved vintage receiver years ago. For technical deep dives, I swear by the research of Dr. Floyd Toole; his insights into psychoacoustics completely changed how I position my gear. For those of you who prefer personal listening, remember that comfort directly affects your perception of sound; if you understand why your headphones feel heavy on your head and fix the fit, the audio actually seems to improve because your brain is no longer distracted by physical discomfort.
Rediscover the Joy of Truly Immersive Audio
At the end of the day, we do not buy these systems just to look at blinking lights; we buy them to feel the rumble of a rocket launch and the intimacy of a whispered secret. Taking the time to dial in your home audio deals and fine-tune your internal settings is what separates a merely loud room from a true cinematic masterpiece. Do not be afraid to experiment with your crossover points or move your subwoofer just a few inches to the left. The reward for your patience is a soundscape that wraps around you and makes the rest of the world disappear. Have you ever discovered a hidden setting on your receiver that completely changed how your speakers sounded? Let me know in the comments below!