
I remember the first time I noticed it. I was twenty-two, sitting in a cramped apartment with a hand-me-down Marantz that smelled faintly of old cigars and ozone. I put on ‘Rumours,’ turned the volume knob to three o’clock, and watched. Every time Mick Fleetwood hit that kick drum, the beautiful blue dial lights dipped. It looked cool, like the amp was breathing. I thought it was a feature, not a bug. I was wrong. I was witnessing a classic case of voltage sag, and if I hadn’t looked into it, that receiver would’ve been a very expensive, very heavy paperweight. Today, I am going to help you figure out if your gear is just showing its age or if it’s screaming for help before something goes ‘pop.’
The Real Reason Your Display Dips During Every Bass Drop
Vintage gear is a labor of love. We put up with the quirks because nothing modern sounds quite like a 1970s solid-state powerhouse. But those flickering lights? That’s usually the result of a power supply that can’t keep up with the demand. When your music hits a loud, low-frequency peak, the amplifier sections pull a massive amount of current from the transformer. If your capacitors are tired, the voltage on the rail drops, and because your dial lights are often on that same circuit, they dim. It’s a common sight, but it’s often a precursor to something more serious, like why your vintage amp gets hot even when you aren’t playing music. I made the mistake of thinking my gear was just ‘characterful’ until I had to learn how to fix a receiver that won’t turn on after a power surge because I’d stressed the internal components too far by ignoring the warning signs. You might also notice why your vintage speakers are losing their punch over time as a side effect of this inconsistent power delivery. According to research from the Engineering and Physical Sciences Research Council (EPSRC), electrolytic capacitors have a finite lifespan, often drying out after 20 to 30 years, which directly impacts their ability to smooth out these power ripples.
Is a little flickering really worth worrying about?
You might be tempted to leave it alone because it looks ‘retro.’ I get it. But flickering is rarely just aesthetic. It’s a symptom of internal resistance. If your lights are dimming, your amplifier is likely clipping during those peaks, which sends a distorted signal to your speakers. This is exactly how to spot a blown tweeter before it ruins your crossover—prevention starts with a healthy power supply. We aren’t just talking about bulbs here; we are talking about the heart of your audio system. Have you noticed your receiver’s lights pulsing along to the beat lately, or is your gear still shining steady?
Clean the Grime Off Your Signal Path
If those lights are pulsing, your first move isn’t to buy a new amp. It’s to check the health of the one you have, starting with the simplest culprit: oxidation. Over decades, dust and moisture create a microscopic layer of ‘crust’ on your internal controls. This resistance forces the power supply to work harder just to push a signal through. I once ‘fixed’ an old Pioneer by drowning the volume pot in cheap WD-40—the non-electronic kind. It worked for ten minutes before it started smoking and smelled like a literal grease fire. I had to learn the hard way that the right chemicals matter. Grab a can of DeoxIT D5 and learn how to fix a scratchy volume dial with electrical contact cleaner properly. This isn’t just about smooth turning; it’s about reducing the electrical load on the circuit. If you’re using a soundboard or a more complex setup, you’ll also want to know how to fix a scratchy volume fader on a professional mixer to ensure your gain stages aren’t fighting internal resistance that saps your voltage rail.
Spot the Leaking Power Reservoirs
If cleaning the pots doesn’t stop the flickering, you need to look at the ‘water towers’ of your amp: the electrolytic capacitors. These components store energy and release it during those big bass hits. When they age, they leak—sometimes literally, sometimes just electrically. Open the chassis and look for any cylinders that have a bulging top or a crusty residue at the base. Even if they look fine, you should know how to tell if your speakers capacitor is starting to fail because the symptoms in your crossovers often mirror the issues in your power supply. Think of a failing capacitor like a leaky bucket; no matter how much water (current) the transformer pours in, the bucket can’t stay full enough to handle the next big splash. 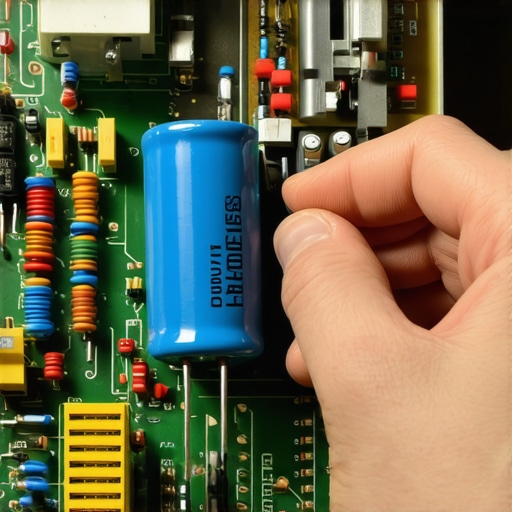
Give Your Amp Some Real Breathing Room
Sometimes the flickering isn’t an internal failure but an external mismatch. If you are pushing 4-ohm speakers with an amp rated only for 8 ohms, you are essentially asking a marathon runner to sprint with a backpack full of bricks. The voltage sag becomes a desperate cry for help. You need to verify how to tell if your amplifier has enough headroom for your speakers before you blow a fuse. I’ve seen enthusiasts wonder why your bookshelf speakers need more power than you think, only to realize their small speakers are actually quite inefficient, pulling massive current and causing the whole receiver to dim.
Stop the Protection Mode Cycle
When voltage sag becomes too extreme, your gear will click off entirely. This is why why your receivers protection mode keeps triggering at high volume. It’s a safety net, but hitting it repeatedly is like redlining a car engine. Check your grounding points next. A loose ground creates a floating reference that makes the power supply unstable. While common in cars, learning how to properly ground a car amplifier to eliminate engine hum provides a great foundational lesson in how a solid ground prevents voltage fluctuations across any audio system. Ensure your power cord is seated tightly and that you aren’t daisy-chaining your vintage gear through five different cheap power strips.Most enthusiasts chase high wattage like it’s the holy grail of audio, but here is the contrarian truth: a 30-watt amp with a massive transformer will outperform a 100-watt ‘plastic’ receiver every single time. People often assume that ‘more power’ equals better sound, yet they ignore the quality of that power. This is where the difference between peak and rms power explained simply becomes vital. If your amp’s lights are dimming, it’s not just about the volume; it’s about the current delivery. I’ve seen people buy ‘high-end’ gear only to be disappointed because they didn’t understand how to tell if your amplifier has enough headroom for your speakers. It is a common trap to mistake raw volume for high-fidelity performance.
Why does your high-end gear sound thin on a smartphone?
It’s the most common ‘oops’ moment in modern audio. You take a pair of 300-ohm Sennheisers or old-school planar magnetics and plug them into a headphone jack designed for five-dollar earbuds. You’ll find why your expensive headphones sound thin on a basic smartphone is usually an impedance mismatch that starves the drivers of the voltage they need to move properly. It is the same reason why your headphone volume is limited on your smartphone; the internal DAC/Amp just doesn’t have the rails to push them. To fix this, you should look into how to use a dac to improve your desktop computers audio and give those drivers the swing they deserve. 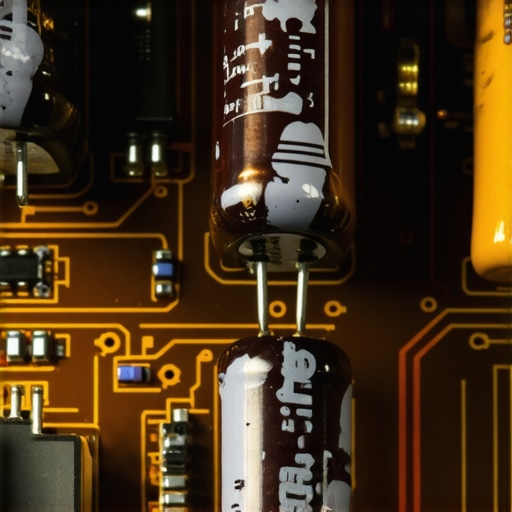
The damping factor myth and your speaker control
One nuance even seasoned audiophiles miss is the damping factor. This is the amplifier’s ability to control the speaker’s cone after the signal stops. A study published by the Audio Engineering Society (AES) suggests that once the Equivalent Series Resistance (ESR) in your capacitors rises due to age, your damping factor plummets. This is why your vintage speakers are losing their punch over time even if the woofers look perfect. The amp simply loses its ‘grip’ on the speaker. If you notice your bass sounding ‘sloppy’ or ‘muddy,’ don’t immediately blame the room acoustics or wonder why your speakers bass port should never be pushed against a wall. Instead, check how to tell if your speakers capacitor is starting to fail or if the amp itself needs a recap.
Stop overpaying for ‘specialty’ speaker wire
Here is a specific warning: don’t fall for the ‘oxygen-free copper’ marketing that costs fifty dollars a foot. While you do need to know how to choose the right gauge of wire for long outdoor speaker runs to prevent signal loss over distance, for a standard living room setup, basic high-quality copper is indistinguishable to the human ear. The ‘trap’ is spending your budget on cables instead of room treatment. Have you ever fallen into this trap of buying expensive ‘snake oil’ accessories only to find they didn’t change a thing? Let me know in the comments. If you’re still hearing issues, it might be something as simple as how to clean green oxidization off your copper speaker terminals to restore that lost conductivity.I own a Hakko FX-888D soldering station because I finally realized that a cheap ‘fire stick’ iron from the hardware store does more damage than good. When you are working on a forty-year-old circuit board, you need precision heat control to avoid lifting those fragile copper traces. If you are seeing signs that your equipment is struggling, like how to fix a car amplifier that keeps shutting off in summer, it is usually a thermal management issue that requires a steady hand and the right tools to solve. Beyond the iron, a decent digital multimeter is non-negotiable. I use a Fluke 115 to check for DC offset at the speaker terminals; if you see more than 50mV, your amp is slowly ‘cooking’ your speaker voice coils.
Stop the Physical Decay Before It Starts
Maintaining the cosmetics is just as vital as the electronics. I have seen beautiful setups ruined by neglect. If you have noticed why your headphone pads are flaking and how to prevent it, you know that skin oils are the enemy of longevity. A simple wipe-down with a microfiber cloth after every session can double the life of your leather or protein-leather pads. For speaker owners, the rubber or foam surrounds are the ticking time bomb. Knowing how to clean sticky speaker surrounds without damaging the rubber can prevent them from cracking and losing their seal. 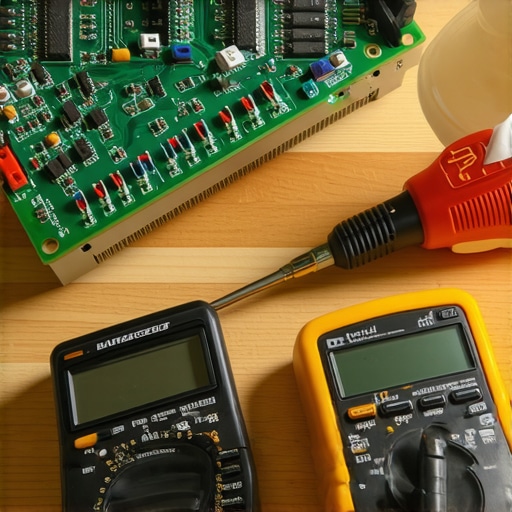
How do I maintain my high-end audio gear over time?
The secret is a combination of clean power and temperature control. High-end equipment hates heat and ‘dirty’ electricity. According to Bob Cordell, author of ‘Designing Audio Power Amplifiers,’ maintaining bias thermal tracking is the most overlooked part of long-term amplifier health. If the internal bias drifts, the amp runs hotter and less efficiently. For portable gear, the rules change slightly. You might wonder why your portable speaker is losing its charge faster than usual; this is often due to leaving it in a hot car or using the wrong power brick. It is essential to avoid extreme temperatures to keep those lithium-ion cells healthy.
The Future of Audio Sustainability
I predict we are moving away from the ‘disposable’ era of Bluetooth plastic and back toward modularity. As people realize that a good pair of wired speakers can last forty years while a smart speaker dies in five, the demand for repairable tech is surging. We are already seeing ‘vintage-modern’ hybrids where you can how to use an old phone as a dedicated high-res music player to give life to a classic analog rig. This bridge between old-school reliability and modern convenience is where the best value lies today.
Take the Next Step Toward Perfect Sound
If you really want to level up your system, stop guessing about your room acoustics. My advanced tip for the week: don’t just move your speakers by ear. Use technology to your advantage and learn how to use your phone to measure your rooms frequency response. It will show you exactly where your bass is disappearing or where your highs are reflecting too harshly. Once you have the data, you can stop throwing money at hardware and start fixing the environment it lives in.
Hard Truths I Learned While Burning My Fingers on Old Circuits
After years of tinkering with vintage gear, I realized that flickering lights are just the tip of the iceberg. Here is what I wish someone had told me before I started my first restoration project.
- Recapping is not a magic fix: While capacitors are usually the culprit for voltage sag, simply swapping them without testing the diodes and resistors in the power supply is like putting new tires on a car with a blown head gasket.
- Bias is the most overlooked setting: You can replace every part in the box, but if you do not calibrate the internal DC bias, your amp will still run dangerously hot and sound thin during peaks.
- Vintage gear has a unique threshold: Sometimes the reason your expensive receiver makes a clicking sound when it starts is actually a protective relay doing its job, whereas older gear would have simply let the components melt.
- Mechanical health affects electrical draw: If your source gear is struggling, like why your record player speeds up and slows down randomly, it can cause unpredictable behavior in the rest of your signal chain.
The Tools That Save My Gear From the Scrap Heap
You do not need a professional laboratory, but you do need a few essentials to keep your home audio deals from becoming heavy paperweights. I personally rely on a can of DeoxIT D5 for everything; it is the gold standard when you need to know how to fix a scratchy volume dial with electrical contact cleaner without melting the plastic internals. Second, a reliable digital multimeter is mandatory for checking DC offset at the speaker terminals. I also trust the AudioKarma forums—it is the most comprehensive database of service manuals and community knowledge for vintage enthusiasts. Finally, pay attention to your room; I’ve seen people blame their gear for poor sound when they actually need to address why your floorstanding speakers sound unbalanced in an l-shaped room through proper placement rather than internal repairs.
Why Your Journey Into Analog Is Worth the Effort
Restoring a piece of audio history is about more than just electronics; it is about preserving a specific sonic character that modern mass-market equipment often lacks. Whether you are hunting for hidden home audio deals or nursing a forty-year-old receiver back to health, the reward is that moment when the lights stay steady, the needle drops, and the room fills with warm, effortless sound. Don’t be afraid to open the case—just be sure to discharge those capacitors first and take photos of every wire you move. Have you ever seen your receiver’s lights dip during a heavy bass track, or have you already performed a ‘recap’ on your favorite piece of gear? Let me know in the comments below.