
I’ll never forget the first time I brought home a high-end portable speaker. I spent a week’s paycheck on it, plopped it down on my kitchen island—which was cold, hard granite—and felt like I’d been robbed. It sounded thin, sharp, and frankly, annoying. I thought the unit was defective. I actually started searching for how to tell if your speaker is actually blown or just rattling because the vibration against the stone was just awful. Then, I moved it to my old oak coffee table while I went to grab my charger, and my jaw hit the floor. The sound suddenly had shoulders. It was warm, punchy, and filled the room in a way the granite never allowed. I’ve spent years tinkering with audio, and early on, I made the mistake of thinking I needed expensive isolation pads for every single device I owned. I thought if it wasn’t floating on air, it wasn’t audiophile quality. I was wrong. Sometimes, the best thing you can do is let the music vibrate the furniture. Today, I want to show you exactly why that wooden surface is doing more for your music than any EQ setting on your phone. Have you ever noticed your music sounding totally different just by moving the speaker three feet to the left? Let me know in the comments.
Your Table Is Secretly a Subwoofer
When you place a speaker on a surface, you aren’t just placing an object; you’re creating a mechanical connection. This is why your bluetooth speaker sounds flat in wide open spaces—it has nothing to grip onto. Wood is a unique material because it is orthotropic, meaning it has different properties in different directions, which helps it dissipate certain harsh frequencies while resonating with lower ones. It’s a similar logic to why your speakers bass port should never be pushed against a wall, as the interaction with the boundary changes the sound entirely.
Is a piece of wood really better than a high-tech stand?
Many people fear that putting a speaker directly on a table will cause muddy sound or unwanted rattling. While it’s true that a poorly built table can vibrate in a bad way, a solid wooden surface acts as a sounding board. According to a study by the Audio Engineering Society (AES), the boundary effect and mechanical coupling can boost bass response by several decibels simply by increasing the effective surface area of the radiator. You’re effectively turning four square inches of speaker base into four square feet of resonant wood. If things do sound a bit off, you might want to learn how to use your phone to measure your rooms frequency response to see exactly where those peaks are happening.
Maximize Low-End Response with Surface Coupling
Think of your speaker and your table as a single, unified instrument. A violin isn’t just a set of strings; it is the wooden body that allows those vibrations to reach your ears. When you place a speaker on a heavy wooden desk, that surface becomes the resonance chamber. To get this right, you have to move away from the idea of ‘isolating’ the speaker and start ‘coupling’ it. Coupling means creating a solid, physical link between the speaker cabinet and the surface it sits on. This allows the mechanical energy from the woofer to travel through the base and turn the entire table into a radiator for low frequencies. If you’ve ever wondered the trick to making cheap bookshelf speakers sound expensive, this is it. It’s about using physics to expand the physical size of your sound source. When done correctly, the bass won’t just hit your ears—you’ll feel it in your chest because the furniture is literally moving air alongside the speaker driver.
Find the Right Surface to Support the Sound
Not all wood is created equal. I learned this the hard way when I set up a pair of monitors on a hollow-core IKEA desk. The desk was basically two thin sheets of veneer with cardboard honeycomb inside. The moment the bass kicked in, the whole thing hummed like a disturbed beehive. It was muddy, distracting, and completely ruined the soundstage. I spent an hour trying to figure out if I had a bad cable before I realized the desk was the problem. I ended up grabbing a thick butcher block cutting board from the kitchen and sliding it under the speaker. The difference was immediate. The hollow ‘honking’ sound vanished, replaced by a tight, punchy kick. 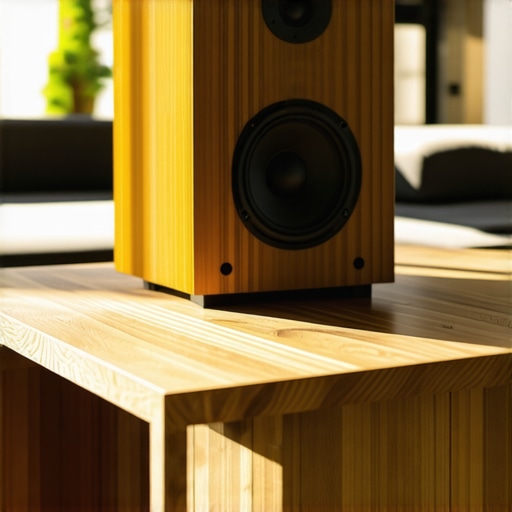 If you are working with light furniture, you need to add mass. Solid oak, maple, or even high-density MDF will provide the stability needed for the speaker to push against. If your surface is too light, the speaker spends more energy moving itself back and forth than it does moving the air. This is a common reason why your laptop speakers sound tinny; there is no mass to support the lower frequencies.
Kill the Rattles Without Losing the Vibe
Once you have a solid surface, the next step is managing the unwanted noise. High-volume playback can turn every loose screw or nearby picture frame into a buzzing nuisance. Before you assume you need a repair, you should check how to tell if your speaker is actually blown or just rattling. Often, a tiny piece of ‘Blue-Tack’ or a small rubber shim under the corner of the speaker is enough to stop the vibration without disconnecting the speaker from the wood. This maintains the bass boost while cleaning up the ‘fuzz’ in the midrange. While you’re at it, check your positioning relative to the walls. Just as your subwoofer sounds better in the corner of the room, your tabletop speakers will gain significant low-end authority if they are placed near the back edge of the table, using the wall as a natural amplifier for the sound waves. If the sound starts to feel ‘slow’ or out of sync, take 30 seconds to run a quick phase check. Knowing how to tell if your speakers are out of phase in 30 seconds can save you hours of frustration when you’re trying to dial in that perfect, room-filling sound.Let’s dig deeper into the audiophile myths that often drain your wallet without actually improving your sound. A common belief is that you must decouple every component from its environment to achieve sonic purity. While isolation feet have their place, over-isolating a high-mass speaker can actually rob it of the mechanical stability it needs to punch. If you’ve ever noticed that your system feels polite rather than powerful, you might be over-dampening the energy. This obsession with isolation is a cousin to the endless debate around the truth about speaker break-in periods; we often focus on the gear’s physical state while ignoring the physics of the room it sits in.
Why does the same setup sound incredible in a shop but mediocre at home?
It’s almost never the DAC or the cables that fail you; it’s the acoustics. Most people think they need a new amplifier when they actually need a thicker carpet. Dr. Floyd Toole, a former president of the Audio Engineering Society and author of Sound Reproduction, has extensively documented that the loudspeaker-room interface is the single most dominant factor in perceived sound quality. If your listening space has too many hard surfaces, the reflections smear the stereo image and create artificial peaks. Before you look for a hardware upgrade, why you should use a rug to fix a bright sounding room is the first lesson in professional-level room treatment. 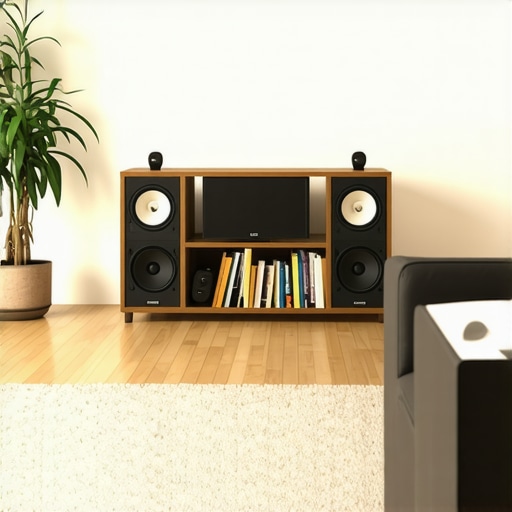 Now, let’s address the oops factor that ruins perfectly good gear: aggressive maintenance. I once watched a friend try to dust his vintage setup and cause more damage in ten seconds than ten years of use ever did. Specifically, knowing why you should never use compressed air to clean a silk dome tweeter is vital; the localized pressure can easily deform the delicate dome or misalign the voice coil. If you are working with older equipment, the threats are usually hidden inside the cabinet. Learning how to tell if your speaker capacitors are starting to leak can save your crossovers before they fail entirely and take your drivers with them. Finally, don’t fall for the trap of chasing raw wattage without understanding impedance. People see a 4-ohm rating and assume they just need a bigger number on the box. In reality, the secret to choosing the right ohm rating for your amp is about current stability. An underpowered amp trying to drive a low-impedance load will clip, sending a squared-off signal that can fry a tweeter faster than a high-powered amp ever would. Have you ever fallen into this trap of over-isolating your gear or ignoring the room acoustics? Let me know in the comments.Maintenance isn’t just about dusting; it’s about chemical health. If you’ve ever reached for your volume knob and heard a sound like dry leaves crunching, you’re dealing with oxidation. I swear by DeoxIT D5—a product so standard in the industry that even the legendary McIntosh Laboratory recommends it in their service guidelines for cleaning switches. Using the wrong spray can melt plastic or leave a sticky residue that attracts more dust. If you’re dealing with older gear, learning how to fix a scratchy volume dial with electrical contact cleaner is the difference between a functional system and a paperweight. This applies to your studio gear too, especially how to fix a scratchy fader on a professional mixer where precision is everything. While you’re at it, don’t forget the physical connections. I’ve seen people lose 20% of their signal clarity just because their RCA jacks were oxidized. Knowing how to clean gold-plated connectors without ruining the finish is a ten-minute job that pays off in audible transparency.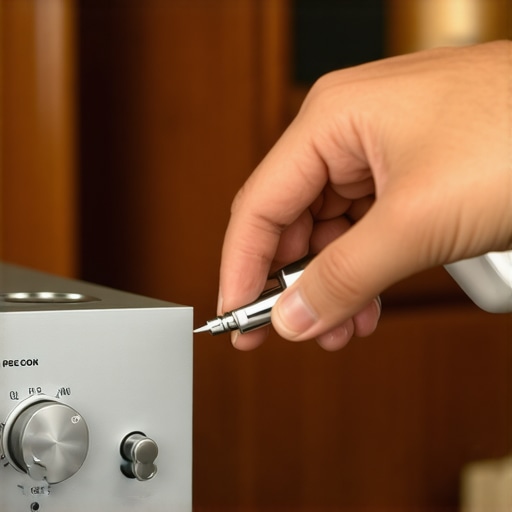
How do I keep my audio gear sounding new for twenty years?
Maintenance on modern gear is mostly about managing heat and moisture, but for anything with a few years on it, the threat is internal. Capacitors are essentially small chemical batteries that have a finite lifespan. In the Yamaha Sound Reinforcement Handbook, it is noted that the chemical aging of components is the primary cause of signal degradation and noise floors rising over time. If your bass feels flabby or you hear a low hum that wasn’t there before, you need to know how to tell if your speakers capacitor is starting to fail. It’s a cheap fix if caught early, but a catastrophic one if it leaks. For your headphones, maintenance is about the tactile experience. Sweat and oils are the enemy, so you should regularly check how to clean your headphone ear pads without ruining the leather. If the outer foam on your old bookshelf units is crumbling, don’t toss them—it’s actually quite satisfying to learn how to revive old speakers with new foam surrounds.
The Future of Your Listening Room
Looking ahead, I suspect we are moving away from manual maintenance and toward AI-integrated diagnostics. We are already seeing amplifiers that can ‘ping’ a speaker to check its health, similar to how modern cars diagnose their own engines. But until every piece of gear is ‘smart,’ your ears and a can of contact cleaner are your best friends. Don’t wait for a failure to act. I want you to go to your system right now, turn every knob through its full range ten times to break up any micro-oxidation, and then use your phone to run a quick sweep—remembering how to use your phone to measure your rooms frequency response is the easiest way to see if your system is actually performing as it should.
Hard Truths About Finding Your Perfect Sound
After decades of swapping out drivers and refinishing cabinets, I’ve realized that the most expensive upgrade isn’t always the best. First, stop chasing ‘perfect’ and start chasing ‘balanced.’ A mid-range speaker on a solid oak surface often outperforms a studio monitor sitting on a vibrating glass desk. Second, your ears are more adaptable than you think; spend more time listening to music and less time obsessed with frequency sweeps. Finally, don’t let the fear of ‘vintage’ gear stop you. While you might worry about why your vintage receivers lights are flickering with the music, these older units often have a warmth and character that modern Class D amps lack. Real audiophile wisdom isn’t about how much you spend, but how well you understand the physics of your specific room.
The Manuals and Gear I Actually Use
If you want to move beyond guesswork, I highly recommend downloading Room EQ Wizard (REW). It’s free and, when paired with your smartphone, it’s the most powerful tool for seeing how your furniture affects your audio output. For physical maintenance, I never go into a project without a bottle of high-quality electrical cleaner. If you’re restoring a thrift-store find, you’ll definitely need to know how to fix a scratchy volume knob on an old amp to get that smooth, crackle-free response back. I also suggest keeping a few scraps of high-density foam or leather around; you can even learn how to build a simple diy headphone stand for 10 dollars to keep your desk organized while protecting your headphone pads from unnecessary wear. #IMAGE_PLACE_HOLDER_E#
Start Your Own Audio Journey Today
There is no single ‘right’ way to enjoy music. Whether you are painstakingly trying to learn how to match your subwoofer phase with your main speakers or just looking for a way to make your kitchen radio sound a bit fuller, the journey is the reward. High-quality audio is a tactile, physical hobby that rewards patience and curiosity. Go ahead—move that speaker, clean those contacts, and let the wood of your favorite table sing along with the band. Have you ever discovered a weird trick that made your speakers sound ten times better? Let me know in the comments below!