
I stood there, needle in hand, heart racing as I prepared to hear my first true audiophile setup. I’d spent weeks researching, but when the music finally started, I felt a sinking feeling in my gut. The sound was lifeless. It lacked the warmth everyone raves about. I immediately started panicking, wondering if my speaker capacitors were starting to leak or if I’d just bought a dud. It took me a month of frustration to realize the culprit wasn’t the turntable or the speakers—it was the mediocre phono stage buried inside my receiver. Today, I’m going to show you why that convenient built-in port is likely the weakest link in your entire signal chain and how a dedicated preamp can finally give you the goosebumps you were promised.
Your Built-in Preamp is Holding Your Vinyl Hostage
Most modern receivers and entry-level turntables include a built-in phono preamp because it’s a selling point. It’s plug and play. But here is the dirty secret: those internal circuits are often built with the cheapest components possible. They are designed to be functional, not musical. In my early days, I made the classic mistake of assuming that if a manufacturer put a Phono label on a jack, they actually cared about how it sounded. I was wrong. These built-in stages often have high noise floors, which is why you might notice why your old receiver pops when you switch inputs or a constant background hiss. According to industry experts at Stereophile, a high-quality phono stage must adhere strictly to the RIAA equalization curve, yet many budget internal preamps deviate by as much as 2-3 dB, which completely colors the sound in all the wrong ways.
Is an External Box Really Worth the Extra Clutter?
I get it. You don’t want another box, another power cable, and more audiophile nonsense taking up space. You might even worry about the hidden cost of buying a cheap tube amplifier if you go down the external route. But the difference isn’t subtle; it’s like taking a blanket off your speakers. An external preamp has its own dedicated power supply, which means it isn’t fighting for clean electricity with the rest of your receiver’s messy internal components. It provides the gain your turntable needs without adding the grit. Have you ever felt like your records just aren’t hitting the way they should despite having decent gear?
Ditch the Internal Circuit and Take Control of Your Signal
Moving to an external phono stage isn’t just about adding a new gadget; it’s about giving your record player a voice that isn’t being muffled by the noisy environment of a multi-purpose receiver. Think of your cartridge like a high-performance athlete and the built-in preamp like a pair of lead boots. To get the best out of your setup, you need to bypass those internal components. If your turntable has a ‘Phono/Line’ switch on the back, flip it to ‘Phono.’ This sends the raw, unamplified signal out of the deck and into your new dedicated box. I remember the first time I did this with a budget-friendly Schiit Mani. I expected a slight bump in volume, but what I got was a three-dimensional soundstage where I could actually hear the drummer’s brush hitting the snare, rather than just a muddy thud. Much like how to tell if your headphones need an external amp, your turntable is starving for clean power that an internal chip simply can’t provide.
Kill the Hum with a Dedicated Ground
The most common mistake I see beginners make is ignoring the thin, spindly wire attached to the RCA cables. That is your ground wire, and in the world of vinyl, it is your best friend. Without it, your speakers will emit a low-frequency buzz that rivals a swarm of angry hornets. When I set up my first tube-based preamp, I was so eager to hear the ‘warmth’ that I skipped the ground lug. The resulting feedback was so intense I thought I’d blown a driver. Always secure that spade connector tightly to the grounding post on both your turntable and your preamp. If you still hear a buzz after connecting it, you might be dealing with a more complex issue, and learning how to find the source of a ground loop in home theater setups can save you hours of troubleshooting.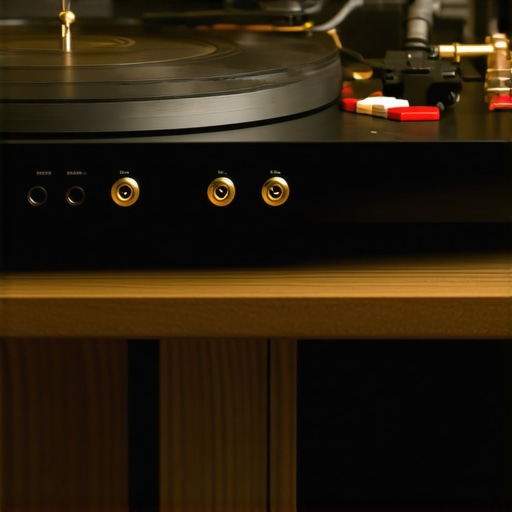
Optimize Your Placement for Zero Interference
External preamps are sensitive little beasts. Because they are designed to amplify incredibly tiny signals, they are also prone to picking up electromagnetic interference from other electronics. A huge mistake people make is stacking their gear like a game of Tetris. You should never place your turntable on top of your receiver, and the same rule applies to your preamp. Keep it at least a few inches away from power transformers and large amplifiers to prevent noise bleed.
Short Cables Are Better Cables
When connecting your turntable to the preamp, the length of your RCA cables actually matters. A turntable signal is very fragile; the longer it has to travel through a wire, the more high-end detail it loses. I once tried to run a 15-foot cable from my deck to a preamp across the room, and the music sounded like it was coming from underwater. Keep your input cables under 3 feet if possible. While some people obsess over the real difference between gold and silver plated connectors, the physical length of the path is far more impactful for phono signals. By keeping the chain short and the ground solid, you ensure that the only thing being amplified is the music on the groove.Let’s dig deeper into the purity trap that snags even seasoned listeners. Everyone says a perfectly neutral, flat frequency response is the only goal, but in my experience, chasing that often leads to a system that sounds like a hospital ward—clean, but lifeless. The hidden nuance of high-end audio isn’t about reaching 0dB of deviation; it’s about how your gear manages the interaction with your room. I’ve seen people spend thousands on amplifiers only to have the sound ruined by a hardwood floor, forgetting how to use a rug to stop your speakers from sounding harsh. According to research by Dr. Floyd Toole, a legendary figure in the Audio Engineering Society, most listeners actually prefer a slightly downward-sloping room response over a strictly flat one. If your setup feels too bright, you aren’t failing at being an audiophile; you’re just fighting physics. When it comes to home audio deals, the biggest mistake is buying for the discount rather than the synergy. I’ve seen people buy a flagship receiver at 50% off, only to find it sounds terrible with their specific speakers because of an impedance mismatch. High wattage doesn’t guarantee high quality. In fact, a modest 20-watt Class A amp can often outperform a 200-watt Class D deal when it comes to the micro-dynamics of a vinyl record. Don’t be seduced by the sticker; be seduced by the specs that match your existing chain.
Why Does One Speaker Sound Louder Than the Other?
This is where the oops factor usually kicks in. You’ve got your external preamp, your high-end cables, and your placement is perfect, but the center image is slightly to the left. Beginners often panic and assume their cartridge is broken, but it’s often a subtle component failure. Learning how to fix channel imbalance on a vintage stereo amplifier is a rite of passage for enthusiasts. It could be a dirty potentiometer or, more seriously, failing internal components. If you’re rocking older gear, you need to know how to tell if your amp’s capacitors are failing before a small leak turns into a catastrophic board failure.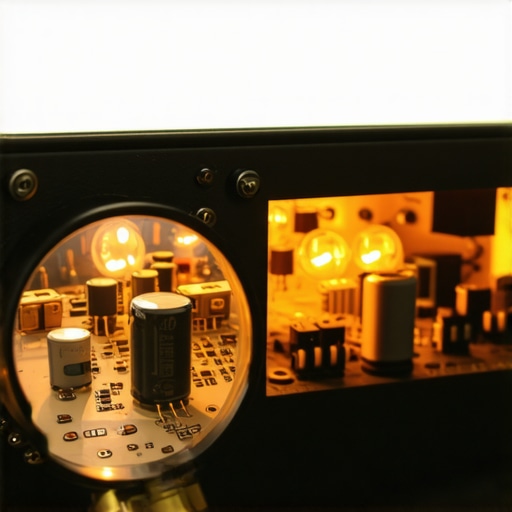 Another common trap is the out of phase nightmare. I once spent an entire weekend swapping out tubes because my bass felt weak and hollow. It turned out I had simply swapped the positive and negative wires on one side. It’s a silly mistake, but it happens to the best of us. Before you buy new gear, try the easy way to test if your speakers are out of phase to ensure your drivers are pushing and pulling in harmony. Have you ever fallen into this trap? Let me know in the comments. We’ve all been there, and sometimes the fix is as simple as a five-second wire swap.Once you’ve dialed in your sound, the biggest mistake is thinking the job is done. I learned the hard way that high-end audio is a living, breathing ecosystem. About two years into my journey, my favorite integrated amp started making a ‘zipper’ sound every time I adjusted the volume. I panicked, thinking the transformers were toast. In reality, it was just oxidation on the potentiometers. This is why I always keep a can of DeoxIT D5 in my drawer; it is the gold standard because it doesn’t just clean, it deoxidizes and protects. If you’re dealing with an older piece of kit, knowing how to fix a scratchy fader on a vintage audio mixer or receiver is a skill that saves you hundreds in repair bills.
 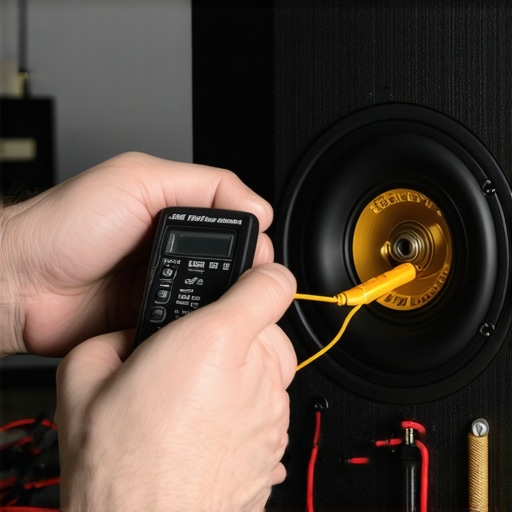 Beyond chemicals, you need a basic multimeter. I use a Fluke 117, but even a budget-friendly model works for checking continuity. If you’re pushing high volumes and your receiver suddenly cuts out, you need to know how to use a multimeter to find a short in your speaker wires before you fry your output transistors. Similarly, checking the physical integrity of your connections is vital. Over time, heavy cables can stress your hardware, and you might eventually need to learn how to fix a loose speaker terminal on your cabinet to maintain a rock-solid signal path.
How do I keep my analog signal path clean for the next decade?
Maintenance isn’t just about electronics; it’s about the materials. For those with vintage speakers, you have to be delicate. I use a soft-bristled makeup brush and very low-pressure air for my drivers, and I always refer back to my favorite guides on how to clean your speaker cones without ruining the paper. If you’re a headphone listener, the pads are your biggest failure point. Sweat and skin oils degrade the material, changing the seal and ruining the frequency response. Check the 7 signs your headphone pads need replacing today to ensure you’re still hearing the intended tuning. Heat is the ultimate enemy here. Nelson Pass of Pass Labs famously noted in his technical writings that for every 10-degree Celsius increase in operating temperature, the life of an electrolytic capacitor is roughly halved. This is why you must know how to tell if your amp is running too hot and ensure proper ventilation at all times.
The Future of Purity is Surprisingly Digital
Looking ahead, I predict that maintenance will shift from soldering irons to sophisticated software. We are already seeing high-end purist brands integrate DSP (Digital Signal Processing) to compensate for component aging and room acoustics. While some old-school fans cringe at the idea, the ability to tune out a room’s resonance digitally is a game-changer. My advice? Grab a multimeter today and check your speaker cables for any stray strands of wire. It’s a five-minute task that could save your entire system from a catastrophic short.
The Day I Finally Heard the Space Between the Notes
Over years of trial and error, I’ve learned that the biggest leap in audio quality doesn’t come from the most expensive component, but from the smartest one. I used to think my turntable was the bottleneck, but the real breakthrough happened when I stopped relying on my receiver’s internal processing. Here are a few lightbulb moments that changed my listening forever: First, synergy is everything. You can have a thousand-dollar cartridge, but if your phono preamp has a mismatched gain setting, it will sound either thin or distorted. Second, remember that patience is a literal physical requirement; understanding why your new speakers sound better after 20 hours of use helped me stop returning perfectly good gear before it had a chance to bloom. Lastly, don’t always blame your electronics for fuzzy sound. Often, the reason your vinyl records sound distorted at the end of the side is simply a matter of cartridge alignment or tracking force rather than a failing preamp. Sometimes, even the 20-dollar upgrade that makes an old turntable sound like new is just a simple stylus cleaning or a fresh belt.
My Must-Have Gear for Any Setup
When people ask what I keep in my own toolkit to maintain that pristine analog signal, I always point to a few non-negotiables. I never start a session without a high-quality carbon fiber brush and a stylus cleaner to ensure no debris enters the amplification stage. For technical learning, I highly recommend the AES (Audio Engineering Society) journals; they provide the scientific backing for why we chase these low noise floors. If you are currently working with a more compact system, I’ve found that knowing the secret to getting deep bass from tiny desktop speakers can help bridge the gap while you save up for that flagship floorstanding pair. I also swear by Mogami gold cables for their shielding properties—when you’re dealing with the tiny millivolt signals of a turntable, every bit of protection against hum matters.
Your Music Deserves to Breathe
You have spent the time and money to collect physical media, and you deserve to hear every ounce of detail pressed into those grooves. Adding a dedicated phono preamp isn’t about being a snob; it is about giving your music the headroom it needs to actually move you. When that noise floor finally drops and the soundstage opens up, you won’t just be listening to a record—you’ll be experiencing a performance. Don’t be afraid to experiment with your settings and trust your ears over any marketing brochure. What was the first record that made you realize your sound system was finally dialed in? Let me know in the comments below!