
I once spent three hours meticulously packing up my old floorstanding speakers, certain that the pristine walnut finish would fetch me a king’s ransom. I walked into the shop feeling like a mogul and walked out feeling like I’d just been pickpocketed. They offered me peanuts, citing ‘market saturation’ and a slightly dusty input jack. That sting stayed with me for a long time. It wasn’t that my gear was junk; it was that I didn’t know how to play the trade-in game properly. We’ve all been there—holding a piece of equipment that once cost a month’s rent, only to be told it’s now worth the price of a mediocre sandwich. Today, I’m going to show you how to flip the script. We’re going to look at how to prep your amplifiers, soundbars, and headphones so that dealers actually want to give you their best offer rather than a low-ball pity price.
Turn Your Dusty Gear into Cold Hard Cash
The biggest mistake I made early on was assuming the gear would speak for itself. I once tried to trade in an integrated amp that worked perfectly but looked like it had been stored in a woodshop. I learned the hard way that presentation is 90% of the battle. If you want top dollar, you need to make that equipment look like it just came off the assembly line. This means you should probably clean a sticky volume knob on your vintage amp before you even think about showing it to a buyer. A little bit of isopropyl alcohol and a microfiber cloth can literally add fifty dollars to your trade-in value in five minutes. According to a report by Consumer Reports, electronics in their original packaging with all accessories can fetch up to 20% more on the secondary market than ‘naked’ units. If you still have the box for those high-end headphones, find it. If you lost the remote for your receiver, buy a cheap replacement online. It signals to the dealer that you are a person who takes care of their things. Have you ever walked away from a trade-in deal because the offer felt like an insult? I want to hear your horror stories in the comments.
Is the Trade-In Process Actually Worth the Hassle?
Many people fear they are being scammed by ‘convenience’ programs, and sometimes, they are right. However, if you know the trick to finding high-end receivers and understanding their true market value, you can negotiate from a position of power. Dealers are extra cautious these days, especially since it has become increasingly difficult to spot a fake pair of premium earbuds on the open market. By providing proof of purchase or original documentation, you remove their risk, which translates directly into more money in your pocket. We are going to dive into the specific steps to sanitize, document, and pitch your gear to ensure you never leave money on the table again.
Scrub Away the Used Gear Stigma
First, address the physical condition with surgical precision. Dealers are people too, and their first impression is formed before they even plug the unit in. I’ve seen guys walk into shops with high-end IEMs that look like they’ve been living in a pocket with loose change and gum wrappers. If you’re trading in personal audio, hygiene is paramount. Use a soft-bristled brush and learn the best way to clean earwax out of mesh earbuds. If the dealer sees even a speck of debris, they’re mentally deducting fifty dollars for the labor of cleaning it themselves. For over-ear headphones, look at the pads. If they are cracked or flaking, replace them. It’s a cheap investment that radically changes the perceived value. You might even want to swap worn-out cushions and understand how to choose between leather and velour headphone pads for sound quality improvements, as fresh pads make the gear feel like new-old-stock rather than used and abused. Wipe down the chassis of your amplifiers with a damp microfiber cloth to remove fingerprints and dust from the heat sinks.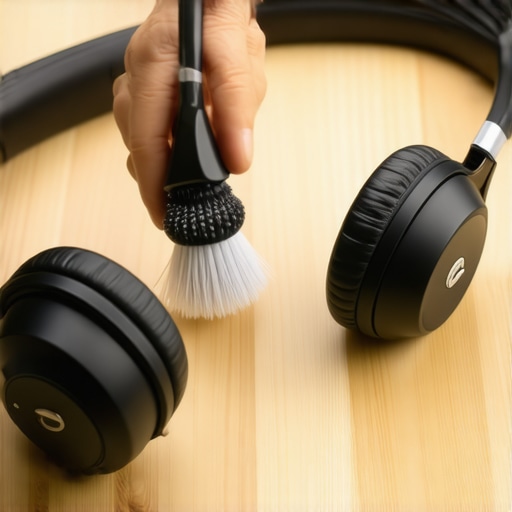
Verify Every Circuit and Driver First
Never take a dealer’s word for it when they say there is a crackle in the left channel. You need to know the exact state of your hardware before the negotiation starts. I once brought in a pair of floorstanders only for the tech to tell me they sounded thin. Because I had already done the easy way to test if your speakers are out of phase at home, I knew it wasn’t a hardware failure but a simple wiring error on his bench. I saved the deal by pointing it out. If you’re trading in modern noise-canceling gear, run a silence test. You need to know how to tell if your noise canceling is actually working properly or if there’s a persistent hiss in the background. For vintage integrated amps, listen for a low-frequency hum when the volume is down. This is a tell-tale sign of aging internals, and knowing how to tell if your amps capacitors are failing gives you the upper hand. If they are fine, you can confidently state that the power supply is rock solid.
Small Mechanical Fixes Equal Bigger Payouts
Nothing kills a trade-in value faster than a mechanical rattle or a loose connection. I remember trying to move a set of bookshelf speakers that I absolutely loved, but the right-side grill had developed this annoying vibration at 100Hz. The dealer offered me half of what I expected because it sounded broken. I took them home, researched how to fix a rattling speaker grill without using messy glue, and used a tiny piece of adhesive putty to secure the frame. I went back the next day, and the same guy gave me the full asking price because the perceived quality had shifted. Check the physical inputs on the back of your receivers. If a charging port feels wiggly on your portable units, it’s worth checking how to fix a loose charging port on your favorite bluetooth speaker before you leave. A loose terminal or port is a massive red flag for internal circuit board damage, and fixing it is the difference between a successful trade and a wasted trip.One of the most persistent myths I see in the audiophile community is the legendary 500-hour ‘break-in’ period. People will tell you that you need to run pink noise through your gear for weeks before it is even worth listening to. While it is true that you should how to properly break-in a new set of high-end floor speakers to let the mechanical surrounds settle, the actual audible changes are often negligible. The real break-in is happening in your brain as it adapts to a new frequency response. If you are trading in gear, do not let a buyer convince you that your speakers are ‘too new’ to be valued highly—that is a classic lowball tactic designed to make you feel like your gear is unproven. Another massive ‘oops’ factor is power management. I have seen enthusiasts drop five figures on a system only to plug it into a generic grocery-store power strip. This is exactly why you should never use a power strip for your high-end amplifier. These strips can choke current delivery, leading to dynamic compression or causing your equipment to enter protection mode. According to a study by the Audio Engineering Society (AES), power line impedance significantly impacts the transient response of high-current amplifiers. If your home theater receiver keeps shutting off randomly, it is likely not a hardware failure but a simple power delivery bottleneck that you can fix before showing it to a dealer.
Why Does High-End Gear Sound Flat in a ‘Perfect’ Living Room?
The hardest pill to swallow is that your room is at least 50% of your sound. You can have the world’s most expensive DAC, but if you are in a room with hardwood floors and glass walls, it will sound like a tin can. Many people trade in perfectly good gear thinking it’s the equipment’s fault, when they really just need to understand how to use a rug to fix the echo in your home theater room. Have you ever fallen into this trap of buying better gear just to fix a bad room? Let me know in the comments.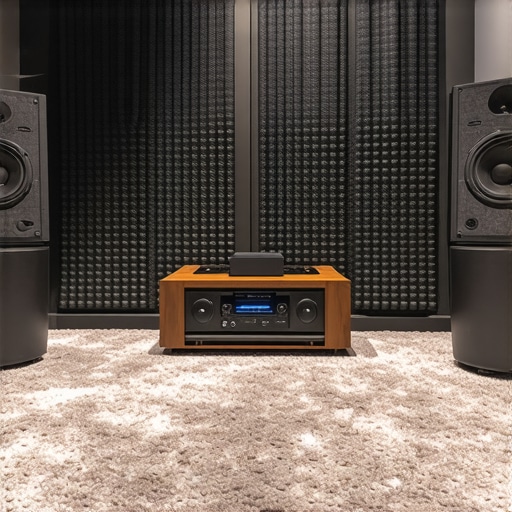 Also, watch out for the ‘power mismatch’ trap during your testing. I’ve seen people almost give away their equipment because they thought the drivers were blown. In reality, they were just underpowered. This is often why your high-end headphones sound tiny when plugged into a controller or a smartphone. Without a proper dedicated circuit, the drivers simply cannot move with the authority they were designed for. Before you commit to a trade-in, check how to tell if your headphones need an external amp to ensure you are hearing the full value of what you own.
Stop Ignoring the Dust in Your Signal Path
I’ve learned the hard way that a high-end system is only as good as its weakest, dirtiest connection. If you are dealing with vintage components, you have to be proactive about the physical degradation of parts. For instance, if you find your favorite discs are skipping, don’t assume the laser is dead. Usually, it is just environmental debris, and knowing how to clean the lens on an old CD player can save you hundreds in repair costs. I personally keep a bottle of DeoxIT D5 and a dedicated set of non-conductive tools in my kit. Every six months, I pull every RCA and XLR cable and treat the contact points. Oxidation is a silent killer of signal integrity, and if you let it build up, you are basically listening to your music through a layer of rust.
How do I keep my gear running like new for decades?
The secret is thermal management and mechanical care. I never stack components directly on top of each other without at least two inches of breathing room. Heat is the natural enemy of electronics. According to technical specifications from Nichicon, a leading manufacturer of electrolytic capacitors, every 10-degree Celsius rise in operating temperature can effectively halve the lifespan of a capacitor. If you’ve noticed a decrease in bass punch or a new, subtle hum, you need to know how to tell if your amp’s capacitors are failing before they eventually leak and cause catastrophic damage to the circuit board. 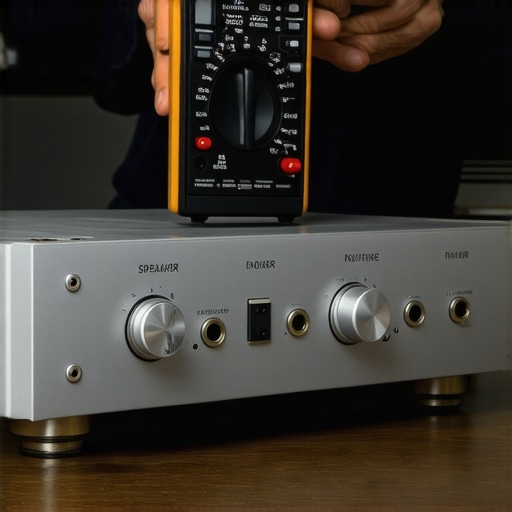
The Multimeter Strategy for Proactive Care
I don’t trust my ears alone when it comes to the safety of my speakers; I trust my Fluke multimeter. Periodically checking the DC offset of your amplifier’s outputs ensures that you aren’t slowly ‘cooking’ your speaker voice coils. For those of us who love the glow of glass, remember that why your tube amp actually sounds better after an hour of use is a matter of thermal equilibrium, but it also means those tubes are wear-and-tear items. Keep a log of your hours. On the portable side of things, physical ports are usually the first thing to fail. If you are frustrated by why your portable speaker won’t charge with your phone cable, it might be pocket lint or a bent pin. Learning how to fix a loose charging port on your favorite Bluetooth speaker can extend the life of your travel gear by years. I predict that in the next five years, we will see ‘smart’ amplifiers that include built-in health diagnostics to warn us of component drift before we even hear it. For now, the responsibility is on us. Go grab a microfiber cloth and some compressed air today—clean out the vents on your receiver and see if it doesn’t run a few degrees cooler tonight.
The Secret Psychology of the Trade-In Counter
After years of walking into shops, I’ve realized that the dealer isn’t just buying your amplifier; they are buying your story. If you walk in without knowing why your receiver clicks when you change the volume, you’re giving them an opening to claim it’s a relay failure rather than standard operation. My biggest lightbulb moment was realizing that walking in with a ‘spec sheet’ I wrote myself—listing every test I performed—immediately signaled I wasn’t a mark. Also, never trade in gear on a weekend. Shop owners are stressed and want quick turnarounds. If you go on a slow Tuesday morning, they have the time to sit down, listen to your gear, and appreciate the care you’ve put into it. Finally, remember that everything is negotiable. If they offer a low price, ask them exactly which ‘reconditioning’ steps they think are necessary. When you can explain that you’ve already handled the cleaning and testing, that labor cost disappears from their ledger.
#IMAGE_PLACE_HOLDER_E#
My Toolkit for Keeping Gear at Peak Performance
To ensure I always get the best home audio deals when flipping my gear, I rely on a few specific tools. First, a can of DeoxIT D5 is non-negotiable for cleaning vintage pots. Second, I constantly monitor the HifiShark website to see real-time ‘sold’ prices rather than just ‘asking’ prices. Third, I highly recommend Robert Harley’s The Complete Guide to High-End Audio; it gave me the vocabulary to describe my gear’s soundstage and tonal balance to professionals. Lastly, I keep a digital thermometer nearby because knowing how to tell if your amp is running too hot can prevent internal heat damage before it ever happens, preserving your resale value for years.
Turn Your Knowledge into Your Next Major Upgrade
Trading in gear shouldn’t feel like a defeat. It’s the first step toward your next sonic adventure. Whether you are looking for new home audio deals or just clearing out the closet, the effort you put into presentation pays for itself. Sometimes, you don’t even need to sell; you just need to optimize. I’ve found that the trick to making 50 dollar headphones feel like 300 dollar monitors often comes down to simple pad swaps and EQ, which can save you from a needless trade-in altogether. But when it is time to move on, do it with confidence. You now have the checklist to ensure you get every penny you deserve. If you’ve ever had a dealer try to tell you that your soundbar remote doesn’t work from the couch because the unit is ‘dying’ when it was just a blocked IR sensor, you know why this preparation matters. Have you ever successfully negotiated a higher trade-in price by proving the gear was in better shape than they thought? Let me know in the comments below!