
The first time I sat down to listen to my pristine copy of Miles Davis, I didn’t hear the trumpet. I heard a persistent, low-frequency hum that made my teeth itch. I had just spent hours aligning the cartridge and leveling the platter, only to be greeted by a sound that resembled an industrial refrigerator. It was heartbreaking. I felt like a failure in my own living room.
Tracking Down That Ghost in the Machine
[image_placeholder] I tried everything to fix it. I even bought those flashy gold-plated connectors thinking I had a cheap cable problem. Spoiler: I didn’t. The hum didn’t care about my gold plating. It was actually a simple grounding error that I had completely overlooked because I was too focused on the fancy, expensive fixes. If you have ever wondered how to find the source of a ground loop, you know how maddening it can be to hunt through a forest of wires.
Is fixing this hum actually going to require an electrical engineering degree?
No, it won’t. Today, I am going to walk you through the exact steps I took to isolate that noise and kill it for good. We are not just going to deal with it or turn the volume up to drown it out. We are going to fix it. Sometimes the noise is not electrical; it is mechanical. If you have noticed your records sound scratchy even after a wash, or if you are dealing with strange scratching noises, you are likely dealing with a combination of issues that we can solve together.
Why Your Record Player is Basically a Giant Antenna
Turntables deal with tiny, fragile voltages. A moving magnet cartridge produces about 5 millivolts, which is roughly 1,000 times less than a standard CD player. Because these signals are so weak, they are incredibly susceptible to electromagnetic interference from everything in your house, from your Wi-Fi router to your LED light bulbs. According to the Audio Engineering Society, any unshielded wire in your setup acts as an antenna for ambient noise, pulling it right into your signal path. I also learned the hard way that using the right gear matters. For a long time, I did not realize why a dedicated phono preamp is almost always better than the one built into a budget receiver; it provides better isolation from the rest of your electronics and stops the buzz before it starts. Have you ever spent an entire afternoon moving your speakers around only to find the buzz follows you everywhere you go? Drop a comment and tell me what you’ve tried so far. Before we grab the screwdrivers, let’s look at the most common culprit: the dreaded ground wire.
Tighten Your Ground Connections First
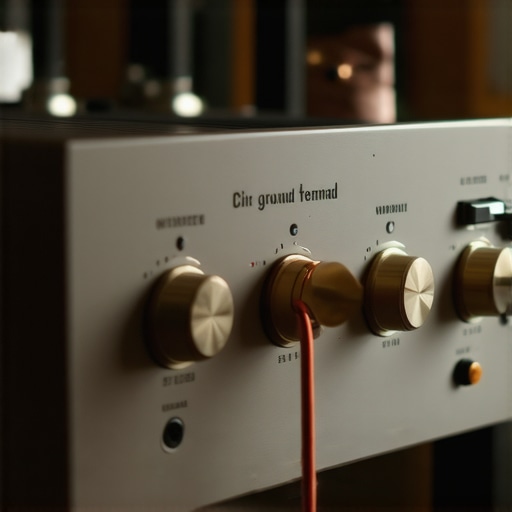
The most common cause of that persistent “fridge-hum” is a loose or oxidized ground wire. This thin, often flimsy wire is the only thing standing between your music and a wall of noise. Think of it as an exhaust pipe for electrical interference; if it is not sealed tight, those stray electrons leak directly into your speakers. I once spent an hour troubleshooting a supposedly broken preamp only to realize the ground spade had slipped off the screw by a fraction of a millimeter. Make sure it is cinched down on both the turntable and the receiver. If you are still hearing issues with the connection points, you should learn how to fix a loose speaker terminal on your cabinet to ensure every part of your signal chain is rock solid.
Keep Power Cables Away from Your Signal Path
Your phono cables carry a signal so weak it is practically a whisper. When you drape them over a thick, unshielded power cord, that 120V of electricity literally “yells” over your music through electromagnetic induction. I remember setting up a vintage system in my first apartment where I bundled all the wires together with industrial zip ties because I wanted the shelf to look clean. It looked professional, but it sounded like a beehive. The fix was messy but necessary: I had to rip those ties out and ensure my signal cables only crossed power cables at 90-degree angles to minimize interference. If you find yourself in a similar cable nightmare, using the best way to label your messy home theater cables will save you hours of frustration when you start isolating individual components.
Why Your Amp Needs a Direct Wall Connection
We all love the convenience of a power strip, but your high-end gear often hates them. Most budget strips use internal components that introduce a high-pitched whine or a muddy floor into your signal. There is a very specific reason why you should never use a power strip for your high-end amplifier: they can limit current delivery and add a layer of electrical filth that your phono stage will amplify. When I finally plugged my main integrated amp directly into the wall outlet, the background noise floor dropped so significantly it felt like the room had been soundproofed. If you are hearing distortion along with the hum, don’t ignore the stylus, as the reason your vinyl records sound distorted at the end of the side can sometimes be a combination of electrical interference and simple tracking errors.
Isolate the Turntable from Mechanical Feedback
Sometimes what we perceive as electrical hum is actually mechanical feedback. If your speakers are sitting on the same surface as your turntable, the low-end frequencies travel through the furniture, into the needle, and back out the speakers in a resonant loop. This is why some systems “howl” or rumble when you turn the volume up past halfway. Try moving your speakers onto separate stands or at least using isolation pads. This is one of those tricks to making cheap gear feel like expensive monitors—proper placement and isolation often provide a bigger sonic jump than a thousand-dollar hardware upgrade.
Beyond physical placement, the most controversial nuance in the community is the digital signal path. Most beginners think the easiest way to ‘upgrade’ a digital system is to buy a more expensive cable, but they are often chasing ghosts. In reality, the most overlooked nuance in high-end audio is the noise floor of the source. Digital audio isn’t just math; it’s math delivered in a physical, electrical environment. When I first started, I thought my system was ‘clinical’ because of the digital files themselves, but I was wrong. It was actually high-frequency electrical interference from my PC leaking through the USB port. This is exactly the difference between cheap and expensive DACs that actually matters: it is all about galvanic isolation and jitter reduction. According to research published by the Audio Engineering Society (AES), jitter—the tiny timing variations in the bitstream—can tangibly degrade the depth and realism of your soundstage, regardless of the file resolution.
Stop Obsessing Over 1s and 0s
People often argue that digital is ‘perfect,’ but they forget that the conversion back to an analog wave is a delicate physical process. I have seen enthusiasts spend a month’s rent on a ‘high-speed’ Toslink wire, but I always tell people to stop wasting money on expensive optical cables. Since optical is light-based, it doesn’t suffer from the same electrical noise as copper, but it also cannot ‘improve’ the bits being sent.
Does spending $500 on a digital cable actually change the sound?
In my experience, it’s almost always a placebo effect. The ‘Oops’ factor here is treating the symptoms instead of the cause. If your audio sounds harsh or ‘bright,’ don’t immediately blame your electronics or buy a new cable. I once spent a fortune on a ‘warmer’ preamp only to realize my room was just too reflective for my speakers. Sometimes, the most sophisticated fix is a simple textile purchase; knowing how to use a rug to stop your speakers from sounding harsh is an ‘insider’ secret that beats any cable upgrade.  Another common trap is the belief that more power always equals better sound. People flock to high-wattage amps thinking it will give them more ‘headroom,’ but they often ignore the quality of those watts. This is the hidden cost of buying a cheap tube amplifier—you get the ‘look’ and the promised wattage, but you also get a massive increase in Total Harmonic Distortion (THD) that smears the very details you are trying to hear. If you find your bass feels hollow or thin, don’t just turn up the volume or buy a more powerful amp. It is frequently a simple wiring error. I recommend everyone learn the easy way to test if your speakers are out of phase before assuming their gear is underpowered. Even high-end headphones aren’t immune to these nuances. Many people complain that their noise-canceling gear sounds ‘off’ in a quiet room, but the mistake that makes your noise-canceling headphones hiss in quiet rooms is actually a result of the DSP trying to compensate for a lack of ambient data. It is a design limitation, not a hardware flaw. Have you ever fallen into this trap of buying hardware to fix a problem that was actually just physics or setup? Let me know in the comments.
Once you have cleared the noise floor and fixed the phase issues, the real challenge begins: keeping it that way. I have seen beautiful systems rot from the inside because of simple, avoidable neglect. If you have ever wondered why your receiver clicks when you change the volume, you are likely dealing with oxidized potentiometers. Carbon buildup is the silent killer of vintage audio, and it is something I fight constantly in my own collection. I swear by a can of DeoxIT and a steady hand. If you aren’t comfortable opening your gear, you will eventually find yourself asking how to tell if your amp’s capacitors are failing because of years of heat stress and ignored grime.
Stop Letting Heat and Dust Kill Your Receiver
Heat is the second enemy. According to technical documentation provided by Rod Elliott of Elliott Sound Products, heat is the primary catalyst in the chemical degradation of electrolytic capacitors. If your amp doesn’t have at least three inches of breathing room on all sides, you are shortening its life by years. It is vital to know how to tell if your amp is running too hot before the smell of ozone fills your living room. Dust acts like a blanket, trapping that heat right against the sensitive components.
How do I maintain my home audio gear without breaking it?
The best maintenance is preventative and gentle. I use a soft-bristle makeup brush and a hand-pump air blower for my speaker drivers. Never use a vacuum; the suction can easily deform a delicate tweeter or pull a surround right off the basket. You need to be extremely careful when learning how to clean your speaker cones without ruining the paper. For digital gear, like old CD players, the laser lens is everything. If it starts skipping, don’t throw it out. Knowing how to clean the lens on an old CD player can bring a 90s powerhouse back to life for the price of a cotton swab and some isopropyl alcohol. 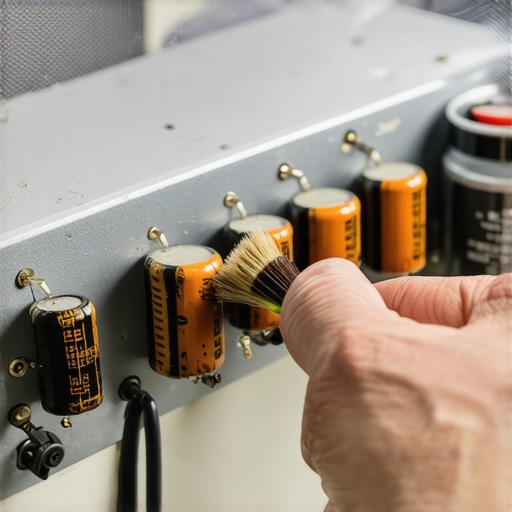 Even your portable stuff needs love. I have had friends toss $300 headphones because of a $5 port issue. I recommend everyone learn how to fix a loose charging port on your favorite bluetooth speaker; it usually just takes a wooden toothpick to remove pocket lint that prevents a solid connection. Also, don’t forget the soft parts. Check these 7 signs your headphone pads need replacing today because degraded pads don’t just feel bad; they actually alter the acoustic seal and ruin your bass response.
Why the Future of High-End Audio is Modular
Looking ahead, I think we are finally moving toward a ‘Right to Repair’ era in the audio world. Manufacturers are starting to realize that the ‘disposable’ tech model doesn’t work for people who plan on keeping their speakers for thirty years. In the future, I expect to see more modular amplifiers where you can swap out the DAC card or the Bluetooth module as standards change, without replacing the heavy transformer and the chassis. My challenge to you this week is simple: Pull your amp out of its cabinet, blow out the dust, and check your wire terminations. If you find a loose wire, don’t just shove it back in. Take the time to redo the connection properly. Your ears will thank you, and your gear will last another decade.
The Hardest Lesson I Learned About Chasing Silent Backgrounds
After decades of tinkering with amplifiers and hunting for the best home audio deals, the biggest lightbulb moment I had was realizing that more money rarely fixes bad physics. I used to think a new set of headphones would solve my listening fatigue, but it was usually just my room’s acoustics or a messy power grid. Don’t fall into the trap of replacing gear when a simple cleaning or a new rug could do the trick. If you have ever picked up a used gem only to find it smells like an old basement, knowing how to get the smell of smoke out of a vintage receiver is a skill that saves you more money than any seasonal sale ever could.
My Go-To Toolkit for a Flawless System
I do not believe in magic cables, but I do believe in maintenance. To keep your speakers sounding crisp, I recommend keeping a maintenance kit that includes a soft-bristle brush, a dedicated contact cleaner, and a reliable multimeter. When you are looking to expand your collection without draining your bank account, I have found that the trick to buying high-end audio at estate sales is your best bet for finding end-game gear at entry-level prices. Also, if your vintage gear starts making noise, do not panic. Sometimes a vibration is just hardware-deep; I have saved several setups by learning how to fix a rattling speaker grill without using messy glue and it makes a world of difference in clarity.
Your Music Deserves This Extra Effort
At the end of the day, all this technical fussing serves one purpose: the moment the needle drops and the world disappears. Whether you are rocking high-end soundbars for your movies or a dedicated tube setup for your jazz, remember that gear is a tool, not the destination. Take the time to properly break in a new set of high-end floor speakers before you judge their character. The patience you invest today will pay off in thousands of hours of pure, undistorted bliss. What is the one mystery noise in your system that has been driving you crazy lately? Let me know in the comments below!