
I remember the first time I sat down in front of a pair of high-end bookshelf speakers. I had saved up for months, eating ramen and skipping my morning coffee run, just to afford that specific set of monitors. I set them up on my desk, pushed them back against the wall, and hit play on a high-res FLAC file. The result? It sounded like a tin can being dragged behind a wedding car. I was devastated. I spent an hour checking the wiring and even wondered if I’d been sold a pair of knock-off speakers. It turned out the speakers were fine; I was just the one standing—or rather, sitting—in the way of my own musical bliss.
[IMAGE_PLACEHOLDER]
Stop Blaming Your Gear and Start Moving Your Chair
Most of us make the same rookie mistake. We treat bookshelf speakers like they’re oversized computer speakers and shove them inches from our faces, or we hide them on a shelf six feet above our heads. But bookshelf speakers are engineered with a specific “crossover point”—that magical spot where the sound waves from the woofer and the tweeter finally converge into a single, unified signal. If you sit too close, that convergence never happens. You end up hearing the high frequencies hitting your ear a fraction of a second before the mids, which ruins the stereo image and makes the music feel disjointed and hollow.
I once spent an entire afternoon obsessively moving my desk around, wondering if I needed a thick rug to soak up floor reflections or if my amp was to blame. In reality, I just needed to roll my chair back two measly feet. Today, I’m going to help you find that perfect “Goldilocks” zone so your soundstage finally snaps into three-dimensional focus.
Is a few inches of movement really worth all this fuss?
It sounds like audiophile superstition, doesn’t it? We like to think that if we spend enough money on a receiver or a pair of cables, the sound will just be “good” regardless of where we sit. But it’s actually cold, hard physics. According to technical data from the acoustics experts at Sound on Sound, sitting at the wrong distance causes destructive phase interference where sound waves of certain frequencies literally cancel each other out. This can make a pair of $2,000 speakers sound “thin” or “tinny” because the bass frequencies are being swallowed by the room’s geometry before they ever reach your ears.
We’re going to fix that today by finding the exact ratio that works for your specific room. Have you ever felt like your speakers sounded amazing in the store showroom but felt flat once you got them into your living room? Let me know in the comments below, because you’re definitely not alone. We also need to consider if your speakers have actually had enough break-in time to sound their best, but before we get into the hardware, let’s talk about the geometry of your chair.
Start With the Golden Triangle
Grab a tape measure. Seriously. To get that pinpoint stereo imaging where the singer sounds like they’re standing right in front of your monitor, you need to form an equilateral triangle. The distance between your left and right speaker should be exactly the same as the distance from each speaker to your nose. I remember trying to “eye-ball” this once in a small bedroom setup; I thought I was close enough, but the center stage was leaning heavily to the left. I felt like I was going crazy until I actually pulled out the tape and realized the right speaker was four inches further back. Once I squared it up, the sound snapped into place like a puzzle piece. If you’re working in a tight space, finding the best height for your desktop speakers on a small desk is the first step before you even worry about the triangle geometry.
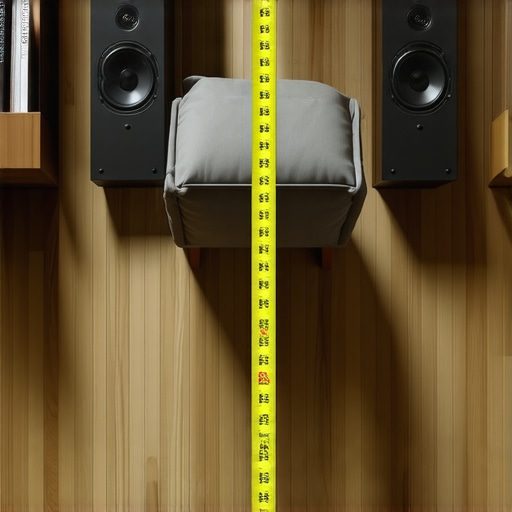
Aim the Tweeters Directly at Your Ears
Tweeters are like flashlights—the high-frequency sound they emit is very directional. If they are pointing at your chest or three feet above your head, you’re missing the detail and clarity you paid for. This is where “toe-in” comes into play. Angle your speakers inward so they are pointing directly at your listening position. If the sound still feels a bit weird or “thin” despite this, you should probably check the easy way to test if your speakers are out of phase, as a simple wiring flip can destroy your imaging. When I finally angled my monitors properly, I stopped hearing just “left and right” and started hearing a deep, wide soundstage that made my old headphones feel like basic budget gear. By reducing the amount of sound bouncing off side walls, you’re effectively cleaning up the “smear” that ruins a good vocal performance.
Move Your Speakers Away from the Back Wall
We often shove bookshelf speakers against the wall to save space, but this creates a “boundary effect” that makes bass sound muddy and bloated. Think of it like shouting into a corner; the sound bounces back instantly and creates a mess. By pulling them out just 6 to 12 inches, you let the rear ports breathe. You might think you’re losing bass by doing this, but you’re actually gaining definition. If you have larger units, remember that your floorstanding speakers need even more breathing room from the wall than small bookshelves do. If you still crave more punch after moving them, you can learn to get better bass from a bookshelf speaker without a sub by optimizing the port physics and room placement rather than just relying on wall-bounce. This small gap between the cabinet and the drywall is the difference between a boomy mess and a tight, punchy kick drum that you can actually feel in your chest.
Your desk surface is basically a giant mirror for sound
Most people think that once they have angled their speakers toward their ears, the hard work is over. But there is a hidden enemy lurking right under your nose: the desk or shelf itself. When sound waves leave your woofer, they don’t just travel directly to your ears; they also bounce off the flat surface of your desk and reach you a split-second later. This creates what acoustic engineers call ‘comb filtering.’ According to research published by the Audio Engineering Society (AES), these early reflections can cause massive dips and peaks in your frequency response, making even a multi-thousand-dollar monitor sound like a cheap radio. If you have ever wondered why your vocals sound ‘hollow’ or weirdly thin, the secret to getting deep bass from tiny desktop speakers often lies in decoupling them from the surface with dedicated isolation pads rather than just reaching for the EQ knob.
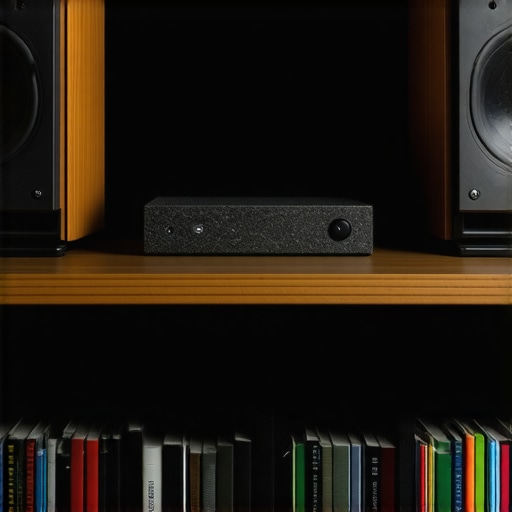
Does your speaker’s height really change how much bass you hear?
I see this question constantly in enthusiast forums, and the answer is a resounding yes. If your speakers are sitting too low or directly on a large flat surface like the floor, you are experiencing ‘boundary reinforcement.’ While some think this is a free way to get more bass, it is actually uncontrolled, muddy energy that masks the delicate detail in your music’s mid-range. I once spent days trying to figure out if my amp was dying or if I needed to learn how to use a multimeter to find a short in your speaker wires because the sound felt so unbalanced. It turned out that one speaker was just reflecting off a side cabinet while the other was in free space. The asymmetry was destroying my stereo image.
Avoid the ‘stack of doom’ at all costs
Here is a major ‘oops’ factor I see in almost every beginner setup: the vertical stack. It looks neat to have your speakers, your amp, and your record player all stacked like a tower, but it is a recipe for disaster. Receivers generate a significant amount of heat, and they need air to breathe. If you have noticed why your receiver clicks when you change the volume, that is usually just mechanical relays, but if it starts clicking and shutting off, you are likely cooking the internals. Furthermore, why you should never place your turntable on top of your receiver comes down to more than just heat; the electromagnetic field from the amp’s transformer can cause a low-frequency hum that ruins your vinyl’s noise floor. People spend a fortune debating the real difference between gold and silver plated connectors, but they ignore the fact that their equipment is overheating or suffering from mechanical interference. If you are using vintage gear, you also need to know how to tell if your speaker capacitors are starting to leak, because heat from a stacked setup will accelerate that failure. Have you ever fallen into this trap of prioritizing aesthetics over airflow? Let me know in the comments below.
Stop letting dust kill your high-end resolution
People often forget that a speaker is a physical, moving machine. If you let dust cake onto the driver, you are literally adding mass to the cone, which slows down the transient response and muddies your audio. I use a soft-bristled makeup brush to gently sweep the dust away once a month. You have to be incredibly careful here; I have seen people ruin their gear because they didn’t know why you should never use compressed-air to clean a silk dome tweeter. One blast of air can permanently deform the delicate fabric, and your high-end sparkle is gone forever. Instead, learn how to clean your speaker cones without ruining the paper by using a light, controlled touch and the right materials.
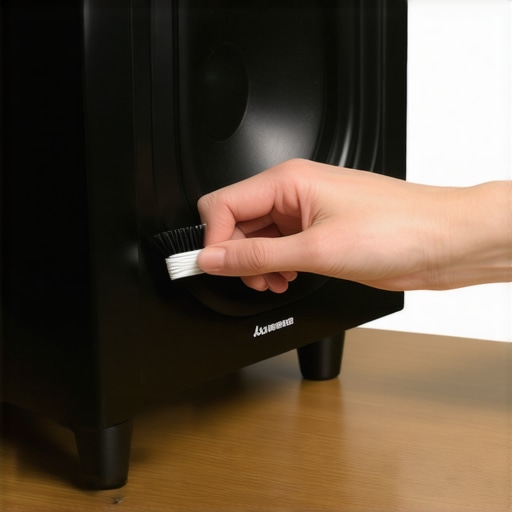
The one tool every enthusiast actually needs
I am a big advocate for the ‘spring cleaning’ of audio terminals. Every six months, I pull my cables and check for oxidation. Even gold-plated connectors can develop a microscopic film of grime that increases resistance. Knowing how to clean gold-plated connectors without ruining the finish is a five-minute job that can restore clarity you didn’t even realize you had lost. If you are working with older gear, you will eventually need to know how to fix channel imbalance on a vintage stereo amplifier, which usually stems from dirty potentiometers or aging internals that have been neglected for a decade.
According to technical documentation in Vance Dickason’s The Loudspeaker Design Cookbook, the physical integrity of the surround—the rubber or foam ring around the woofer—is critical for maintaining the driver’s specific resonant frequency. If those surrounds dry out or crack, your bass response will fall apart. I have had great success learning how to revive a vintage speaker cone with simple rubber treatment to keep my older monitors singing like they just came off the assembly line.
How do I keep my sound consistent for a decade?
It is all about the small organizational details. Labeling is a huge part of long-term maintenance. Nothing kills the joy of a gear upgrade like a bird’s nest of tangled wires behind the desk. I finally invested in a cheap label maker after finding the best way to label your messy home theater cables, and it turned a two-hour troubleshooting session into a ten-minute fix when I was swapping out my amp last month.
AI is coming for your room acoustics
Looking ahead, I think we are moving toward a world where ‘dumb’ passive speakers are becoming the high-end exception rather than the rule. We are already seeing more affordable monitors with built-in DSP (Digital Signal Processing) that uses a calibration microphone to adjust the output based on your specific chair and wall distance. It essentially automates all the tape-measure work and geometry I described earlier. However, until that technology becomes perfect, nothing beats a manual setup and a well-cared-for pair of drivers. Take five minutes today to pull your speakers away from the wall just three inches further than they are now—you might be surprised at the instant clarity boost. Your ears will thank you for the extra breathing room.
The reality of what actually makes your system sing
After years of tinkering, I have realized that the most expensive cable in the world can’t fix a poorly placed speaker. I used to be obsessed with the technical specs of my DAC, but I was ignoring the fact that my left speaker was firing directly into the side of a bookshelf. Real high-fidelity is about harmony between the hardware and the environment. Also, don’t let small mechanical issues distract you from the music; I once thought my driver was blown, but I just needed to learn how to fix a rattling speaker grill without using messy glue to get that clean sound back. Lastly, remember that while your gaming headset is bad for listening to music compared to a dedicated pair of monitors, even the best monitors need a little help. If you eventually add a sub, make sure you don’t repeat the mistake you’re making when positioning your subwoofer by putting it in a corner that creates a one-note boom.
#IMAGE_PLACEHOLDER_E#
My personal toolkit for audio perfection
If you want to go deeper into this hobby, there are a few resources I swear by. First, The Loudspeaker Design Cookbook by Vance Dickason is essential if you want to understand the physics of crossover points and cabinet resonance. For measuring your room, I highly recommend downloading Room EQ Wizard (REW); it is the gold standard for identifying those frequency dips I mentioned earlier. I also suggest playing with your environment—you would be shocked at why your home theater sounds better with the lights off, as reducing sensory input can actually make your hearing feel more acute. Finally, keep a simple physical log of your speaker positions. When you find that ‘perfect’ spot, mark it with a tiny piece of painter’s tape under the stand.
Your journey into high fidelity starts today
Setting up your bookshelf speakers is not a chore; it is an act of respect for the artists who recorded the music you love. You don’t need a degree in acoustics to make a massive improvement—you just need a little patience and a willingness to move your chair. As you sit back and finally hear that singer hovering in dead-center space, you’ll realize all the tape-measuring was worth it. What is the one thing you changed in your room that made the biggest difference in your sound? Let me know in the comments below!