
I remember standing in my driveway with a brand-new set of component speakers, a vibrating drill in my hand, and a cold sweat on my forehead. I was looking at the smooth, textured vinyl of my car’s dashboard, and I just couldn’t pull the trigger. I knew that once that hole was cut, there was no going back. It was a moment of pure installer panic. I’ve seen enough ruined interiors at local car meets to know that a sloppy hack job is the fastest way to kill your car’s resale value and make the cabin look like a construction site. I eventually put the drill down, and honestly, it was the best decision I ever made for my audio setup.
Protecting Your Dash and Your Sanity
Improving your car’s high-frequency response shouldn’t feel like a permanent demolition project. Most of us just want that sparkle—you know, that crisp cymbal hit or the breathiness in a vocal—that factory speakers usually bury in the footwell. But the fear is real: if you mess up a dash cut, you’re looking at hundreds of dollars in replacement parts. I learned this the hard way years ago when I tried to flush mount a pair into a door panel and ended up with a gaping hole that I had to cover with a tacky piece of duct tape. It looked awful and didn’t even improve the sound. While you might know that door speakers sound better after adding sound deadening, tweeters are a different beast entirely because they are so directional.
Is drilling really the only way to get good sound?
I used to think so. I thought that if the tweeter wasn’t flush, it wasn’t professional. But the truth is, the way you angle the speaker matters way more than how deep it sits in the plastic. In fact, experts at Crutchfield note that tweeter placement is the single most important factor in determining your system’s soundstage. If you aren’t careful, you might find that the truth about speaker break-in periods won’t matter because your imaging is so far off. Moving your tweeters to an on-axis position, pointing directly at your ears, can make even a modest set of speakers sound like a high-end studio monitor. We are going to solve the mounting puzzle today using pods, tape, and existing hardware that leaves zero trace behind. Have you ever been too intimidated to upgrade your audio because you didn’t want to cut into your car?
Forget the Flush Mount and Try This Instead
Most component speaker kits come with a small, unassuming bag of plastic cups known as surface-mount pods. Many installers toss these aside in favor of the ‘pro’ look of a flush-mounted tweeter, but those pods are your best friend when you want to avoid permanent damage. Think of these pods like desktop speaker stands for your car. Just as you need to find the best height for your desktop speakers on a small desk to get the audio right, these pods allow you to elevate and angle your high frequencies without committing to a specific hole in the door or dash. I remember a project on my old hatchback where I spent three hours trying to ‘hide’ the tweeters behind the factory grilles, only to realize the sound was muffled and dark. I pulled them out, popped them into the surface pods, and stuck them right at the base of the A-pillars. The difference was night and day. Sudden clarity appeared where there was only mud before.
The Magic of High Bond Adhesive
You don’t need screws to keep a lightweight tweeter in place. Automotive-grade 3M VHB (Very High Bond) tape is essentially ‘welding’ in tape form. It’s a double-sided acrylic foam that can withstand the brutal heat of a summer cabin and the vibration of a thousand highway miles. However, you have to be careful with the surface. If you don’t clean the dashboard with isopropyl alcohol first, that tape will fail the moment the sun hits it. I learned this when I found my left tweeter dangling by its wire after a 100-degree afternoon. Not only was it annoying, but the swinging tweeter could have easily shorted out. If you find yourself in a similar mess, you should know how to use a multimeter to find a short in your speaker wires before you fry your head unit. Once properly prepped, that adhesive is permanent enough to stay put but can be removed with a bit of fishing line and some Goo Gone if you ever sell the car.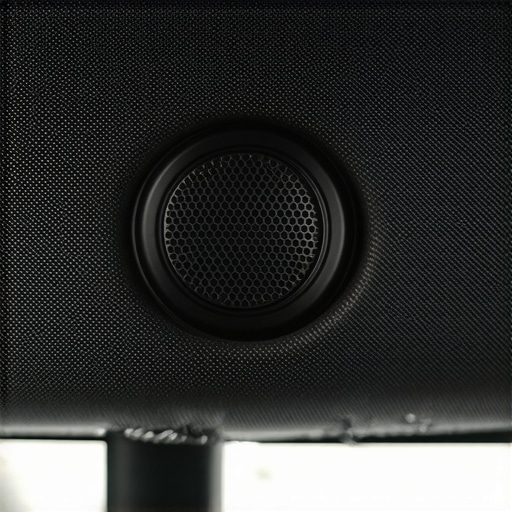
Angle Your Highs for a Massive Soundstage
Tweeters are incredibly directional. Unlike subwoofers, which move air in a way that fills a space regardless of orientation, a tweeter is like a flashlight. If it’s pointed at your knees, that’s where the sound goes. To get a proper stereo image, you want the tweeters aimed ‘on-axis’ toward your ears, or at least cross-fired toward the center of the cabin. Poor placement is often why your car’s rear deck speakers are ruining the stereo image; they pull the soundstage behind you. By using pods on the dash, you can physically rotate the speaker until the singer sounds like they are standing right on your hood. Just be gentle during the process. If you are handling high-end gear, remember why you should never use compressed air to clean a silk dome tweeter, as these components are more fragile than they look.
Hide the Wires Without Pulling the Dash Apart
The biggest fear of ‘no-cut’ mounting is the wire. Nobody wants a stray cable draped across their dashboard like a piece of loose spaghetti. The secret is the ‘seam-tuck’ method. Almost every car has a small gap where the dashboard meets the A-pillar (the vertical metal post between your windshield and side window). You can usually slide a 16-gauge speaker wire right into this gap using a plastic trim tool or even a credit card. Avoid metal screwdrivers, as you don’t want to nick the insulation. This keeps the wires completely hidden while keeping the speakers exactly where they need to be. Be mindful of seasonal changes, too, as your car speakers might rattle only when it is cold outside if the wires aren’t secured tightly behind the trim.Once you’ve mastered the physical installation in your car, the ‘audiophile bug’ usually bites hard. You start looking at your home theater or your headphone collection with the same critical eye you used on those dash-mounted tweeters. However, this is exactly where many enthusiasts start throwing money down a bottomless pit, chasing ‘upgrades’ that offer zero measurable improvement. Let’s look at where the industry tries to trick you and where the real performance gains are actually hiding.
A major contrarian view I hold, which often ruffles feathers in boutique hifi shops, is that the price of your digital cables is almost entirely irrelevant. If you are being told that a $200 silver-plated cable will make your Spotify stream sound ‘wider,’ you are being sold a fairy tale. You should stop wasting money on expensive optical cables because, in the digital domain, a bit is a bit; it either arrives perfectly or the signal drops out entirely. There is no middle ground where the bass becomes ‘tighter’ because of gold-plated connectors.
Why Your Living Room is Stealing Your Sound Quality
Even the most expensive speakers in the world will sound like garbage if the room isn’t working with them. I see people drop thousands on floorstanding towers and then place them on bare hardwood floors against glass windows. Dr. Floyd Toole, a renowned expert in psychoacoustics and former researcher at Harman, has demonstrated through decades of study that the room’s interaction with the speaker accounts for nearly 50% of the sound quality you perceive. Instead of buying new gear, you should often just why you should use a rug to fix a bright sounding room. Adding soft surfaces to manage reflections will do more for your clarity than a $1,000 amplifier ever could. 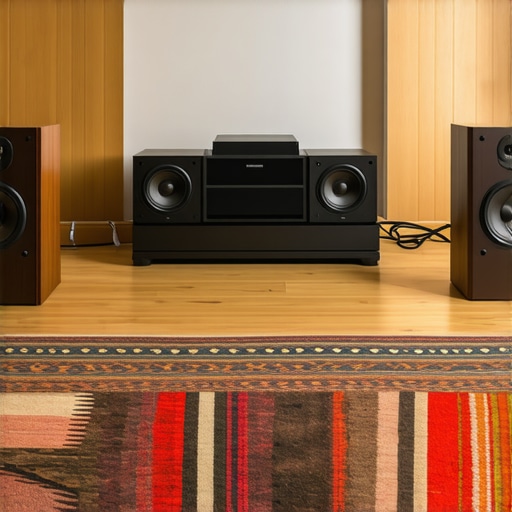
Does Your Amp Actually Have Enough Juice for Those Headphones?
One of the most common mistakes advanced listeners make is ignoring the ‘load’ on their equipment. If you’ve invested in high-impedance studio headphones, you might notice they sound thin or quiet when plugged into your laptop. This isn’t a defect; it’s a power mismatch. To get the full dynamic range, you have to understand the secret to choosing the right ohm rating for your amp. Without the proper voltage swing, those expensive drivers simply won’t move the way the designers intended.
Finally, let’s talk about the ‘Oops Factor’ in the used market. Everyone loves a thrift store find or an eBay steal, but there are two specific traps that catch even the pros. First, the counterfeit market is booming. If you find a deal that seems too good to be true on a pair of Sennheisers or Sony buds, check the secret to identifying counterfeit high-end earbuds online before you send the payment. Second, if you are buying a vintage home theater unit, remember why you should never buy a used receiver without the remote. Modern receivers often hide their most critical calibration and crossover settings inside menus that are physically impossible to navigate using only the front panel buttons. Have you ever fallen into one of these gear traps? Let me know in the comments!
Maintaining that level of performance isn’t just about the initial setup; it’s about a commitment to your gear’s longevity. Once you’ve built a system you actually love, the focus shifts from what you should buy next to how you can stop the current setup from breaking. I’ve seen too many people let a beautiful vintage Sansui receiver or a pair of high-end towers rot away simply because they didn’t know basic maintenance.
Stop the Snap, Crackle, and Pop
The most common issue with older gear is oxidation. If you hear a ‘shhh’ or a crackling sound when you turn a dial, don’t panic. You don’t need a new receiver; you likely just need a can of DeoxIT D5. This stuff is the industry standard for a reason. I personally use it on every ‘new’ used piece of gear I buy to clean the internal contact points. It’s the essential first step for how to fix a scratchy volume knob on an old amp or even how to fix a scratchy fader on a vintage audio mixer. Just a quick spray into the potentiometer, a few dozen turns of the knob, and the signal path is clear again. While you’re at it, take a microfiber cloth and learn how to clean gold-plated connectors without ruining the finish. Over time, even gold can collect a film of dust and skin oils that subtly degrades the connection and adds resistance to the chain.
How can I keep my vintage gear sounding fresh for years?
Longevity in audio is all about heat management and component health. As legendary amp designer Nelson Pass often notes in his technical papers at Pass Labs, heat is the ultimate enemy of electronics. If you aren’t managing the thermal load or ensuring proper ventilation, you’re shortening the life of every transistor in the chassis. This is why I always check the ‘can’ shaped components on the circuit board first. You need to know how to tell if your speaker capacitors are starting to leak because a blown cap can take out much more expensive components if it shorts or leaks corrosive fluid. If the top of the capacitor is bulging like a soda can left in a freezer, it’s time to swap it out before it fails. 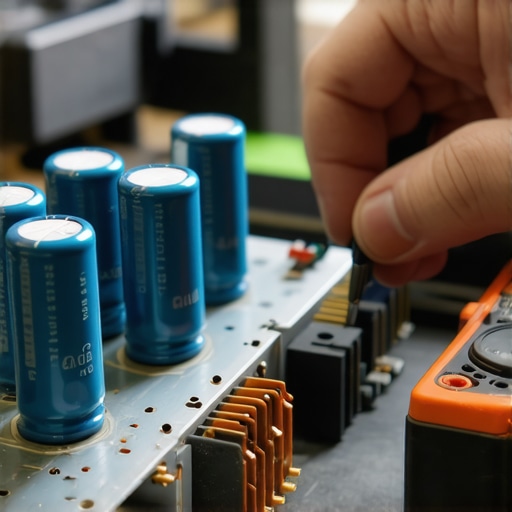
The Soldering Iron is Your Best Friend
You don’t need to be an electrical engineer to do basic repairs. I started by simply replacing the belts on an old cassette deck and eventually moved up to how to revive old speakers with new foam surrounds. When the foam edge of a woofer disintegrates, it doesn’t mean the speaker is dead; it just means it needs a $20 kit and an hour of your time. This is the kind of the $20 upgrade that makes an old turntable sound like new that saves you hundreds on the used market. If you suspect a driver is actually dead, knowing how to test your headphones for a blown driver at home with a simple multimeter can save you from an expensive diagnostic fee at a boutique repair shop.
Will we even need to fix our own gear in ten years?
Looking forward, the industry is moving toward highly integrated, ‘closed’ active systems. Digital Signal Processing (DSP) is becoming so good that we are seeing $200 bookshelf speakers outperform passive towers five times their price. However, this means we are becoming more reliant on software and internal chips rather than discrete, repairable parts. My prediction? We are entering the ‘throwaway’ era of hifi unless we actively support brands that still value modularity and analog signal paths. My challenge to you is to pick up a can of contact cleaner this weekend and revive one old piece of gear you’ve shoved in the closet. You’ll be shocked at how much life is left in those old circuits.
The Brutal Truth About Pursuing Perfect Sound
After years of tearing apart car interiors and meticulously cleaning vintage circuitry, I’ve realized that the biggest enemy of great audio isn’t a lack of money—it’s a lack of patience. I spent a decade thinking that if I just spent $50 more on a ‘premium’ cable, my problems would vanish. The hard reality is that 90% of your sound quality comes from placement, room acoustics, and basic maintenance. I’ve seen enthusiasts give up on beautiful systems because they didn’t know how to fix channel imbalance on a vintage stereo amplifier, assuming the unit was just ‘old and broken.’ Your gear is more resilient than you think if you treat it with respect rather than just replacing it when it gets dusty. You can actually learn the trick to making cheap bookshelf speakers sound expensive by focusing on isolation and boundary reinforcement rather than internal electronics.
The Essential Toolkit I Carry to Every Project
If you want to move beyond being a consumer and become a true steward of your sound, you need a few non-negotiables in your cabinet. I never touch a new project without my digital multimeter and a fresh can of contact cleaner. But the best tools are often the simplest ones you already have in the kitchen. For instance, I’ve seen miraculous results using how to fix a speaker cone with a simple coffee filter and a little wood glue; it’s a pro-level hack that saves drivers others would throw in the trash. I trust these methods because they rely on physical properties rather than marketing hype. Whether it’s using the right adhesive for a tweeter pod or understanding why your bluetooth speaker sounds better on a wooden table, the ‘logic’ of audio always wins over the ‘magic’ of expensive boxes.
Bring Your Music Back to Life Today
Audio is a journey, not a destination. There will always be a better amp or a more transparent pair of headphones on the horizon, but the goal should always be to enjoy the music you have right now. Don’t let the fear of a ‘scratchy knob’ or a dusty connector stop you from firing up your favorite album. Take the leap and try that ‘no-cut’ tweeter mount or spend twenty minutes repositioning your towers. You don’t need to wait for the next big home audio deals to hit the shelves to start hearing the difference. The power to transform your listening experience is already in your hands—and maybe in that can of contact cleaner. Which part of your system has been giving you the most trouble lately—the car, the living room, or the headphone desk? Let me know below!